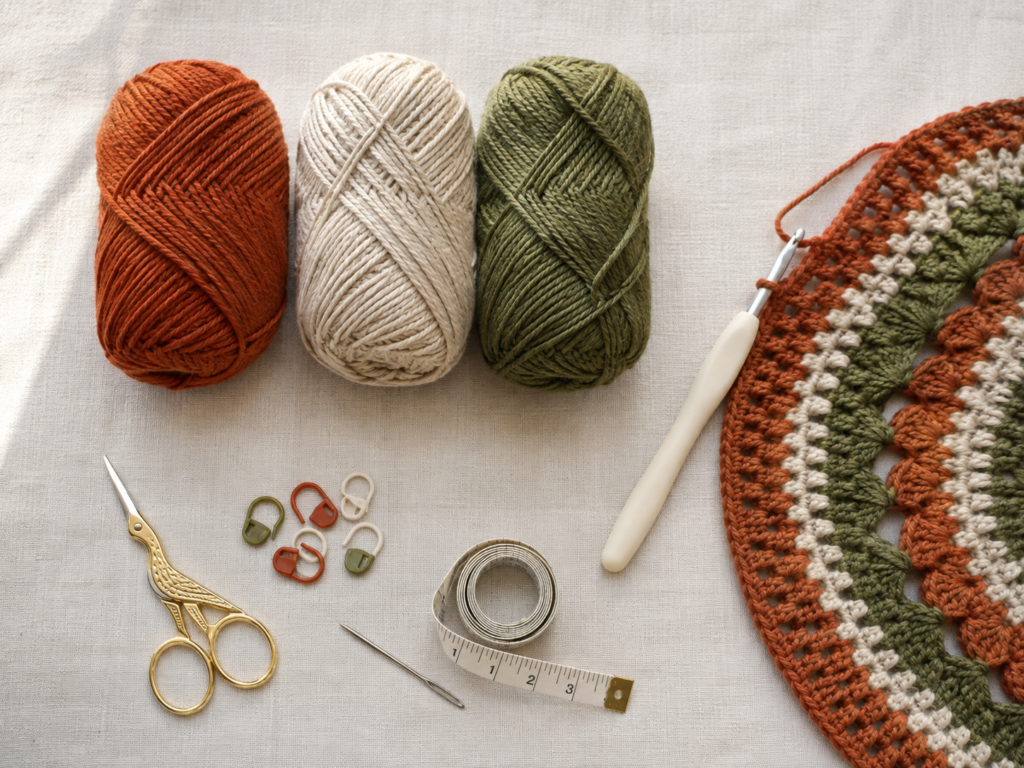
A handmade placemat is one of those crochet projects that feels useful almost immediately. You do not need to make a dozen pieces before you can enjoy it, and you do not need complicated shaping or garment sizing. This crochet autumn placemat pattern starts in the center, grows through predictable increase rounds, and finishes with a decorative shell edge inspired by the points and colors of autumn leaves.
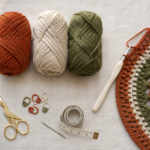
The project uses three colors: pumpkin rust for warmth, oatmeal for the main body, and muted olive for a quieter seasonal accent. If you can make chains, slip stitches, and double crochet stitches, you already know most of what you need.
The only slightly different technique is working one round in the back loop only, which creates a subtle raised ridge. I will show you exactly where that happens.
This is a new original tutorial. The primary research source above was used only to plan a logical photo sequence for a round autumn placemat; its written pattern has not been reproduced.
What You’ll Learn
- How to begin a flat crochet placemat with a magic ring
- How to increase a crochet circle without guessing
- How to count stitches at the end of each round
- How to change colors cleanly
- How to crochet into the back loop only
- How to recognize and fix cupping or ruffling
- How to create an open chain-loop border
- How to crochet a simple pointed shell
- How to resize a round placemat
- How to finish and block cotton crochet neatly
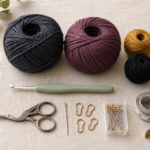
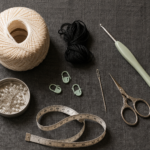
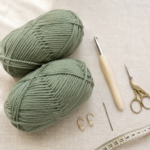
Materials You’ll Need
For one approximately 12–13-inch placemat:
- Worsted-weight #4 cotton yarn
- Color A: burnt pumpkin/rust — approximately 35–45 yd
- Color B: warm oatmeal — approximately 90–120 yd
- Color C: muted olive — approximately 25–35 yd
- 4.5 mm crochet hook
- Scissors
- Tapestry needle
- 1 locking stitch marker
- Measuring tape
- Blocking mat and rust-resistant pins, optional
Smooth cotton is particularly useful for placemats because it gives the stitches good definition and produces a practical table surface. Yarn-category numbers and recommended hook ranges are standardized by the Craft Yarn Council, although hook recommendations are guidelines rather than guarantees of identical gauge.
Crochet Abbreviations Used
This tutorial uses US crochet terminology.
- ch = chain
- dc = double crochet
- sc = single crochet
- sl st = slip stitch
- st/sts = stitch/stitches
- rep = repeat
- BLO = back loop only
- inc = increase; work 2 dc into one stitch
- sp = space
The Craft Yarn Council lists these abbreviations in its industry crochet terminology guidance. Note especially that US single crochet is called double crochet in UK terminology, while US double crochet corresponds to UK treble crochet.
Before You Start
Gauge and finished size
Gauge is not as critical for a placemat as it is for a sweater, but your circle must remain flat.
With worsted cotton and a 4.5 mm hook, aim for roughly:
- After Round 4: about 4–4.5 inches across
- After Round 9: about 10–11 inches across
- After border: about 12–13 inches across
Your measurements may vary with yarn and tension.
How to count the stitches
Place a locking marker in the first real stitch of each round.
The chain 2 at the beginning of the main rounds is only used to bring the hook to working height. In this pattern, it does not count as a stitch.
Count only actual double crochet stitches.
Flat-circle rule
The main body begins with 12 double crochet stitches.
Each increase round adds another 12 stitches:
12 → 24 → 36 → 48 → 60 → 72 → 84 → 96 → 108.
That regular increase structure is what keeps the project circular.
If the placemat starts curling upward
Your stitches may be too tight or the circle may need slightly more room. Try a 5 mm hook before changing the stitch pattern.
If the edge becomes wavy
You may be crocheting more loosely than expected. Switch to a 4 mm hook or stop the body one round earlier.
Step-by-Step Crochet Tutorial
Step 1: Crochet the Rust Center
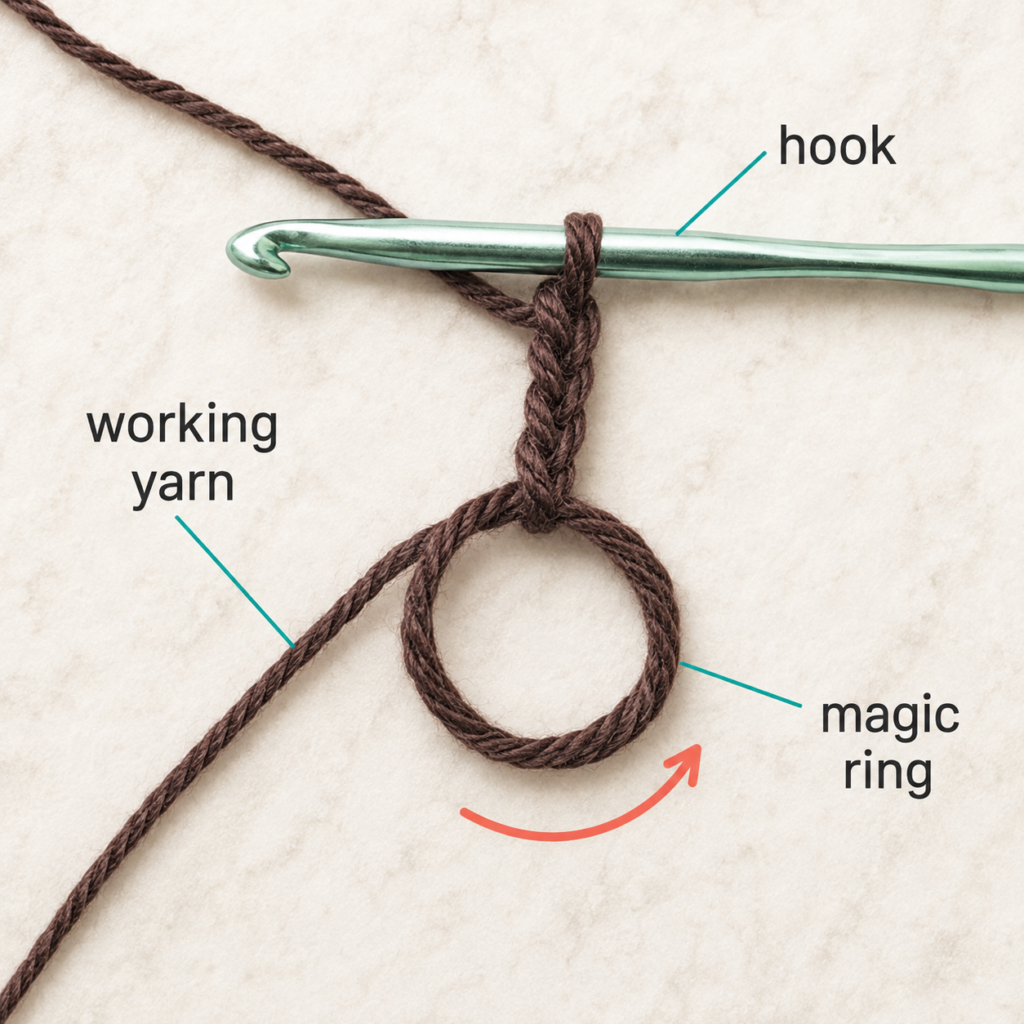
Using Color A — burnt pumpkin rust, make a magic ring.
Round 1
Ch 2.
Work 12 dc into the magic ring.
Pull the yarn tail gently until the hole in the middle closes.
Sl st to the first dc to join.
Stitch count: 12 dc
Beginner tip
Do not tighten the magic ring before all 12 stitches are inside it. Keeping it slightly open gives you enough room to insert the hook comfortably.
Common mistake to avoid
Do not join into the starting ch-2. Because that chain does not count as a stitch, join into the top of the first actual double crochet.
Step 2: Make the First Increase Round
Stay with Color A.
Round 2
Ch 2.
Work 2 dc into every stitch around.
Sl st to the first dc.
Stitch count: 24 dc
Putting two double crochets in the same stitch is a double crochet increase.
The circle should already be visibly larger but still lie flat.
Beginner tip
Think of each old stitch as a small container. In this round, every container receives exactly two new stitches.
Common mistake to avoid
Do not accidentally work the first increase into the slip stitch from the previous round.
Your first two double crochets belong in the first actual dc.
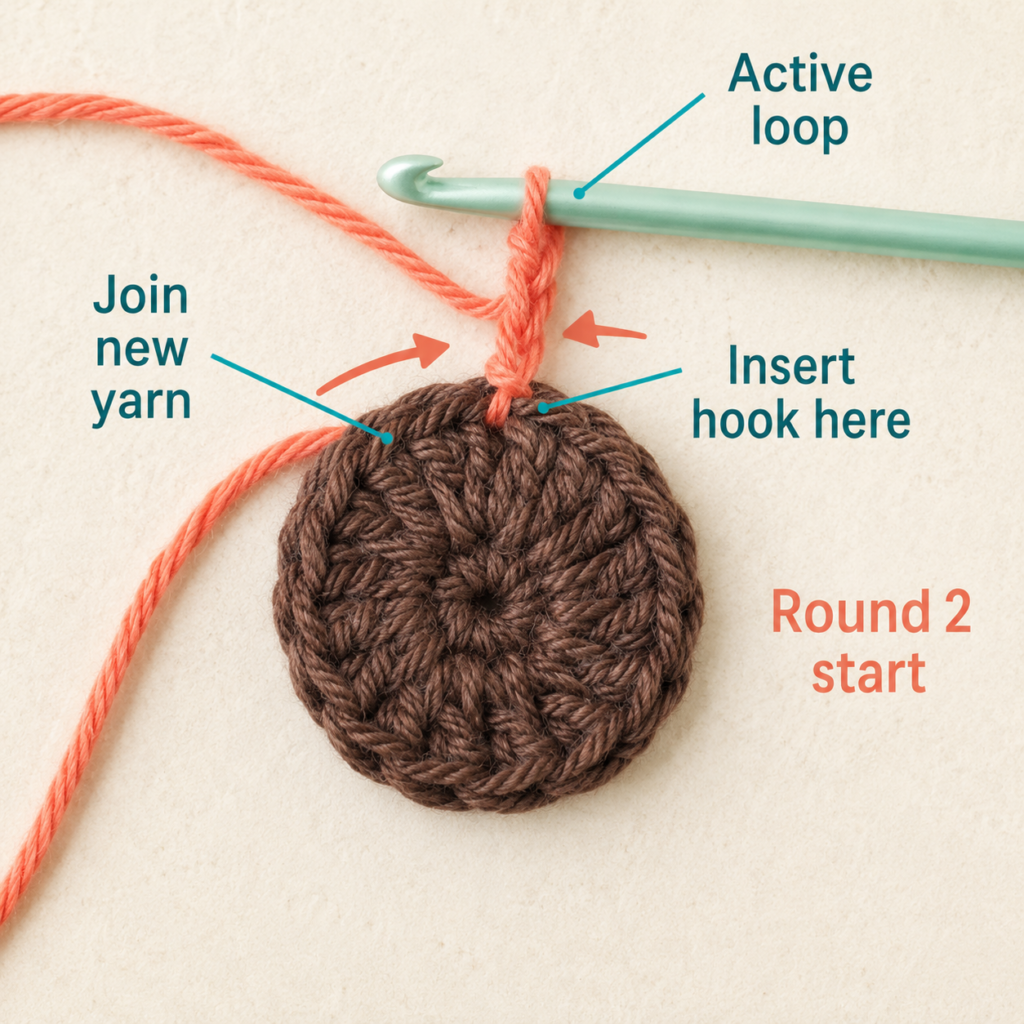
Step 3: Change to Oatmeal and Expand the Circle
Change to Color B — warm oatmeal during the final yarn-over of the joining slip stitch, or fasten off Color A and join Color B cleanly.
Round 3
Ch 2.
Repeat around:
1 dc in next st, 2 dc in next st.
Join with sl st.
Stitch count: 36 dc
Round 4
Ch 2.
Repeat:
1 dc in each of next 2 sts, 2 dc in next st.
Join.
Stitch count: 48 dc
Your central rust circle is now framed with a neutral band.
Beginner tip
Say the repeat quietly while crocheting:
“one, increase… one, increase” for Round 3.
Then:
“one, one, increase” for Round 4.
It makes missed increases much easier to catch.
Step 4: Add a Raised Olive Accent
Change to Color C — muted olive.
For this round, work every stitch into the back loop only.
When you look at the top of a crochet stitch, you see a V. The loop farther away from you is the back loop.
Round 5 — BLO
Ch 2.
Working BLO throughout:
1 dc in each of next 3 sts, 2 dc in next st.
Repeat around.
Join.
Stitch count: 60 dc
Working in only one loop leaves the unused front loop visible as a subtle ridge.
Beginner tip
Before completing each stitch, check that only one strand of the V is sitting on your hook.
Common mistake to avoid
If you accidentally crochet through both loops once or twice, the raised line will be interrupted. Undo those stitches while they are still close to the hook.
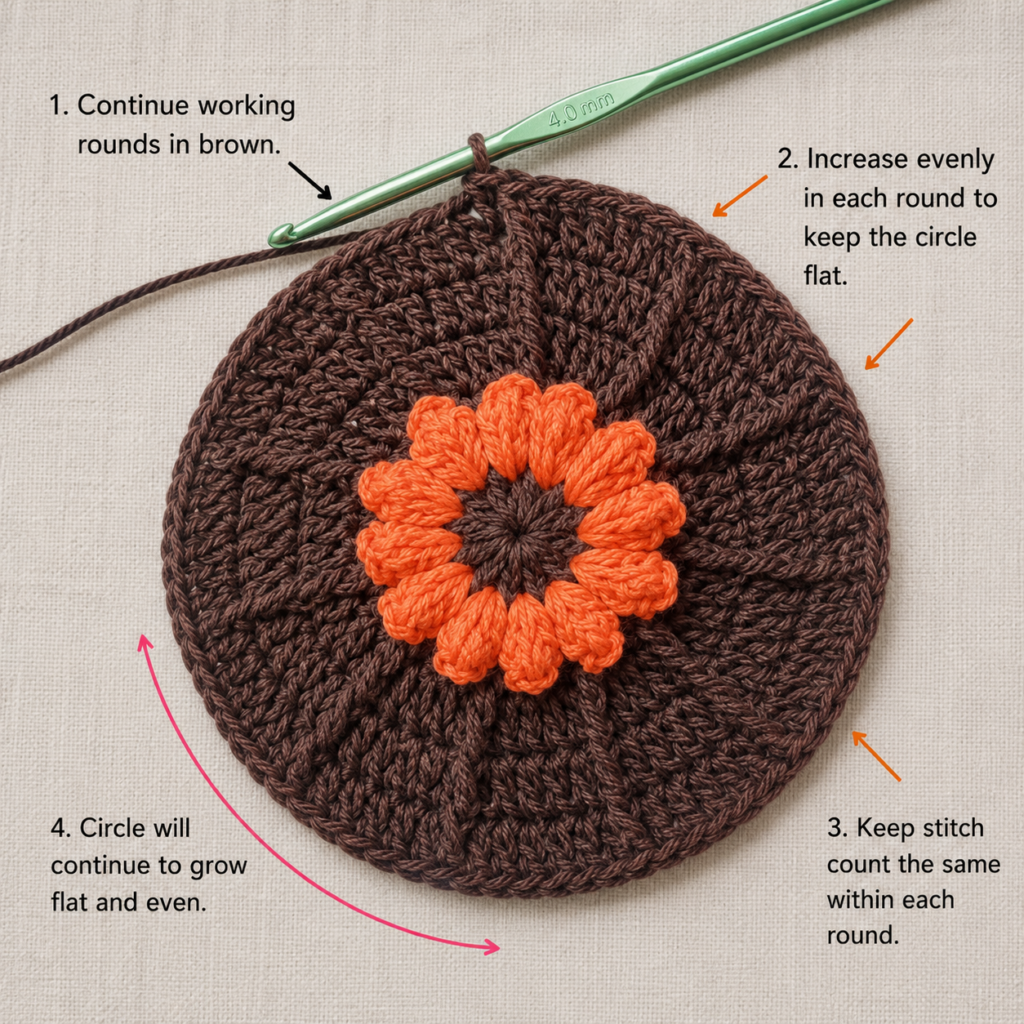
Step 5: Crochet the Main Placemat Body
Change back to Color B — oatmeal.
From this point, work through both loops normally.
Round 6
Ch 2.
Repeat:
1 dc in each of next 4 sts, 2 dc in next st.
72 dc
Round 7
Repeat:
1 dc in each of next 5 sts, 2 dc in next st.
84 dc
Round 8
Repeat:
1 dc in each of next 6 sts, 2 dc in next st.
96 dc
Round 9
Repeat:
1 dc in each of next 7 sts, 2 dc in next st.
108 dc
Measure the piece.
Ideally, your main circle is around 10–11 inches across before adding the decorative border.
Beginner tip
Lay the piece completely flat after every round.
A tiny amount of movement is normal, but it should not look like a bowl or a ruffled skirt.
If it begins to cup
Switch to a slightly larger hook for the remaining body rounds.
If it ripples
Switch to a smaller hook, or omit Round 9 if the diameter is already large enough.
Step 6: Make the Olive Chain-Loop Border
Change to Color C.
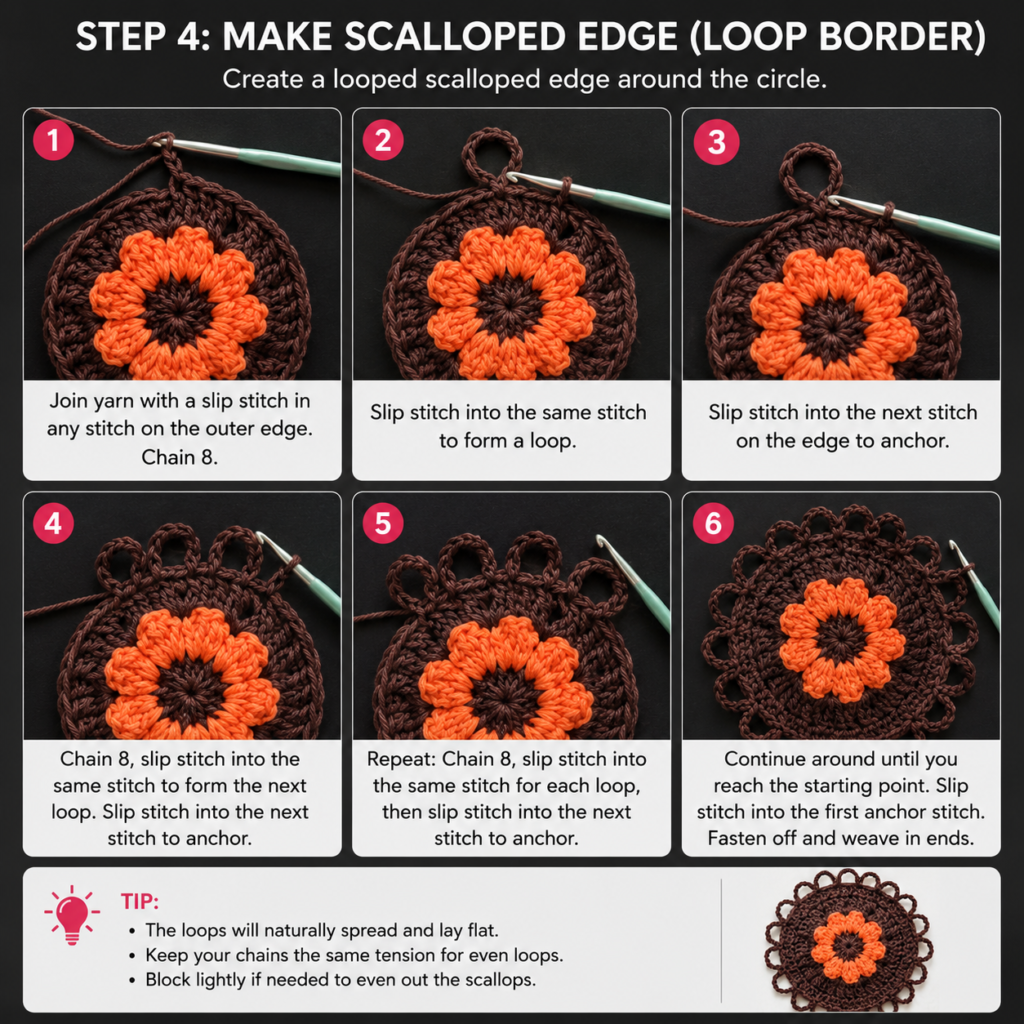
Round 10
Ch 1.
Sc in the same stitch.
Then repeat:
Ch 4, skip 2 sts, sc in next st.
Continue around.
You should form 36 chain-4 spaces if you finished Round 9 with 108 stitches.
Join with a sl st to the first sc.
Why this round matters
The open arches provide a clean foundation for the rust shell border. They also keep the final edge from becoming heavy or stiff.
Beginner tip
Every chain loop should look approximately the same size.
Do not tighten the chains more than your normal chain tension.
Common mistake to avoid
Skipping one stitch instead of two will gradually throw off the spacing.
If your final repeat does not fit neatly, count backward before continuing.
Step 7: Add the Pointed Autumn Shells
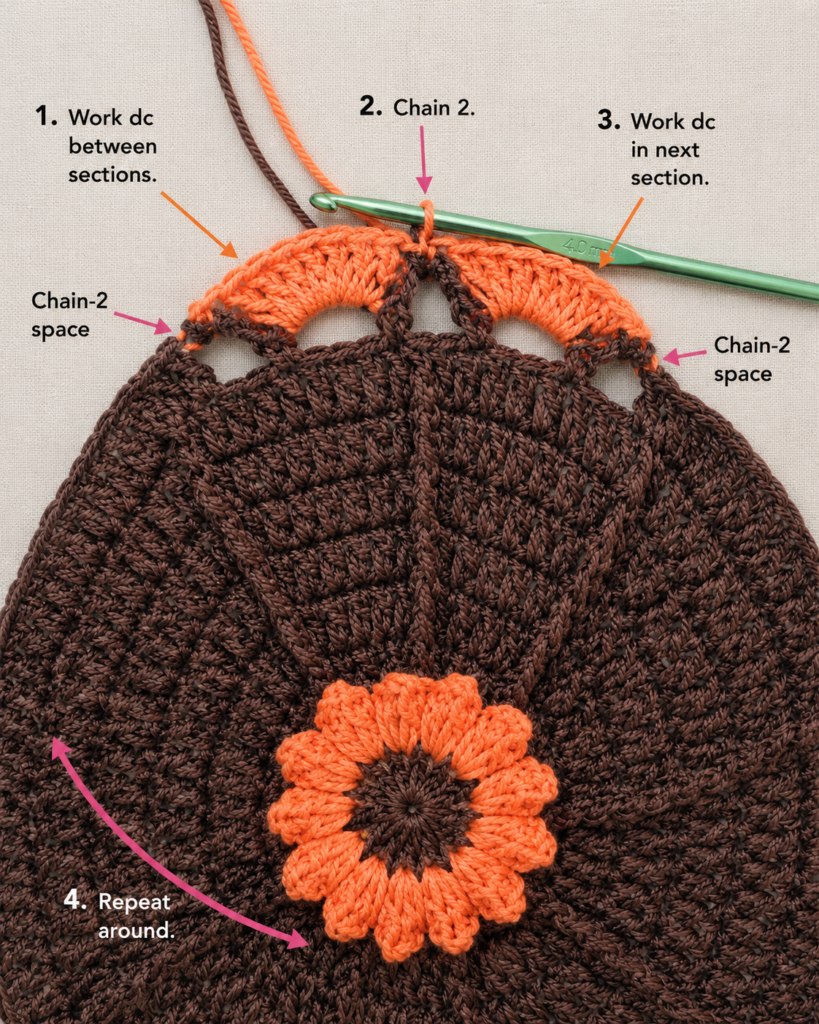
Change to Color A.
Slip stitch into the first ch-4 space.
In that same space work:
- Ch 2, not counted as a stitch
- 3 dc
- Ch 2
- Sl st into the second chain from the hook to form a small picot point
- 3 dc
You have made one pointed shell.
Sl st into the next ch-4 space.
Then repeat around:
Pointed shell in next ch-4 space, sl st in following ch-4 space.
This places shells in alternating spaces.
You should have approximately 18 pointed shells.
Fasten off after the final anchoring slip stitch.
Beginner tip
Do not pull the picot too tightly. A relaxed little point gives the edge a much clearer leaf-like silhouette.
Common mistake to avoid
Do not work a shell into every chain space. The plain anchoring space between shells prevents overcrowding.
Pattern Notes or Stitch Notes
Turning-chain rule
The starting ch-2 in Rounds 1–9 does not count as a stitch.
Stitch counts
- Round 1: 12
- Round 2: 24
- Round 3: 36
- Round 4: 48
- Round 5: 60
- Round 6: 72
- Round 7: 84
- Round 8: 96
- Round 9: 108
The body therefore increases by 12 stitches per round.
Repeat pattern
Each new body round adds one ordinary double crochet before the increase.
For example:
- Round 6: 4 dc, increase
- Round 7: 5 dc, increase
- Round 8: 6 dc, increase
- Round 9: 7 dc, increase
Right side/wrong side
This project is worked with the right side facing you throughout. There is no turning between rounds.
Size adjustments
For a smaller place setting, stop after Round 8 and redesign the chain-loop spacing according to the stitch count.
For a larger placemat, continue the normal flat-circle sequence:
Next round:
8 dc, increase around.
Next:
9 dc, increase around.
Continue only while the circle remains flat.
Common Beginner Mistakes
1. Joining into the turning chain
Problem: Your stitch count slowly increases.
Fix: Mark the first actual dc and always join there.
2. Losing an increase
Problem: The placemat gradually cups upward.
Fix: Count every round. Each main-body round should contain 12 more stitches than the previous one.
3. Adding accidental increases
Problem: The edge begins waving.
Fix: Do not work stitches into the joining slip stitch.
4. Using very tight chain loops
Problem: The border pulls inward.
Fix: Crochet the ch-4 spaces with relaxed tension or use a hook 0.5 mm larger for Round 10.
5. Working the BLO round through both loops
Problem: The olive texture line disappears in sections.
Fix: Identify the V at the top of each stitch and insert the hook through only the back strand.
6. Overfilling the shell border
Problem: The final edge becomes heavily ruffled.
Fix: Put shells in alternating chain spaces, not every space.
7. Ignoring the placemat while it is still small
Problem: Cupping or rippling becomes difficult to correct later.
Fix: Lay the piece flat after every two rounds and adjust hook size early.
How to Customize This Crochet Project
Change the colors
Try:
- Pumpkin + cream + olive
- Mustard + ivory + chestnut
- Burgundy + oatmeal + forest green
- Terracotta + beige + sage
- Copper + charcoal + cream
For Thanksgiving, oatmeal with burnt orange and deep brown gives a traditional harvest look.
For a more modern table, use cream as the dominant shade with only one rust accent.
Change the yarn
Cotton produces excellent stitch definition and a stable dining-table fabric.
A cotton-acrylic blend may feel softer and can be easier on the hands.
Avoid very fuzzy yarn because food crumbs can become caught in the fibers and stitch definition will be less visible.
Change the size
Measure a plate you commonly use.
A placemat should extend beyond the plate rather than disappear underneath it.
Add or remove body rounds before beginning the chain-loop border.
Change the border
Instead of pointed shells, try:
- Plain single crochet
- Crab stitch
- Small picots
- Simple 5-dc scallops
- Alternating rust and mustard shells
Change the texture
Work one additional body round in BLO to add another ridge.
You could also alternate regular double crochet with half double crochet for a denser mat.
Gift ideas
Make a coordinated set of two, four, or six and tie them with cotton ribbon.
They work especially well as:
- Housewarming gifts
- Thanksgiving hostess gifts
- Fall wedding-table accents
- Harvest-season kitchen décor
- Handmade gifts for parents or grandparents
Finishing Instructions
Fasten off Color A, leaving approximately a 6-inch tail.
Thread the tail onto a tapestry needle.
Weave it through the wrong side of several stitches. Change direction once and weave through another section so the end is secure.
Repeat for every color-change tail.
Trim only after you are satisfied the ends will not loosen.
Blocking
For cotton, wet blocking can greatly improve the finished shape.
- Soak or thoroughly dampen the placemat.
- Gently squeeze out excess moisture without twisting.
- Lay it flat.
- Arrange the central circle evenly.
- Position the shell points at consistent intervals.
- Pin lightly if needed.
- Leave flat until completely dry.
Always follow the washing and care instructions supplied by your yarn manufacturer.
Quick Printable-Style Summary
Skill level: Beginner/easy
Finished size: Approximately 12–13 inches
Yarn: Worsted-weight #4 cotton
Hook: 4.5 mm
Colors: Rust, oatmeal, olive
Stitches: ch, sl st, sc, dc, BLO dc
Starting method: Magic ring with 12 dc
Main repeat: Add 12 stitches per growth round by placing one additional plain dc between increases each round
Border foundation: Ch-4 loops separated by 2 skipped stitches
Final border: Pointed rust shells worked into alternating chain spaces
Finishing: Weave in ends and block flat
FAQ
Is this crochet autumn placemat pattern suitable for beginners?
Yes, provided you already know basic chain, slip stitch and double crochet. BLO crochet and the pointed shell border are explained separately, making this a good project for moving beyond absolute-beginner practice.
What yarn is best for crochet placemats?
Smooth cotton is one of the most practical choices because it gives clear stitch definition and produces a stable fabric. Worsted-weight cotton also works up reasonably quickly.
How large should a crochet placemat be?
There is no mandatory size, but approximately 12–14 inches works well for many round placemats. Measure your plates and table setting before deciding.
Why is my crochet circle turning into a bowl?
Usually the circumference is not growing quickly enough for your tension. Check that none of the scheduled increases were missed. If the count is correct, try a slightly larger crochet hook.
Why does my placemat have ruffles?
Too much circumference relative to the radius causes rippling. Check for accidental increases. If your stitch counts are correct, use a smaller hook or omit the final growth round.
Can I make this placemat without a magic ring?
Yes. Chain 4, join with a slip stitch to create a small ring, then work the first 12 double crochets into that ring. The center opening may be slightly larger.
Can I use acrylic yarn?
Technically yes, but cotton is usually preferable for table linens because it creates a firmer fabric and good stitch definition. Always consider how the finished piece will be washed and used.
Conclusion
This crochet autumn placemat combines a very predictable round construction with just enough seasonal detail to make it feel special. The rust center provides the first warm fall accent, the oatmeal body keeps the design calm enough for a dinner table, the olive ridge adds texture, and the pointed rust shells finish the piece without requiring complicated shaping.
Once you understand the increase rhythm, you can make several placemats without constantly rereading the instructions. Change the three colors across a set, or keep them identical for a coordinated Thanksgiving table.