A haunted house does not need complicated tapestry crochet or dozens of tiny pieces to look spooky. This version is built from simple flat shapes: a solid house body, a pointed roof, a tiny chimney, a rounded door and three glowing windows.
That makes it a useful Halloween project if you already know how to chain and single crochet but want to practice shaping, decreases and simple applique assembly.
The finished motif is small enough for a wall hanging, tote bag, Halloween pillow, bunting panel or framed crochet decoration. Because every major component is worked separately, you can also reposition the roof, chimney and windows before sewing anything permanently into place.
This is an original pattern drafted specifically for this tutorial. The researched house-applique tutorial above is used only as a visual reference for planning a logical photographic sequence.
What You’ll Learn
- How to crochet a firm flat house body.
- How to shape a triangular haunted-house roof using decreases.
- How to crochet a tiny chimney and rounded door.
- How to make matching applique windows.
- How to add contrasting roof edging.
- How to embroider window panes without distorting the crochet.
- How to position and sew separate applique pieces.
- How to block the finished haunted house flat.
Materials You’ll Need
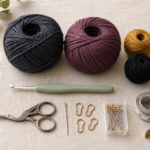
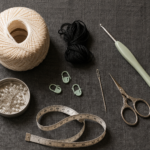
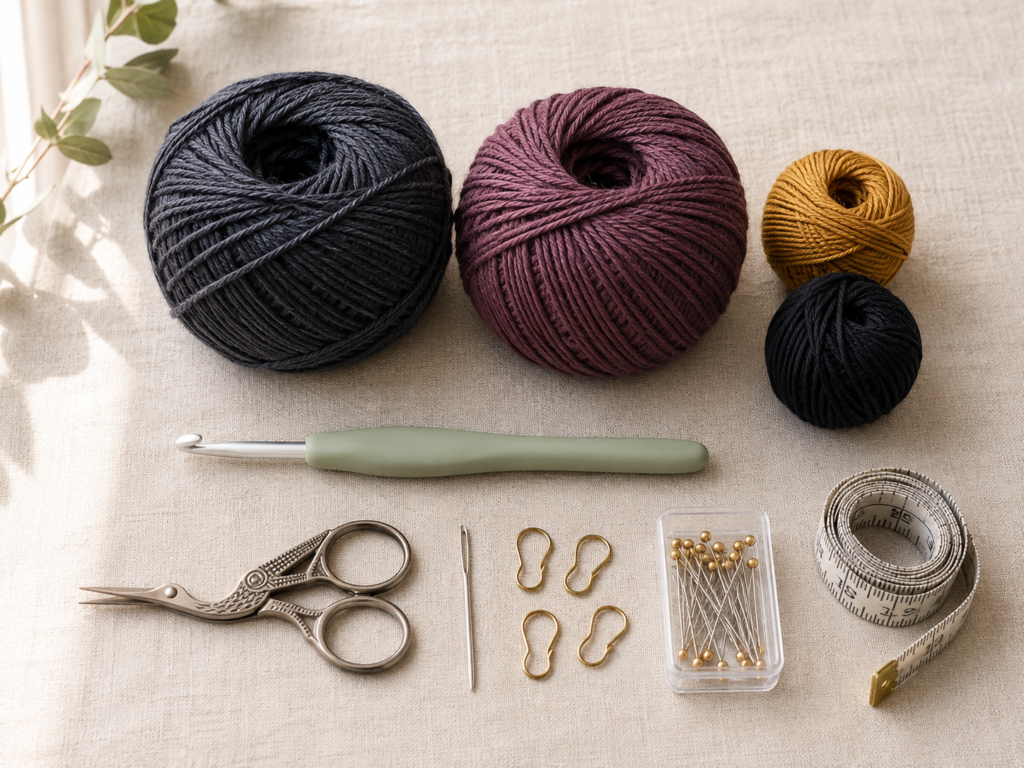
For the sample project, use:
- DK / Light #3 cotton yarn
- Color A: deep charcoal, approximately 25–30 yd
- Color B: dusty plum, approximately 15–20 yd
- Color C: antique gold, approximately 6–8 yd
- Color D: black, approximately 5 yd
- 3.5 mm crochet hook
- Tapestry needle
- Small embroidery scissors
- Stitch marker, optional
- Measuring tape
- Blocking mat or folded towel
- Rust-resistant blocking pins
Smooth cotton is especially useful for applique because it gives crisp stitch definition and tends to hold a blocked shape well. The Craft Yarn Council classifies DK/light-worsted yarn in the Light #3 category and gives 3.5–4.5 mm as a common crochet-hook range; using the smaller end of that range helps create the firm fabric wanted for this applique.
Approximate finished size: 5 in / 12.5 cm wide × 6–6.5 in / 15–16.5 cm tall, depending on tension.
Crochet Abbreviations Used
This pattern uses US crochet terminology.
- ch = chain
- sc = single crochet
- sc2tog = single crochet two stitches together
- sl st = slip stitch
- st / sts = stitch / stitches
- RS = right side
- WS = wrong side
The Craft Yarn Council’s standardized abbreviation list also identifies sc, sc2tog, sl st, RS and WS in this way. It also notes that US single crochet corresponds to UK double crochet.
Before You Start
Gauge
Exact gauge is not essential because this is decorative, but an approximate target is:
18 sc × 20 rows = 4 in / 10 cm
If your fabric feels floppy, move down one hook size. If your stitches are extremely difficult to enter, move up 0.25–0.5 mm.
The important goal is a firm but flexible fabric.
Turning chain
The ch 1 at the beginning of each row does not count as a stitch.
Always place the first sc into the first actual stitch.
Count your stitches
The house body should remain at 18 stitches every row.
The roof is different: its stitch count intentionally decreases by two on designated shaping rows.
Place a removable marker into the first and last stitch if you frequently miss edge stitches.
Right side and wrong side
After the first few rows, choose whichever face looks cleaner as the RS.
When you finally sew the components together, keep that cleaner face forward.
Avoid curling
Three things usually create curling in a small applique:
- Extremely tight foundation chains.
- Slip-stitch edging worked too tightly.
- Too many stitches placed around a border.
Relax the foundation chain and do not pull the edging yarn tighter than the main fabric.
Choosing Halloween colors
Black and orange are obvious choices, but muted colors often photograph better.
This tutorial uses:
- charcoal for the walls,
- dusty plum for the roof and door,
- antique gold for glowing windows,
- black for architectural outlines.
You can substitute forest green, navy, rust, pumpkin orange or violet without changing the pattern.
Step-by-Step Crochet Tutorial
Step 1: Crochet the Main House Body
With Color A — deep charcoal, ch 19.
Row 1
Sc in the second ch from the hook and in every remaining chain.
18 sc.
Turn.
Rows 2–12
Ch 1.
Sc in each of the 18 sts across.
Turn.
18 sc each row.
After Row 12, do not worry if the rectangle looks plain. Most of the haunted-house character comes from the roof and asymmetrical placement of the smaller pieces.
Lay the rectangle flat and count the vertical edge rows. You should have 12.
Beginner tip: Count Row 1 before moving on. Accidentally starting with 17 stitches will make every later positioning measurement slightly off.
Common mistake to avoid: Do not place the final stitch of a row into the turning chain. The turning chain is not a stitch in this pattern.
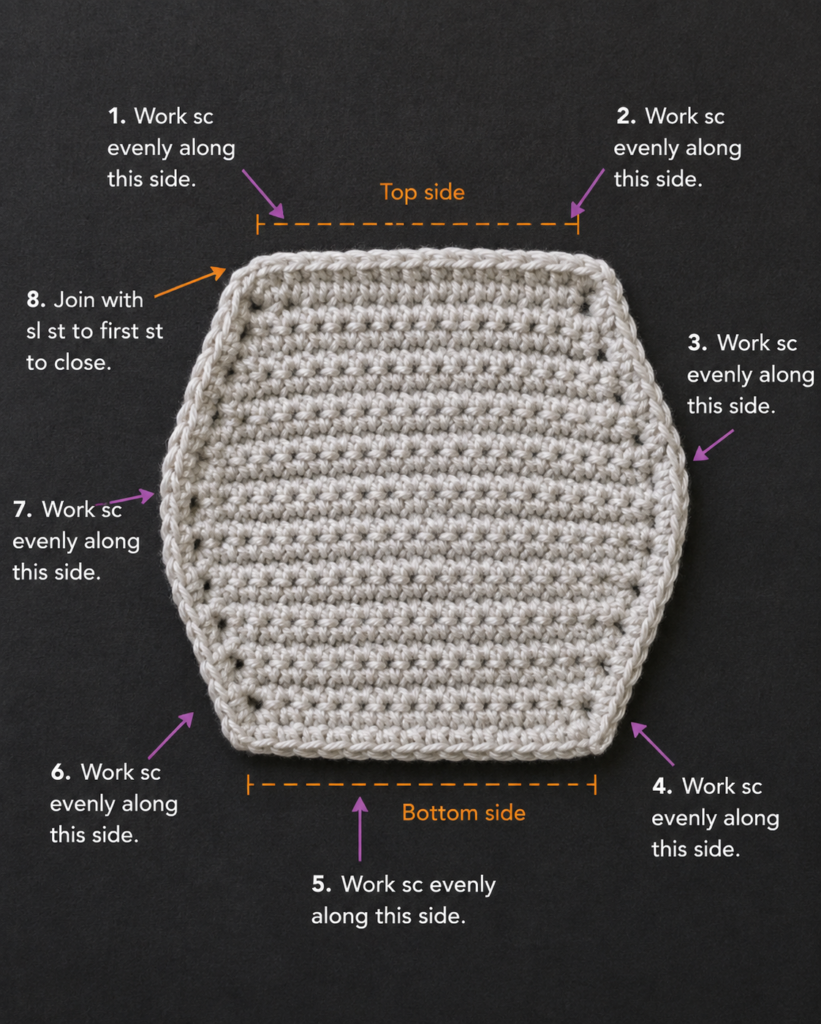
Step 2: Add a Neat Border Around the House Body
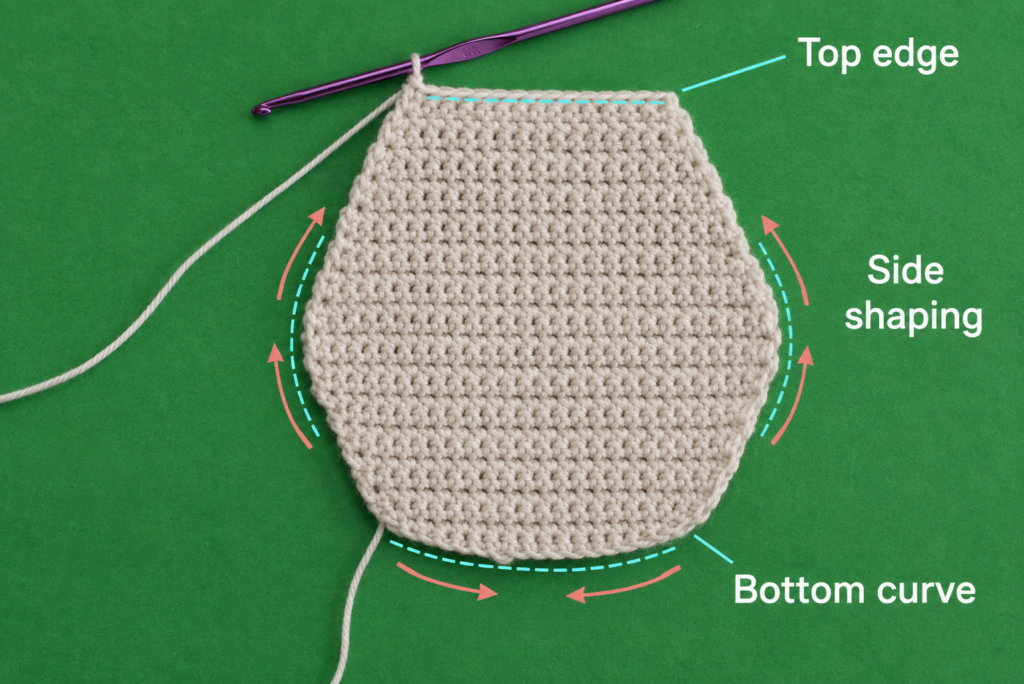
After Row 12, ch 1 and rotate the work.
Work sc evenly down the first side.
At the bottom corner, place 2 sc in the corner area.
Sc across the unused loops of the foundation chain.
Place 2 sc around the second bottom corner.
Sc evenly up the second side.
Continue across the top if necessary, then join to the first border stitch with a sl st.
Fasten off.
There is intentionally no fixed border stitch count. Different crocheters place stitches into row ends differently.
Your goal is visual:
- the side should remain straight,
- the corner should turn without puckering,
- the rectangle should lie flat.
If the edge begins ruffling, you have probably added too many stitches.
If the edge cups upward, you probably need another stitch or two along that side.
Beginner tip:
Every side does not need a mathematically identical stitch count. Flatness matters more.
Common mistake to avoid:
Do not automatically place two single crochets into every row end. That almost always creates a ruffle.
Step 3: Crochet the Pointed Haunted-House Roof
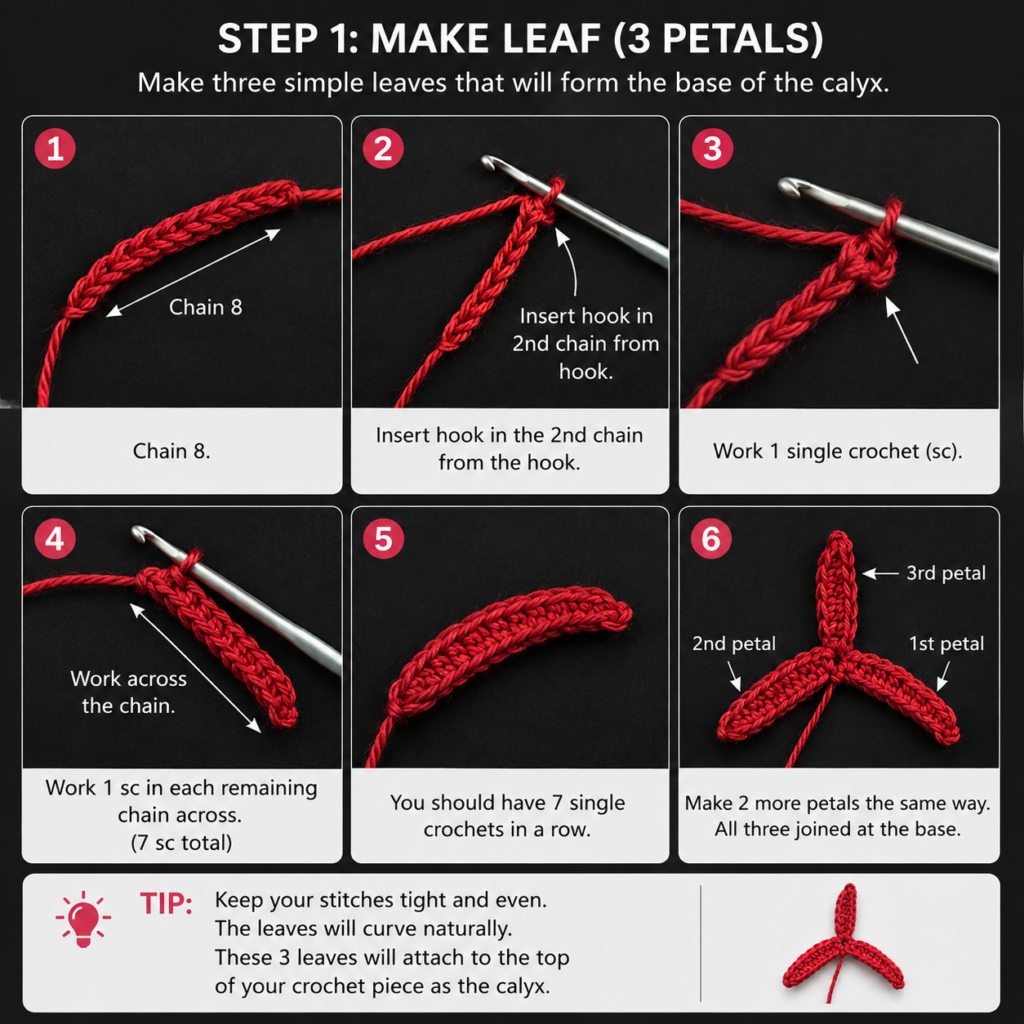
With Color B — dusty plum, ch 23.
Row 1
Sc in second ch from hook and across.
22 sc.
Row 2
Ch 1, turn.
Sc2tog, sc in next 18 sts, sc2tog.
20 sts.
Row 3
Ch 1, turn.
Sc across.
20 sts.
Row 4
Sc2tog, sc 16, sc2tog.
18 sts.
Row 5
Sc across.
18 sts.
Row 6
Sc2tog, sc 14, sc2tog.
16 sts.
Row 7
Sc across.
16 sts.
Row 8
Sc2tog, sc 12, sc2tog.
14 sts.
Row 9
Sc across.
14 sts.
Row 10
Sc2tog, sc 10, sc2tog.
12 sts.
Row 11
Sc across.
12 sts.
Row 12
Sc2tog, sc 8, sc2tog.
10 sts.
Row 13
Sc across.
10 sts.
Row 14
Sc2tog, sc 6, sc2tog.
8 sts.
Row 15
Sc across.
8 sts.
Row 16
Sc2tog, sc 4, sc2tog.
6 sts.
Row 17
Sc across.
6 sts.
Row 18
Sc2tog, sc 2, sc2tog.
4 sts.
Row 19
Sc2tog twice.
2 sts.
Row 20
Sc2tog.
1 st.
Fasten off.
The alternating decrease and straight rows make a roof that narrows gradually instead of forming a steep pyramid.
Beginner tip:
After every decrease row, stop and count. Your counts should be:
22 → 20 → 18 → 16 → 14 → 12 → 10 → 8 → 6 → 4 → 2 → 1.
Common mistake to avoid:
When working sc2tog, insert the hook into both intended stitches. Accidentally working the decrease over one stitch and the turning chain will create an uneven slope.
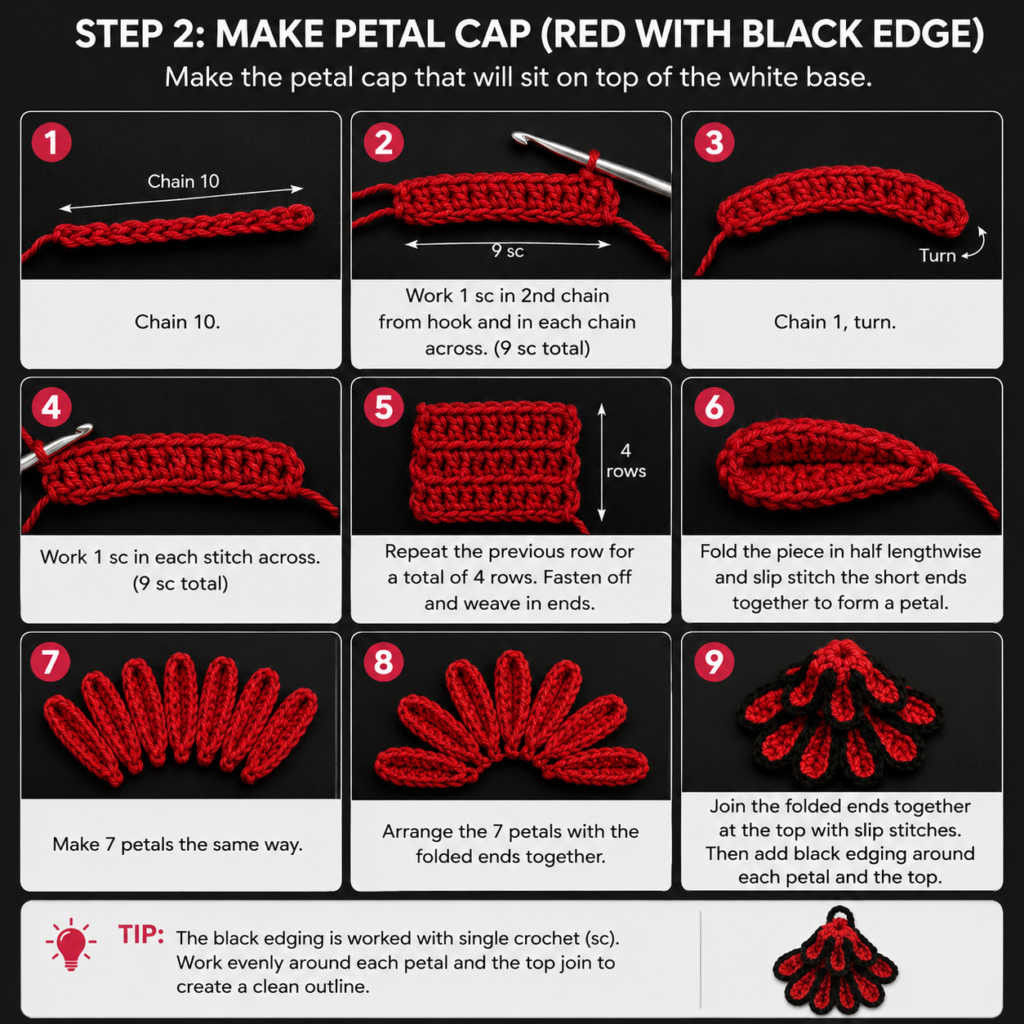
Step 4: Add the Roof Outline, Eave and Chimney
Black roof outline
Join Color D — black at the lower-right corner of the plum roof.
Work relaxed slip stitches evenly up the first slope, around the tip and down the opposite slope.
Do not edge the long bottom edge yet.
Fasten off.
This narrow black line makes the roof much easier to read visually against the dark walls.
If the roof curls after adding the black line, remove the edging and work it more loosely.
Crochet the eave
With black, ch 25.
Sc in second ch from hook and across.
24 sc.
Fasten off, leaving a long sewing tail.
The eave is deliberately two stitches wider than the roof base. Once centered, it creates a small overhang on both sides.
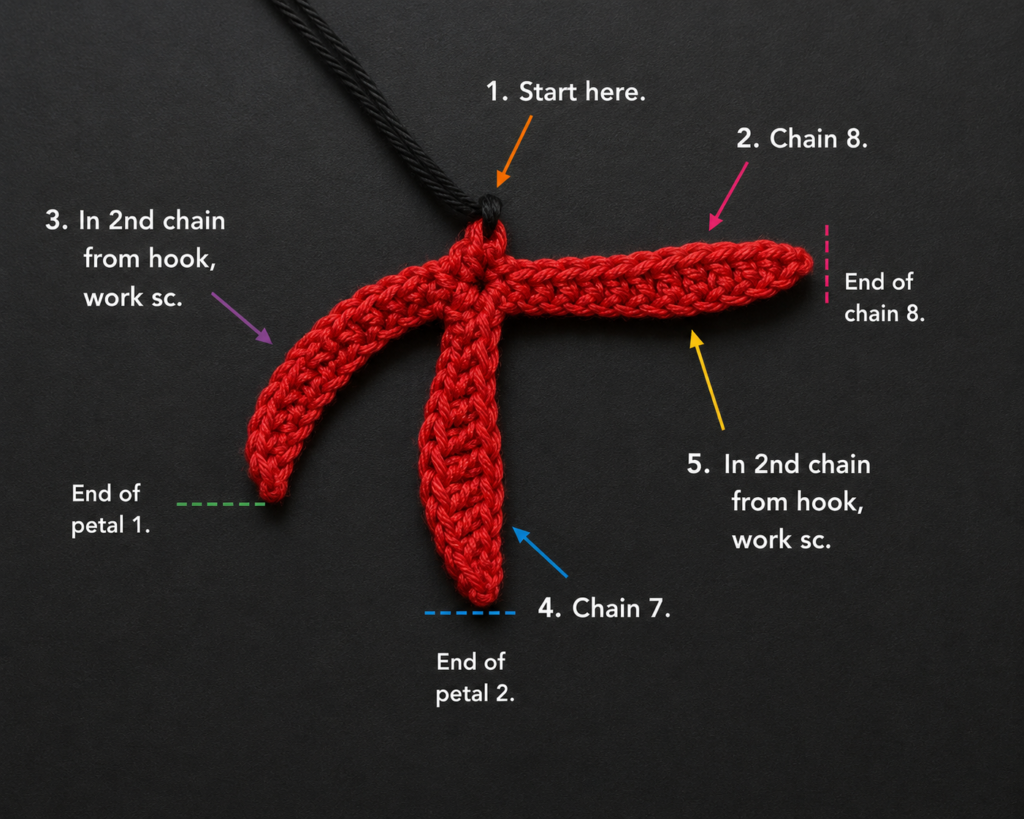
Crochet the chimney
With charcoal, ch 5.
Row 1: Sc in second ch from hook and across. 4 sc.
Rows 2–6: Ch 1, turn, sc 4.
Fasten off with a long tail.
For a more haunted silhouette, do not obsess over making the chimney perfectly vertical during assembly. A very slight lean looks intentional.
Step 5: Crochet the Haunted Door
With dusty plum, ch 6.
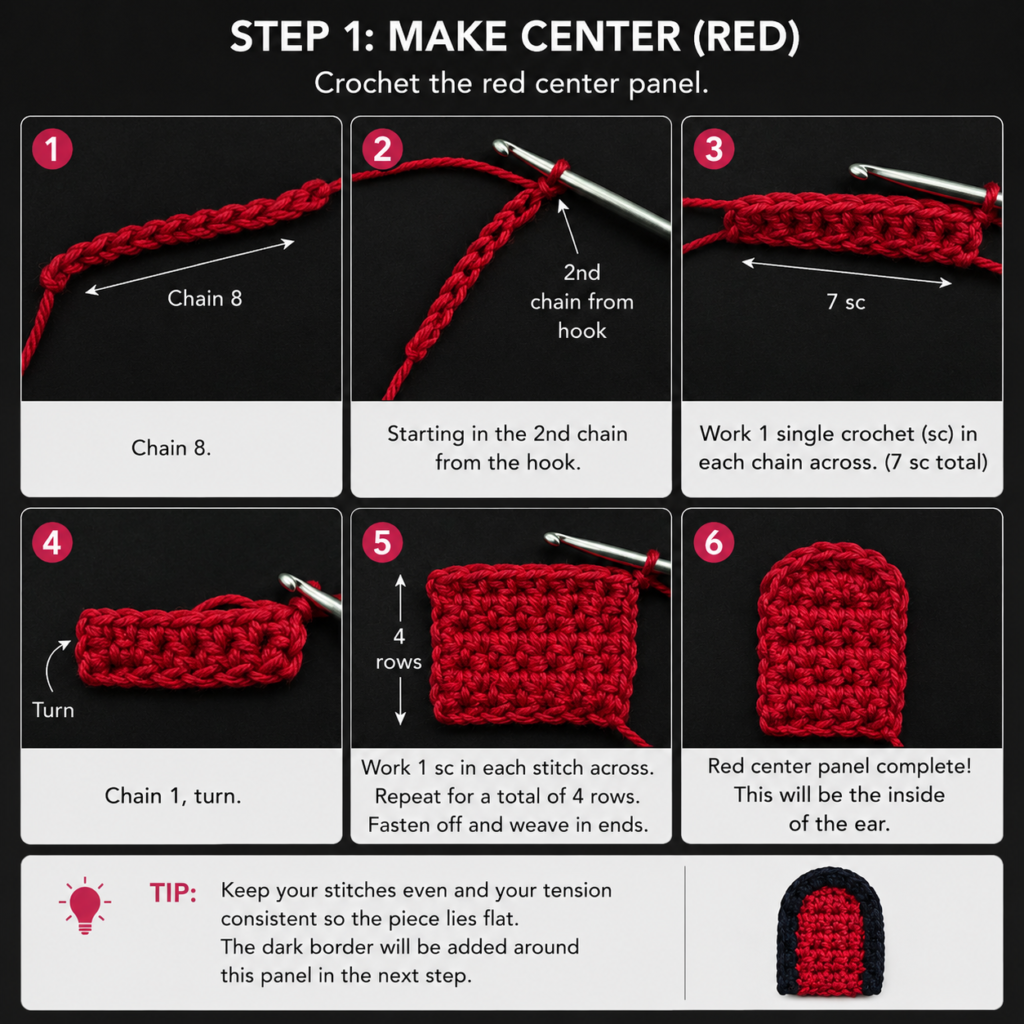
Row 1
Sc in second ch from hook and across.
5 sc.
Rows 2–6
Ch 1, turn.
Sc 5.
Row 7
Ch 1, turn.
Sc2tog, sc 1, sc2tog.
3 sts.
Row 8
Ch 1, turn.
Sc 3.
Fasten off.
This produces a tall door with a narrower top.
For the black frame, join black yarn at one lower corner and work loose slip stitches up the first side, over the top, and down the opposite side.
Leave the bottom edge unworked.
Fasten off.
Later, add one tiny antique-gold straight stitch as the doorknob.
Beginner tip:
Do not add the black edging until you are happy with the plum door shape. It is easier to correct the main piece first.
Common mistake to avoid:
A tight black border can bend the door into a cup. If that happens, redo the border with a relaxed loop on the hook.
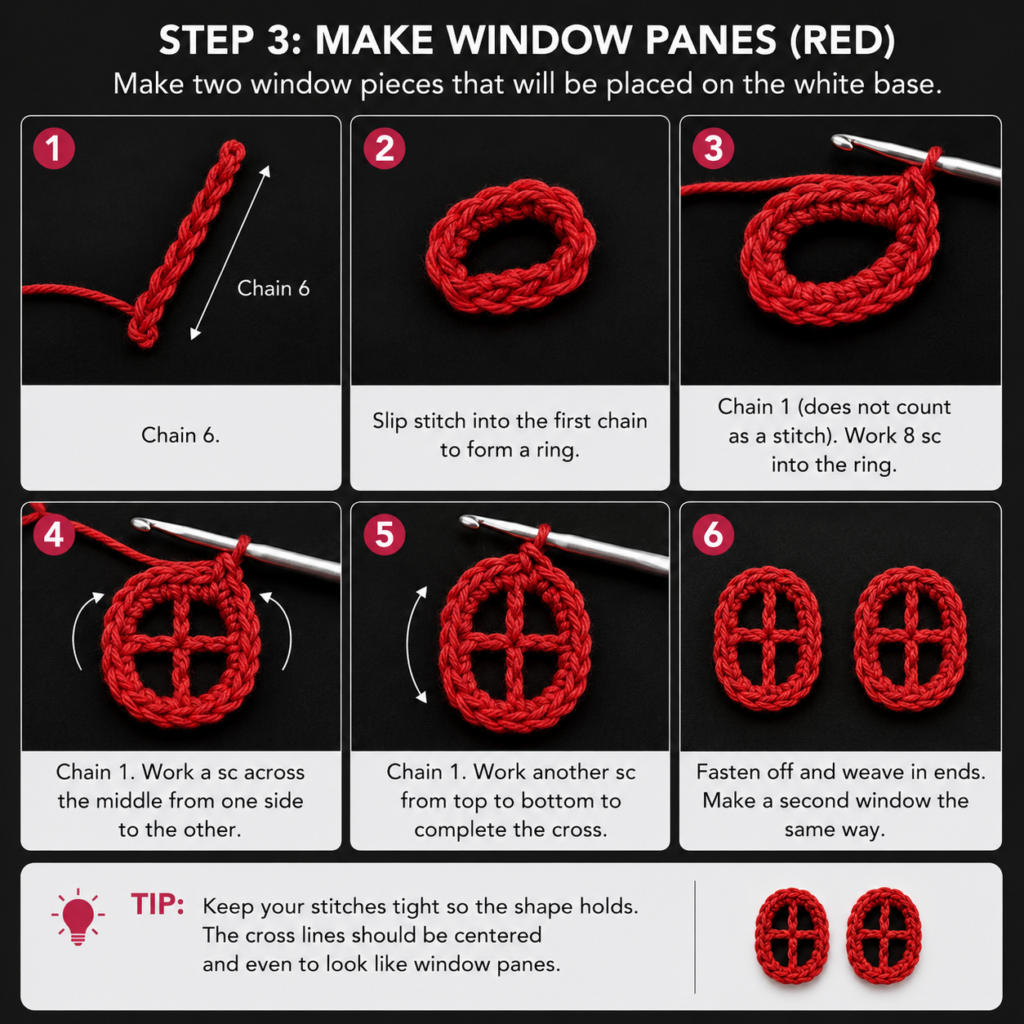
Step 6: Crochet the Glowing Windows
Lower windows — make 2
With antique gold, ch 5.
Row 1: Sc in second ch and across. 4 sc.
Rows 2–4: Ch 1, turn, sc 4.
Fasten off with a long sewing tail.
Upper roof window — make 1
With antique gold, ch 4.
Row 1: Sc in second ch from hook and across. 3 sc.
Rows 2–3: Ch 1, turn, sc 3.
Fasten off.
Add window crossbars
Thread a tapestry needle with black yarn.
For each window:
- Make one vertical straight stitch through the center.
- Make one horizontal straight stitch across the center.
- Keep both stitches loose enough that the window remains flat.
You are embroidering over the crochet surface rather than crocheting an additional border.
Beginner tip:
Insert the needle between crochet stitches whenever possible. Avoid splitting the individual yarn plies.
Common mistake to avoid:
Pulling the black embroidery too tightly will make the gold rectangle narrow in the center.
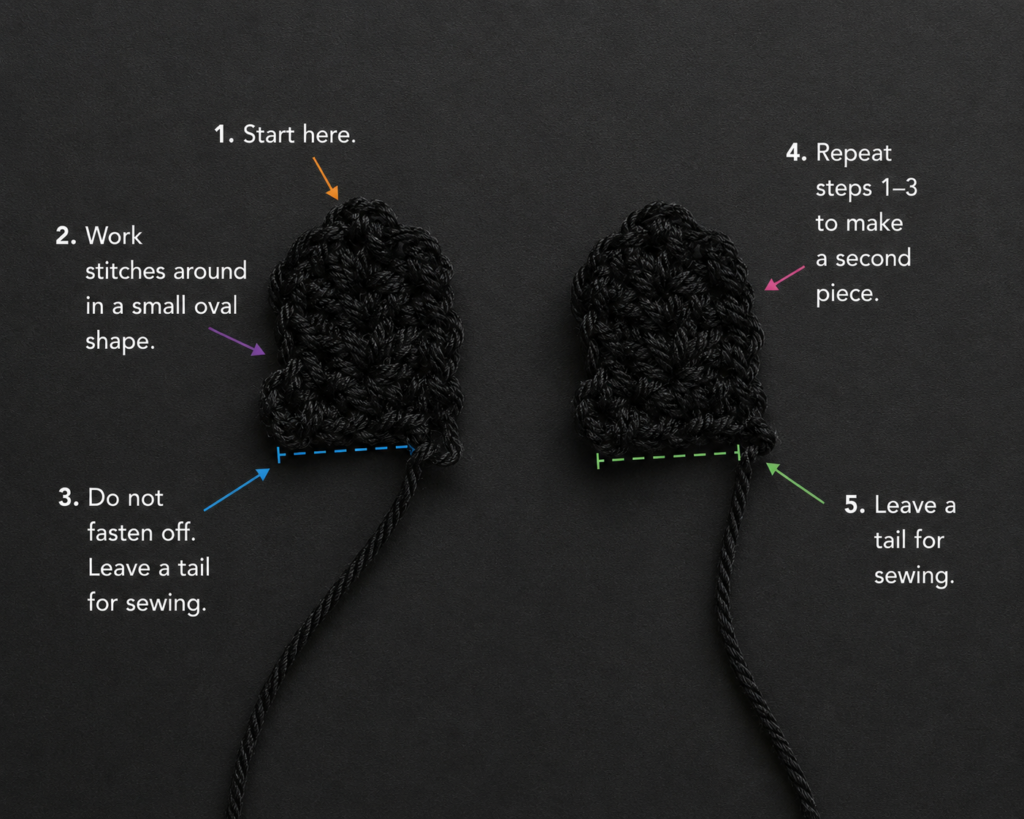
Step 7: Assemble the Haunted House
Now place every piece on the table before sewing.
This dry-layout stage is worth doing because a haunted house actually benefits from controlled asymmetry.
Attach the chimney first
Place the chimney behind the upper-left side of the roof.
Allow roughly one-third of the chimney to disappear behind the roof.
Tilt it only slightly.
Sew the hidden lower portion securely to the WS of the roof.
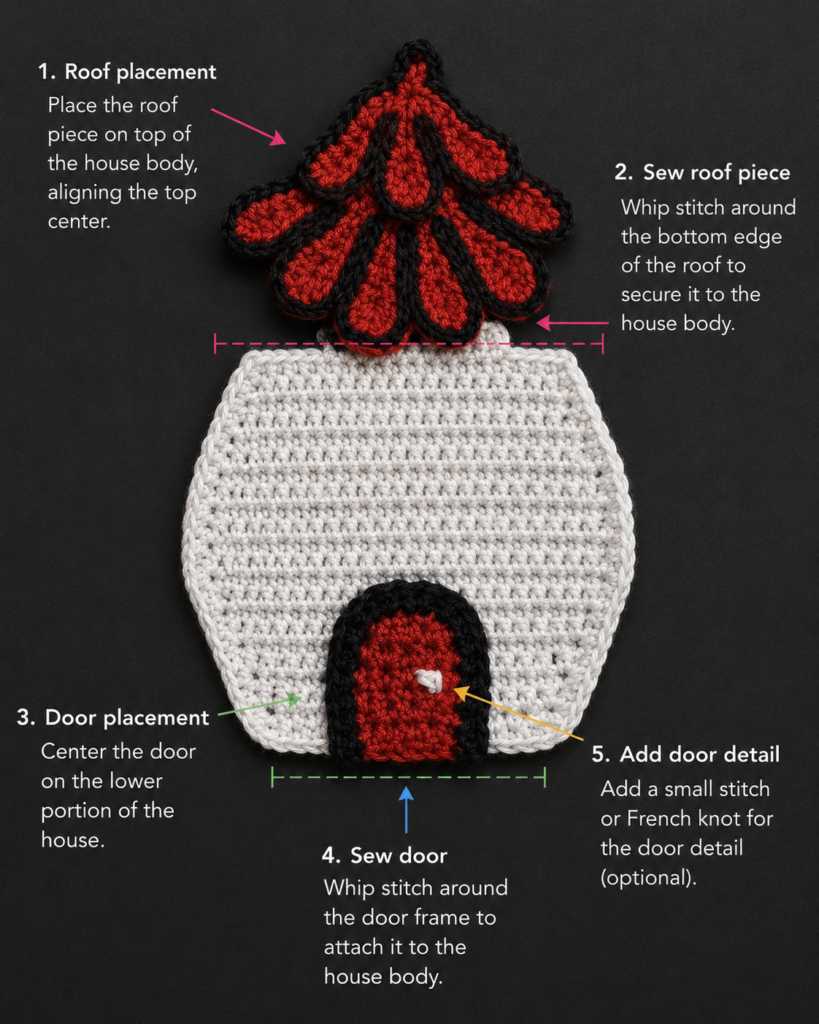
Position the roof
Center the roof above the house body.
Overlap the upper edge of the wall section by approximately one crochet row.
The roof should extend beyond both sides of the body.
Pin temporarily.
Using plum yarn, whipstitch the roof to the body along the overlap.
Keep the sewing stitches small enough that they disappear into the crochet texture.
Add the eave
Center the black 24-stitch strip across the bottom roof edge.
Allow the ends to project slightly.
Sew it directly over the roof/body join.
Position the door
Place the door in the lower center of the charcoal body.
Its bottom edge should line up with or sit just slightly above the house’s bottom border.
Sew around the plum edge using matching yarn.
Do not sew through the black frame more than necessary.
Add one tiny antique-gold stitched doorknob near the upper-right portion of the door.
Position the two lower windows
Place one window on either side of the door.
For a slightly crooked haunted look, raise one window approximately half a row higher than the other.
Keep the difference subtle; extreme misalignment looks accidental rather than spooky.
Sew each window using antique-gold yarn.
Add the upper window
Center the small third window in the lower half of the roof.
Move it slightly left or right if you want a more whimsical silhouette.
Step 8: Add Optional Haunted Details
The applique is complete at this point, but a few embroidered details can increase the haunted-house effect without adding complicated crochet.
Try one or two of these:
- two short crooked black stitches beside the door as “cracks,”
- two plum horizontal stitches on the chimney to suggest bricks,
- a tiny black chain loop hanging from one roof corner,
- a single gold stitch in the upper window to make it appear unevenly lit.
Stop before the surface becomes busy.
For applique work, one strong silhouette is usually more effective than many tiny embellishments.
Pattern Notes or Stitch Notes
Turning chain rule
Ch 1 never counts as a stitch.
House stitch count
The body always contains 18 sc per row before the perimeter edging.
Roof repeat logic
The roof uses one decrease row followed by one straight row for most of its height.
Each decrease row removes two stitches — one at each side.
Right side / wrong side
Choose the cleanest side of each component as the RS.
Hide joining tails and most assembly stitches on the WS.
Edge stitches
When crocheting around the house body, there is no mandatory total. Add only enough stitches for the piece to remain flat.
Sewing
Use matching yarn where possible:
- plum for the roof and door,
- gold for windows,
- charcoal for the chimney,
- black for the eave.
Size adjustment
For a larger applique, the simplest option is to use the same pattern with worsted #4 yarn and a hook appropriate for that yarn.
For a smaller applique, try sport #2 yarn and a smaller hook.
Changing yarn and hook size is safer than adding arbitrary stitches because all separate components then remain proportional.
Common Beginner Mistakes
1. The house body slowly becomes narrower
Cause: The last stitch of one or more rows was skipped.
Fix: Mark the first and last stitch and count 18 stitches after every few rows.
2. The roof is lopsided
Cause: A decrease was missed on one side.
Fix: Check the stitch count immediately after every decrease row.
Both sides should lose one stitch at the same time.
3. The roof curls after adding black edging
Cause: Slip stitches are tighter than the original crochet fabric.
Fix: Remove the border and redo it with a deliberately loose working loop.
4. The house body ruffles after the border
Cause: Too many stitches were placed into the row ends.
Fix: Remove the edging from the affected side and use fewer stitches.
5. The windows look different sizes
Cause: One piece has a different stitch or row count.
Fix: Make both lower windows in the same session and place them beside each other before fastening off.
6. The embroidered window lines distort the gold pieces
Cause: The embroidery yarn has been pulled too tightly.
Fix: Loosen the straight stitches until the window returns to its rectangular shape.
7. The applique looks crooked in an accidental way
A haunted house can be asymmetrical, but the underlying construction should still look intentional.
Fix: Keep the body and roof structurally centered. Create character with the chimney and window placement rather than distorting every component.
How to Customize This Crochet Project
Change the yarn
Cotton gives crisp edges, but acrylic DK also works.
A wool-blend yarn creates a softer, slightly rustic appearance.
Avoid heavily fuzzy yarn if you want the tiny windows and door to remain clearly visible.
Change the colors
Try:
- black + pumpkin orange + toxic green,
- navy + violet + pale yellow,
- charcoal + rust + cream,
- forest green + black + amber,
- deep purple + gray + neon lime.
Make it larger
Use worsted #4 yarn with approximately a 4.5–5 mm hook.
Do a quick test with the house body before crocheting all the smaller pieces.
Make it smaller
Use sport #2 cotton and approximately a 2.75–3 mm hook.
A miniature haunted house would work well on Halloween greeting cards or small bunting.
Change the roof
Instead of black slip-stitch edging, add a row of surface crochet.
You could also stitch several short vertical black lines across the plum roof to suggest old shingles.
Add texture
Surface embroidery is the safest way to add texture without changing the underlying pattern.
Try:
- roof shingle lines,
- cracked-wall stitches,
- tiny brick marks on the chimney.
Use it as a gift
The finished applique could be sewn onto:
- a Halloween tote,
- a trick-or-treat bag,
- a fabric wall banner,
- a cushion cover,
- a framed fabric background,
- a crochet granny-square panel,
- Halloween bunting.
If attaching it to an item intended for a baby or small child, avoid loose buttons, beads or other detachable decorative parts. Embroidered details are the better choice.
Finishing Instructions
Fasten off securely
Check every component for loose yarn tails.
Thread each tail into a tapestry needle and weave through several stitches on the WS.
Reverse direction once before trimming.
Check the assembly
Lay the applique on a flat surface.
Check:
- Does the roof sit centered over the body?
- Is the chimney secure?
- Are the windows flat?
- Is the door touching the lower edge?
- Are any sewing loops visible from the front?
Correct those issues before blocking.
Block the applique
For cotton:
- Lightly wet or mist the applique.
- Press it gently between towels to remove excess water.
- Place it RS up on a blocking mat.
- Pin the house body square.
- Pin both roof slopes into clean lines.
- Shape the chimney and door.
- Make sure each window remains rectangular.
- Allow to dry completely.
Do not stretch aggressively. Blocking should refine the shape rather than make the project larger.
For acrylic yarn, follow the care instructions on the yarn label and use extra caution with heat. Yarn labels typically provide fiber, care and recommended-hook information, so check your specific yarn before washing or steaming.
Quick Printable-Style Summary
Skill level: Confident beginner / easy intermediate
Finished size: Approximately 5 × 6–6.5 in
Yarn: DK / Light #3 cotton
Hook: 3.5 mm
Main stitches: ch, sc, sc2tog, sl st
House starting chain: Ch 19
House body: 18 sc × 12 rows, then edge evenly around
Roof starting chain: Ch 23
Roof repeat: Decrease one stitch at each end on alternating shaping rows until one stitch remains
Door: Small plum rectangle shaped narrower at the top
Windows: Two 4-stitch lower windows plus one optional 3-stitch roof window
Assembly order: Chimney → roof → black eave → door → windows → embroidery
Finishing: Weave in ends and block flat
FAQ
Is this crochet haunted house applique suitable for a complete beginner?
It is best for a beginner who already knows how to chain and single crochet. The only important new skills are sc2tog decreases, simple edging and sewing crochet pieces together.
If you have completed one or two basic square or washcloth projects, this is a reasonable next step.
What yarn is best for a crochet haunted house applique?
Smooth DK cotton is one of the easiest choices because the individual stitches remain visible and the finished applique blocks cleanly.
A smooth acrylic DK yarn can also be used.
Can I use worsted-weight yarn?
Yes.
The finished house will be larger. Use a hook appropriate for the specific yarn rather than automatically staying with 3.5 mm.
Why is the roof crocheted separately?
A separate roof gives you more control over the silhouette and makes the project easier to customize.
It also allows the roof to overhang the house body, which gives the applique a stronger architectural outline.
Can I sew this haunted house onto a blanket?
Yes.
Block the applique first, pin it into position and sew around the outer edges with matching yarn.
You may also secure the center of larger components with a few nearly invisible stitches so they do not lift after washing.
How can I stop crochet appliques from curling?
Use relaxed foundation chains, avoid overly tight borders and block the finished motif.
If only one section curls, inspect that edge before blocking. A tight slip-stitch border is often the cause.
How can I make the house look spookier without making the pattern harder?
Change the colors and placement rather than adding complicated stitches.
Try a crooked chimney, one slightly higher window, black roof outlines, purple walls or bright yellow-green windows.
Those small changes create a haunted appearance while preserving simple construction.
Conclusion
This crochet haunted house applique is deliberately built from manageable pieces, so you can concentrate on one skill at a time: straight single crochet for the walls, decreases for the roof, tiny components for the door and windows, and simple sewing for assembly.
Once you understand the construction, the same basic idea is easy to reinterpret. Make a purple witch’s cottage, a black haunted mansion ornament, a miniature Halloween bunting house or several different houses for a spooky wall hanging.
Save the pattern before Halloween season, and use the first finished house as your reference piece if you decide to make a whole haunted village.