A crochet pinecone garland is one of those small projects that can change the feel of an entire room without requiring a huge yarn stash or days of work.
The pinecones in this tutorial are made from textured crochet strips rather than complicated stuffed amigurumi shapes. You begin with an ordinary foundation chain, build small, medium, and large scales along it, and then roll the finished strip into a pinecone. Once you understand the first one, the remaining pinecones become pleasantly repetitive.
This version was designed specifically as a crochet pinecone garland pattern, so the pinecones include long finishing tails that make them easy to attach to a separate crochet cord.
For the sample garland, make seven cones. You can use fewer for a short shelf decoration or continue crocheting them until you have enough for a doorway or mantel.
The pattern uses US crochet terminology.
What You’ll Learn
By the end of the tutorial, you will know how to:
- make a simple foundation chain for a textured motif;
- work several stitches into one chain without losing your place;
- create graduated small, medium, and large pinecone scales;
- allow crochet fabric to curl naturally instead of trying to flatten it;
- roll a textured strip into a three-dimensional pinecone;
- sew the cone securely without crushing the scales;
- crochet a simple garland cord;
- space and attach several pinecones evenly;
- change the pinecone size without completely rewriting the project.
Materials You’ll Need
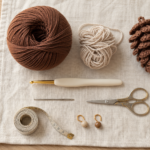
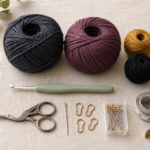
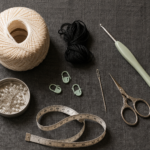
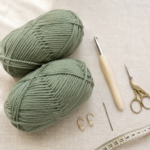
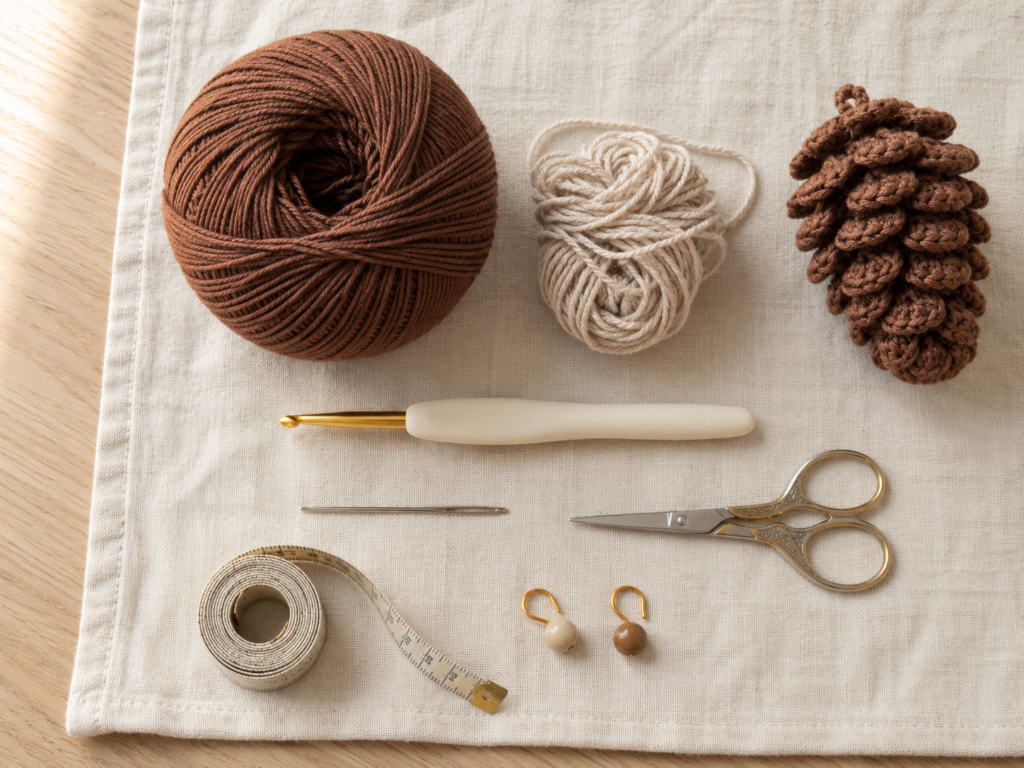
For a garland approximately 150–170 cm long with seven pinecones, prepare:
- approximately 80–100 g DK/light-worsted yarn in chestnut brown;
- a small quantity of contrasting yarn for the cord if desired;
- 3.5 mm crochet hook;
- tapestry needle;
- scissors;
- measuring tape;
- optional stitch markers.
A smooth yarn is easier for this project than fuzzy yarn because the scale edges remain visible.
Cotton creates particularly crisp scales. Acrylic is softer and lighter. A cotton-acrylic blend is a useful compromise.
The Craft Yarn Council classifies DK/light-worsted as category 3, although recommended hook ranges are only general guidelines. Decorative projects are often deliberately worked with a smaller hook when a denser fabric is wanted.
Crochet Abbreviations Used
The pattern uses standard US terminology:
- ch = chain
- sl st = slip stitch
- hdc = half double crochet
- dc = double crochet
- st/sts = stitch/stitches
- rep = repeat
These abbreviations follow common US crochet conventions listed by the Craft Yarn Council. In UK terminology, a US hdc is a half treble and a US dc is a treble crochet.
Before You Start
Gauge
Exact gauge is not critical because this is decorative rather than wearable.
Your main goal is a firm fabric with scales that hold their shape. If your scales are loose and floppy, try a 3.0 mm hook. If inserting the hook into the foundation chain becomes uncomfortable, try 4.0 mm.
Finished Size
Using DK yarn and a 3.5 mm hook, expect each pinecone to finish at approximately:
7–8 cm long × 4.5–5.5 cm wide
Your result will vary depending on yarn thickness, tension, and how tightly you roll the strip.
Count the Foundation Chains Carefully
The pattern changes scale size at specific points, so count the chains before starting.
A stitch marker can be placed after chain 6 and chain 15 to remind you where the scale sizes change.
Do Not Try to Flatten the Strip
This pattern deliberately places many stitches into a small foundation area. The strip will twist, curl, and ruffle.
That is correct.
The curl gives the finished pinecone its layered texture.
Yarn Color
A medium brown photographs and displays the scale texture particularly well. Very dark brown can hide stitch definition.
For a natural set, try three related colors:
chestnut, walnut, and taupe.
Step-by-Step Crochet Tutorial
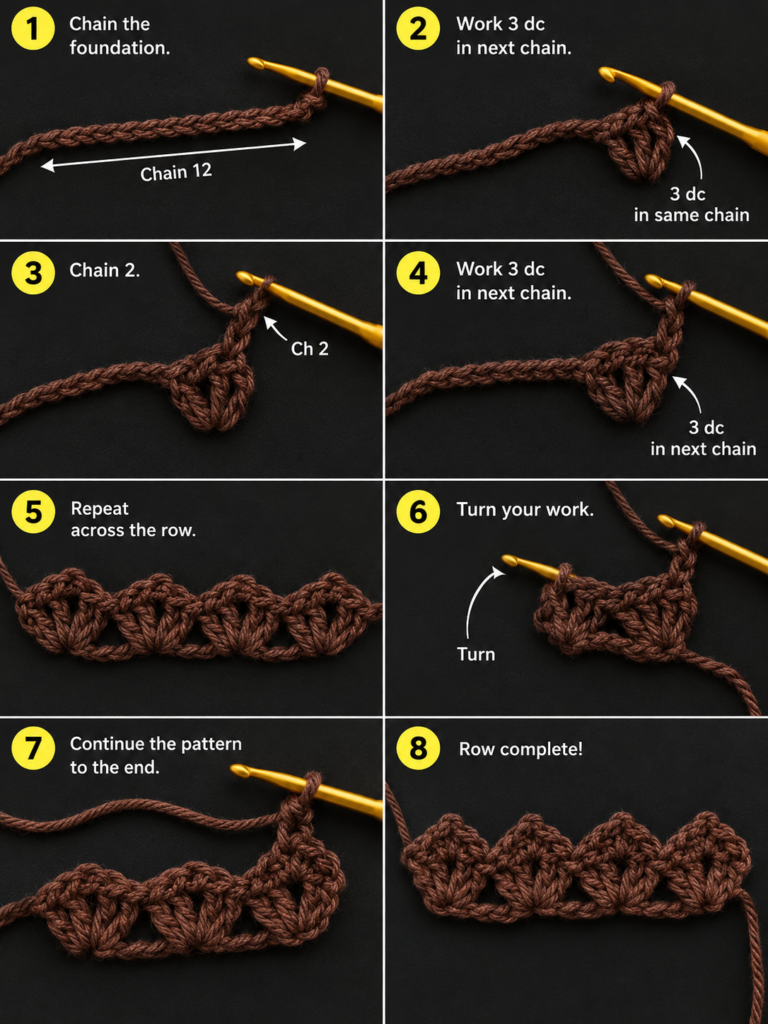
Step 1: Crochet the Foundation Chain
Make a slip knot.
Ch 24.
Do not crochet tightly. You will eventually work several stitches into individual foundation chains, so the chains need enough room for your hook to enter comfortably.
You will have 23 chains available after skipping the first chain beside the hook.
Those 23 chains are divided into:
- 6 small scales;
- 9 medium scales;
- 8 large scales.
This gradual change creates the tapered pinecone shape.
Beginner tip: Hold the chain loosely between your thumb and index finger as you count the V-shaped stitches.
Common mistake to avoid: Do not count the loop currently sitting on the hook as a chain.
Step 2: Make the First Small Scale
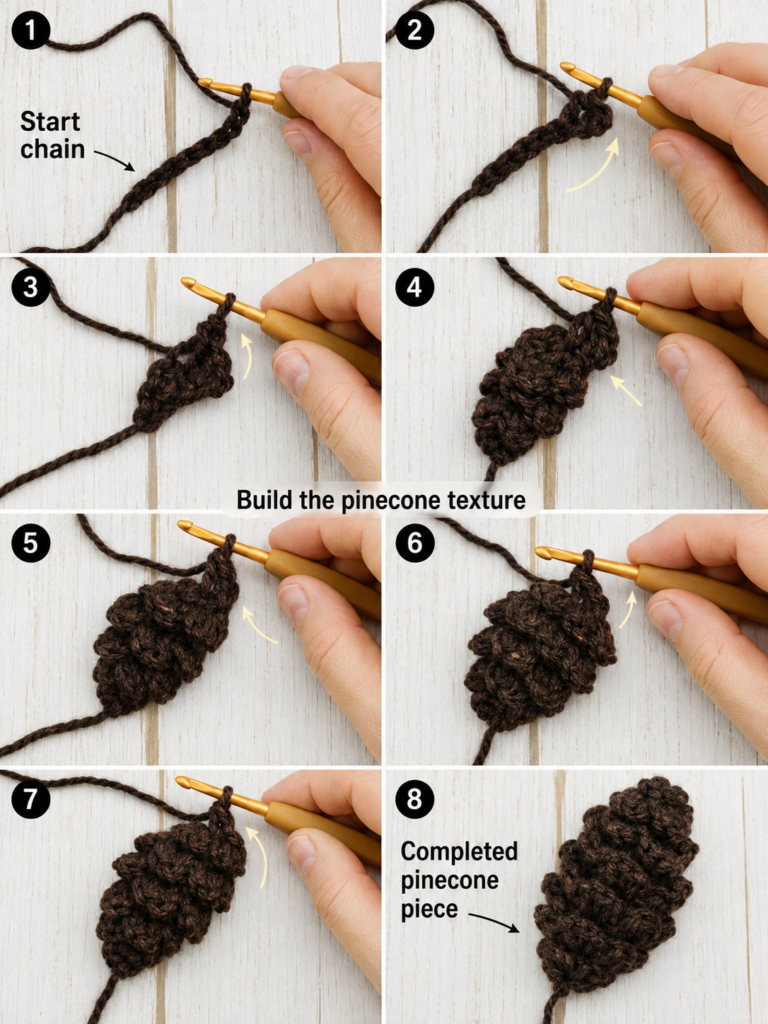
Skip the first chain beside the hook.
In the next chain, work all of the following into that same chain:
sl st, ch 2, 2 hdc, ch 2, sl st.
That creates one small rounded scale.
The first slip stitch anchors the scale. The two half double crochets give it height, while the final chain and slip stitch bring the scale back toward the foundation.
You should still have one loop on your hook after finishing.
Move directly to the next foundation chain.
Beginner tip: If you struggle to fit every part of the scale into one chain, loosen the foundation chain slightly rather than pulling the working stitches tighter.
Common mistake to avoid: Do not accidentally distribute the scale across several foundation chains.
Step 3: Complete the Small Tip Section
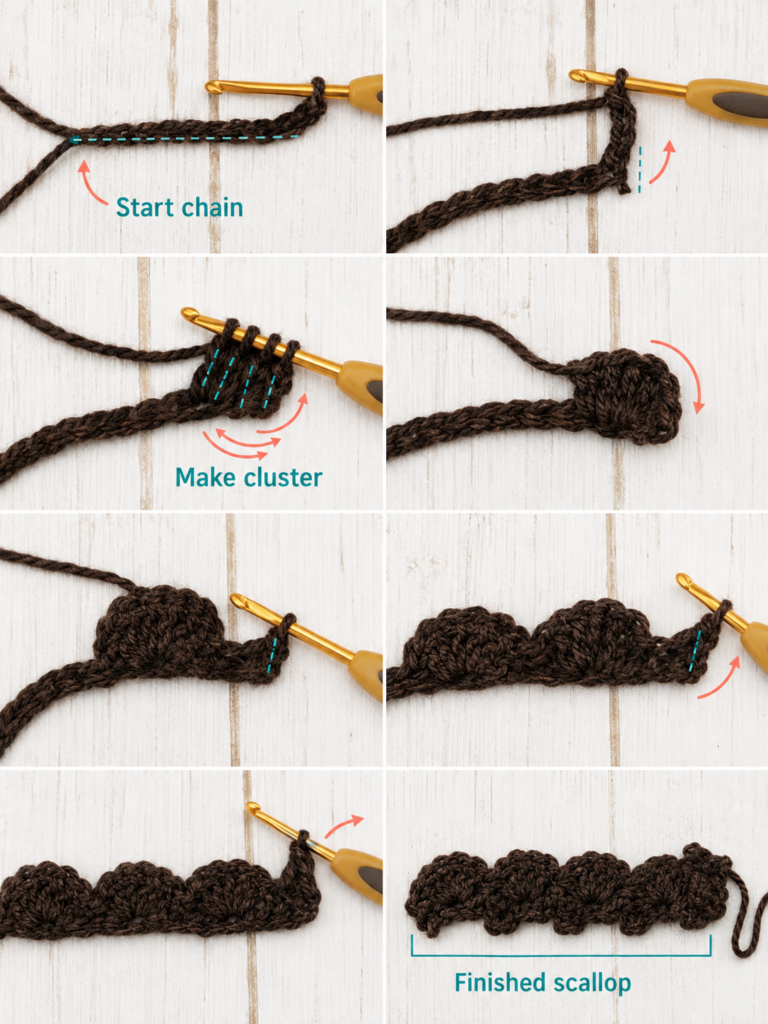
Repeat that same small-scale sequence in each of the next 5 chains.
You now have 6 small scales total.
Your strip will probably start curling already.
Allow it to curl.
These compact scales will eventually become the narrow upper end of the pinecone.
Before continuing, count the scales rather than trying to count hidden foundation chains. You should see six distinct rounded sections.
Beginner tip: Slide completed scales toward your non-hook hand so the next foundation chain remains visible.
Common mistake to avoid: Beginners sometimes accidentally work into a chain-2 from the previous scale. Trace the original foundation chain with your fingertip before inserting the hook.
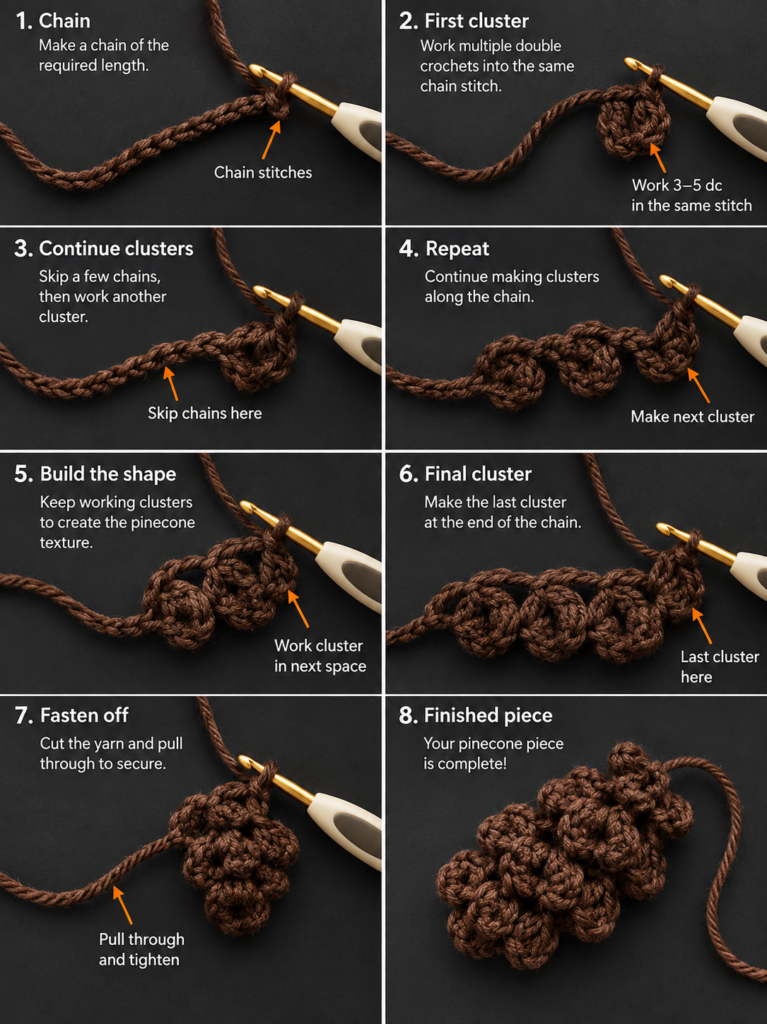
Step 4: Crochet the Medium Scales
The middle of the pinecone needs slightly more volume.
For each of the next 9 foundation chains, work:
sl st, ch 2, 2 dc, ch 2, sl st in the same chain.
Repeat until you have completed nine medium scales.
Notice that the construction is almost identical to the tip section. The major change is simply replacing the two hdc stitches with two taller dc stitches.
That tiny change gives the middle of the cone more fullness.
Beginner tip: After each double crochet, pause and identify the original foundation chain before starting the next scale.
Common mistake to avoid: Do not tighten the final slip stitch so severely that the next chain disappears.
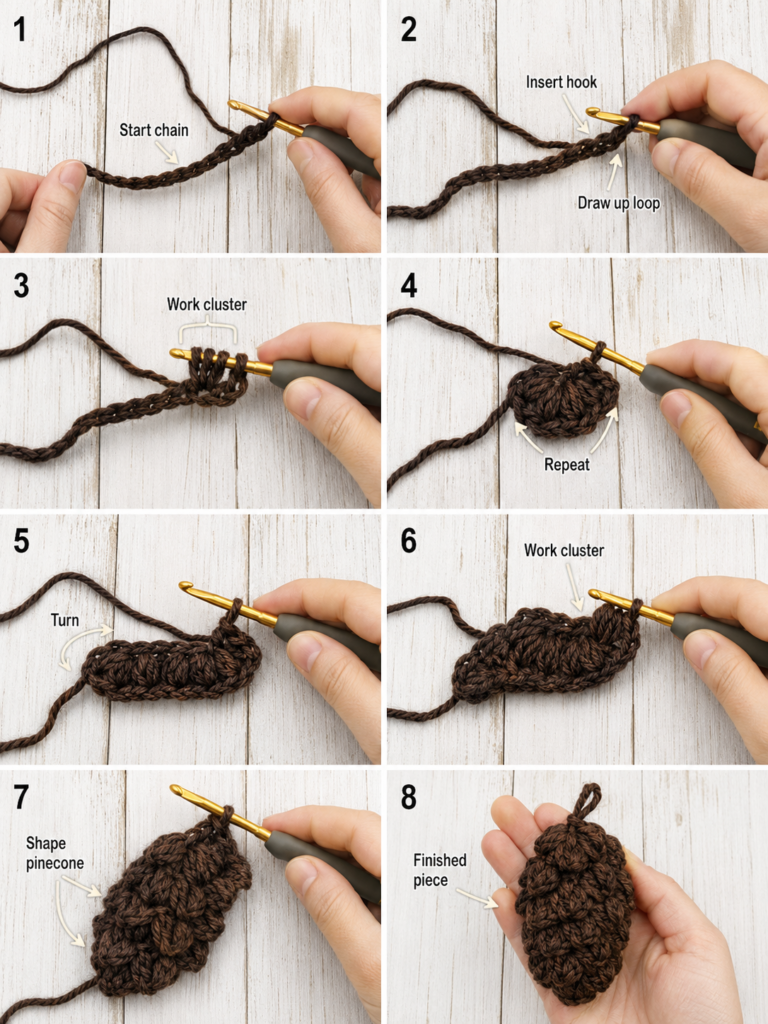
Step 5: Make the Larger Base Scales
For the remaining 8 foundation chains, make a broader scale:
sl st, ch 3, 3 dc, ch 3, sl st in the same chain.
Repeat across all eight remaining chains.
The final section should look noticeably fuller than the first section.
You now have:
6 small + 9 medium + 8 large = 23 scales.
That numerical check is useful before assembly.
Fasten off, leaving a 40–45 cm tail for sewing.
Beginner tip: If the final few chains become difficult to see beneath all the texture, rotate the strip so that its foundation edge faces you.
Common mistake to avoid: Do not cut the tail short. A generous sewing tail makes assembly much easier.
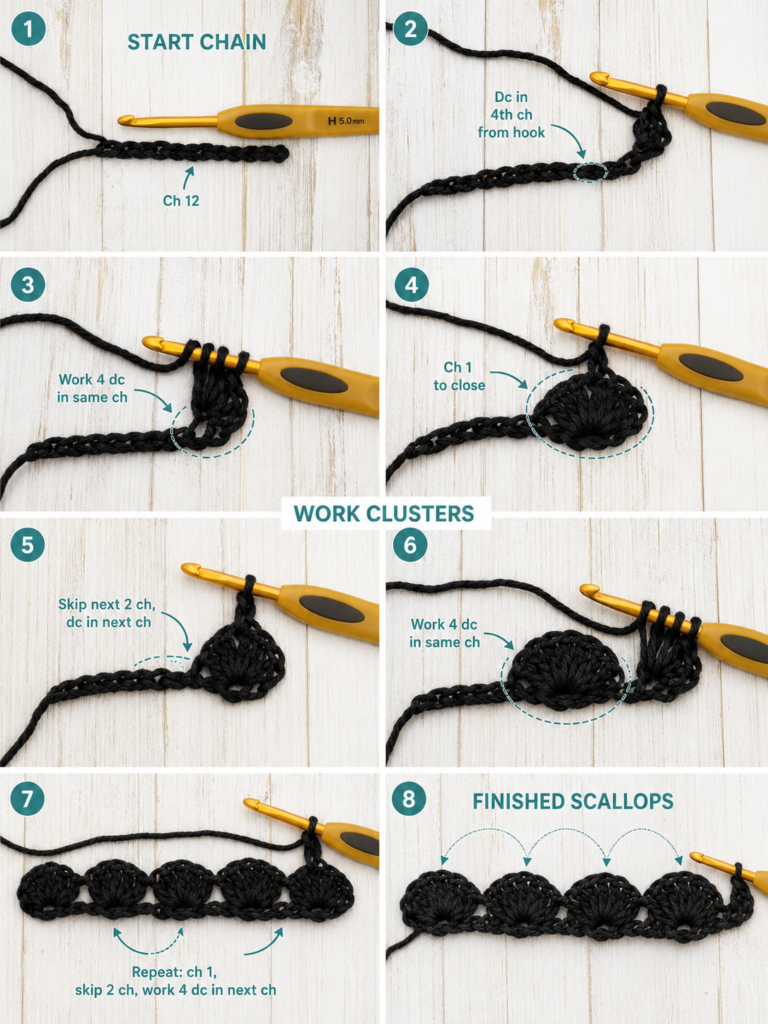
Step 6: Inspect the Strip Before Shaping
Lay the strip down gently.
Do not force it flat.
You should be able to identify three zones:
the compact tip scales, the medium center scales, and the fuller base scales.
The foundation chain acts like the spine of the pinecone. This is the edge you will stitch through during assembly.
If one scale is twisted inward, pull it gently toward the outer side now.
Beginner tip: Take a quick photograph of the strip at this stage. It makes troubleshooting the next pinecone much easier.
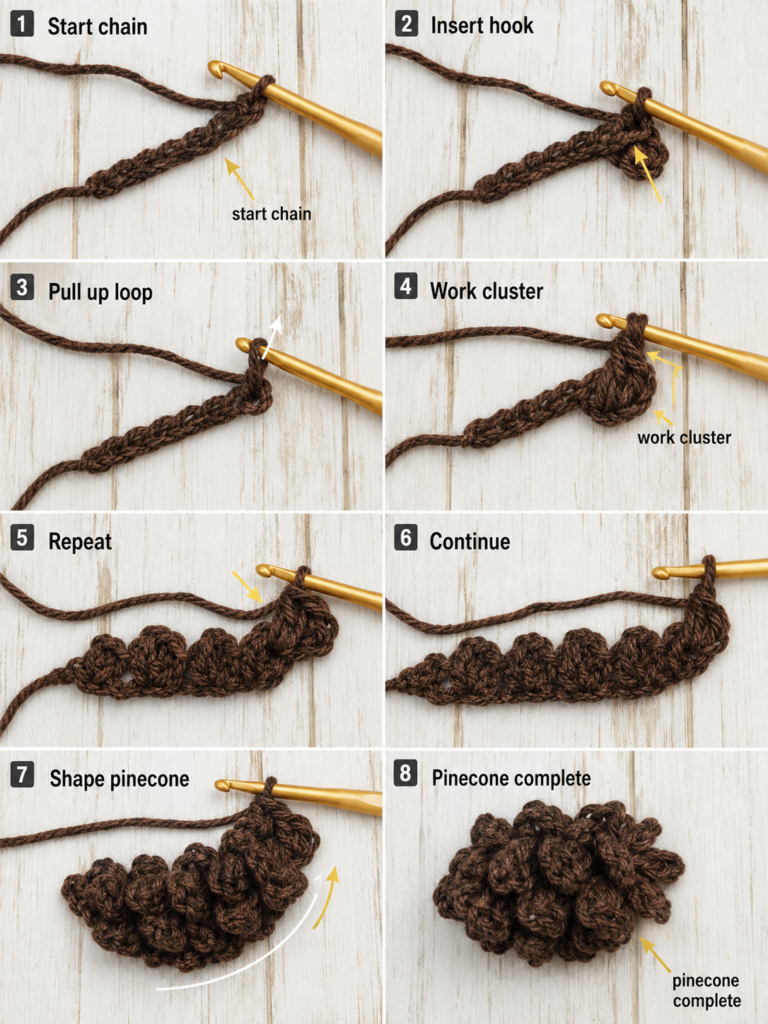
Step 7: Roll the Strip Into a Pinecone
Thread the long finishing tail onto your tapestry needle.
Start at the small-scale end.
Curl that end inward to create a tight center.
Continue wrapping the foundation-chain spine around that center in a shallow spiral. Do not place each layer directly on top of the previous one. Allow the spiral to move slightly outward so the cone gradually widens toward the large-scale end.
Every few centimeters, pass the tapestry needle through two nearby sections of the foundation spine.
Pull just firmly enough to hold them together.
Avoid sewing through the outer tips of the scales because that can flatten the textured surface.
When the large-scale section reaches the bottom, wrap it around the outer base and secure it with several small stitches.
Check the cone from every side before tying off.
Beginner tip: Shape first, stitch second. Hold two turns of the spiral together with your fingers and examine the shape before committing with the needle.
Common mistake to avoid: Rolling the strip like a perfectly flat cinnamon roll usually creates a round disc rather than a pinecone. Let the layers step downward slightly as the spiral widens.
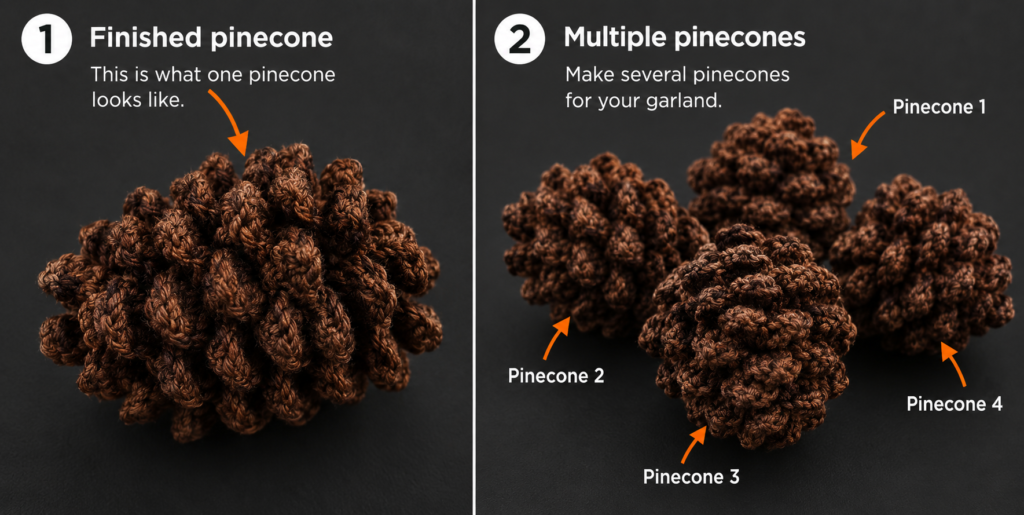
Step 8: Shape the Finished Pinecone
Before weaving in the sewing tail, hold the pinecone upright.
Use your fingers to separate overlapping scales.
The top should be comparatively narrow, while the lower third should be fuller.
If one side looks flat, gently rotate several nearby scales outward rather than adding stuffing. This pattern is designed to hold its shape through the rolled construction.
Secure the sewing yarn firmly inside the center and weave the remaining end through the foundation spine.
For a garland, leave a second 20–25 cm attachment tail at the top. You can introduce this tail with your needle if the original starting tail is too short.
Make six more pinecones in the same way.
Slight variations are desirable. Real pinecones are not identical either.
Step 9: Crochet the Garland Cord
Using brown yarn or a contrasting neutral shade, leave approximately 20 cm of yarn before making your slip knot.
Ch 220.
Measure the cord without stretching it.
For a longer mantel, continue chaining until you reach the required length.
Once satisfied, fasten off leaving another 20 cm tail.
Tie a small hanging loop at both ends if desired.
Because crochet chains can stretch, it is better to make the cord slightly shorter than the exact width of your display area.
Spacing the Pinecones
Place the cord flat on a table.
Position seven pinecones beneath it before attaching anything.
For a 150–170 cm garland, spacing the cones approximately 18–22 cm apart creates an open woodland look.
Start with the center cone.
Then position three pinecones on each side.
This method is easier than measuring from one end because it keeps the design visually balanced.
Step 10: Attach the Pinecones
Take the attachment tail from the first pinecone.
Thread it through your tapestry needle.
Pass the needle around or through one sturdy chain stitch in the garland cord.
Wrap once more around the same section.
Tie securely at the top of the cone, then weave the tail into the inside of the pinecone.
The cone should hang naturally rather than being pulled tightly against the cord.
Repeat with the remaining pinecones.
After all seven are attached, pick up the garland and check the spacing.
If one cone rotates backward, add one tiny securing stitch between the top scale and the chain.
Pattern Notes or Stitch Notes
Turning Chains
There are no turned rows in this pattern, so no turning chain is required.
The chains within each scale are part of the decorative motif and should not be counted as separate foundation stitches.
Stitch Count
One pinecone uses 23 foundation chains after the initial skipped chain:
6 small + 9 medium + 8 large scales.
The exact number of individual stitches inside the scales is less important than keeping the number of scales correct.
Repeat Pattern
Each scale is completed entirely inside one original foundation chain before you move to the next chain.
Right Side and Wrong Side
The textured side containing the raised scales is the right side.
During assembly, keep all scales pointing outward while the foundation spine disappears toward the center.
Size Adjustment
For a shorter pinecone, reduce the number of medium and large scales.
For a longer cone, add scales primarily to the medium section.
If you simply add many large scales, the result becomes wider rather than significantly longer.
Common Beginner Mistakes
1. Accidentally crocheting into a scale chain
Once the fabric becomes textured, the original foundation chain can become difficult to see.
Fix: Trace the foundation spine with your finger before placing the hook.
2. Making the foundation too tight
Several stitches need to fit into each chain.
Fix: Make the starting chain with a relaxed hand or use a hook 0.5 mm larger for the foundation only.
3. Trying to flatten the curling strip
The curl is not a tension problem.
Fix: Allow the strip to twist naturally. The excess fabric creates the pinecone texture.
4. Rolling the pinecone too tightly
A tightly compressed spiral hides the scales.
Fix: Keep the center secure but let each outer wrap sit slightly farther away from the previous one.
5. Sewing through the visible scale tips
This pulls the decorative texture inward.
Fix: Sew through the foundation-chain spine and hidden inner sections instead.
6. Attaching every pinecone before checking spacing
A garland can look unbalanced even when the numerical spacing is technically equal.
Fix: Arrange all pinecones underneath the chain before sewing. Attach the center piece first.
How to Customize This Crochet Project
Change the Yarn
For tiny pinecones, try sport-weight cotton with a 2.5–3 mm hook.
For oversized rustic pinecones, use worsted yarn and approximately a 4–4.5 mm hook.
Keep in mind that changing yarn weight changes both the finished size and how stiff the scales appear.
Mix Brown Shades
A garland looks especially natural when every cone is not identical.
Try:
- deep walnut;
- chestnut;
- caramel brown;
- taupe;
- warm mushroom.
You can also make all seven pinecones from one skein for a more minimalist look.
Make a Snowy Version
Use brown yarn for the pinecone, then lightly embroider only the outermost scale tips with cream yarn.
Avoid covering the full cone in white because the texture becomes less visible.
Add Crochet Leaves or Pine Needles
Small green motifs can be sewn between alternate pinecones.
Keep the foliage relatively sparse so the pinecones remain the main visual element.
Add Wooden Beads
A wooden bead between each pinecone creates a Scandinavian-inspired garland.
For households with young children, remember that beads and detachable decorative components can present choking hazards, so keep such garlands securely out of reach.
Make Individual Ornaments
Instead of attaching a pinecone to the long cord, add a short chain loop to its top.
The same cone can then become:
a Christmas ornament, gift topper, wreath accent, place-setting decoration, or hanging autumn ornament.
Finishing Instructions
Once all pinecones are attached, hang the garland temporarily and inspect it from a normal viewing distance.
Rotate any cone that points backward.
Trim only after every yarn tail has been woven securely into the crochet.
Light blocking is optional. In fact, avoid aggressively wet-blocking the pinecones because flattening the scales defeats their textured construction.
If you need to correct one distorted scale, dampen just that scale, shape it with your fingers, and allow it to air-dry.
Follow the care instructions printed on your specific yarn label when cleaning the finished garland.
Store it loosely rather than crushing it under heavier holiday decorations.
Quick Printable-Style Summary
Skill level: Easy / confident beginner
Finished pinecone: Approx. 7–8 cm long
Garland length: Approx. 150–170 cm, adjustable
Yarn: DK/light-worsted cotton or cotton blend
Hook: 3.5 mm
Stitches: ch, sl st, hdc, dc
Starting method: Ch 24 for each pinecone
Pinecone construction: Work 6 small scales, 9 medium scales, and 8 larger base scales along the foundation chain.
Assembly: Roll from the small-scale end, gradually widen the spiral, and sew through the hidden foundation spine.
Garland: Crochet a chain approximately 220 chains long or continue until the desired measurement is reached.
Suggested number of cones: 7
Finishing: Attach from the center outward, weave in tails, reshape scales, and avoid heavy blocking.
FAQ
Is this crochet pinecone garland suitable for beginners?
Yes, provided you already know basic chains, slip stitches, half double crochet, and double crochet.
The trickiest part is identifying the original foundation chain after the fabric begins to ruffle.
Do I need to stuff the pinecones?
No.
This version gets its three-dimensional shape by rolling the textured crochet strip, so stuffing is unnecessary.
That also makes the pinecones light enough for a long garland.
How many crochet pinecones do I need for one garland?
Seven is a useful starting point for a mantel-sized garland.
For a smaller shelf, three or five can be enough.
For a doorway or staircase, make more cones and increase the chain length proportionally.
What yarn is best for crochet pinecones?
A smooth yarn with clear stitch definition works best.
Cotton produces crisp scale edges, while acrylic creates a slightly softer result.
Avoid heavily brushed or eyelash-style yarn for your first pinecone because finding individual stitches becomes difficult.
Can I make the pinecones smaller?
Yes.
Use thinner yarn and a smaller hook, or remove a few medium and large scales.
Maintain the general progression from small scales at one end toward larger scales at the other.
Why is my crochet strip curling before I finish?
That is expected.
The project deliberately places multiple stitches into single foundation chains. Those extra stitches require more space than the foundation provides, which makes the strip ruffle and curl.
The curl later helps form the three-dimensional pinecone.
Can I use the pinecones without making a garland?
Absolutely.
Add an individual hanging loop for ornaments, sew one to a gift package, attach several to a wreath, or use them as reusable autumn table decorations.
Conclusion
Once you have made the first pinecone, this becomes an easy repeat project. The basic method stays the same: foundation chain, graduated scales, shaping, and a few hidden sewing stitches.
The benefit of making the garland from separate pinecones is that you can stop whenever the length feels right. You can also add more cones in future years without remaking the entire decoration.
Keep the first pinecone beside you as a size reference while crocheting the rest, but do not worry about making them perfectly identical. Slight differences in width and scale position make the finished crochet pinecone garland look more natural.
Hang it alone for simple woodland decor or combine it with removable greenery when you want a more festive Christmas version.