A crochet garment can feel intimidating when your previous projects have been squares, scarves, or small accessories. A halter vest is a useful bridge between those two worlds because the basic fabric remains simple while the shaping teaches you several garment-making skills at once.
This crochet halter vest pattern uses basic half double crochet for most of the fabric. You will make a front and back panel, gradually narrow the upper edges to create the halter shape, join the sides, connect the shoulders, and finish the openings with tidy single crochet edging.
The pattern is designed around your actual body measurements rather than rigid numbered sizes. That makes the finished vest easier to customize and also teaches you how crochet garments are shaped.
The sample instructions use DK cotton-blend yarn and a 4 mm hook. You can make it cropped, hip length, fitted or relaxed without changing the basic construction.
What You’ll Learn
- How to calculate the starting width from your own bust measurement
- How to make a garment foundation chain without pulling the hem inward
- How to crochet a smooth half double crochet fabric
- How to use hdc2tog decreases to create halter shaping
- How to keep both sides symmetrical
- How to make matching front and back panels
- How to seam crochet garments neatly
- How to finish armholes and necklines
- How to adjust length, coverage and ease
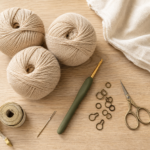
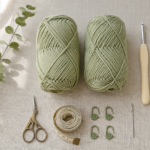
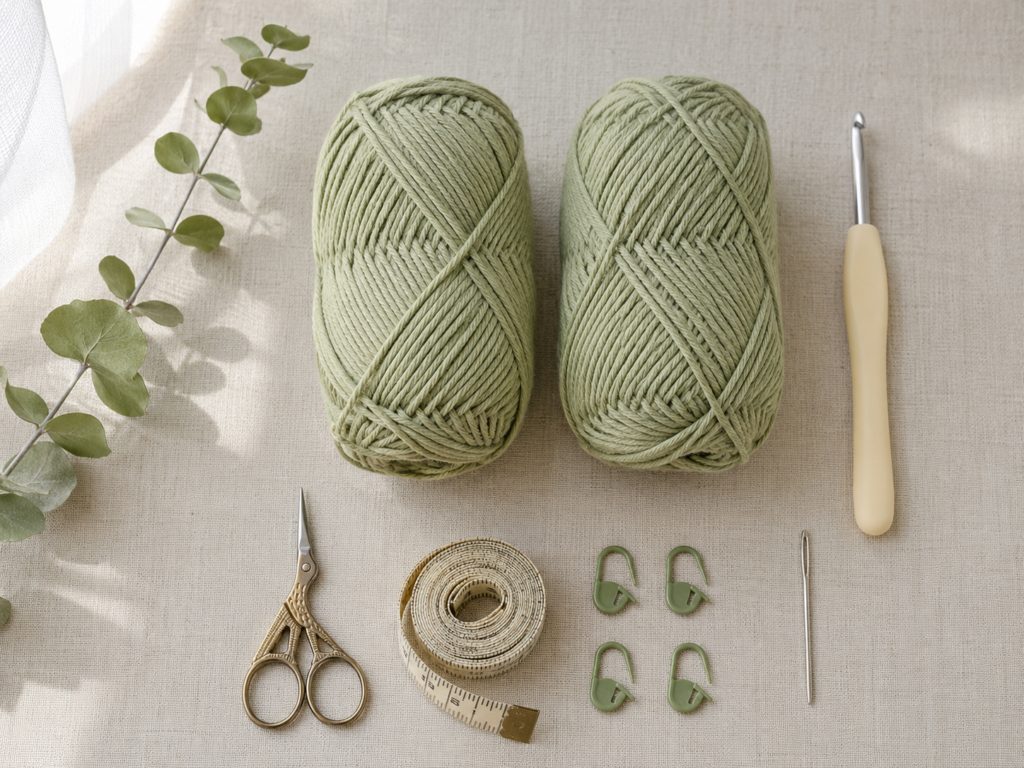
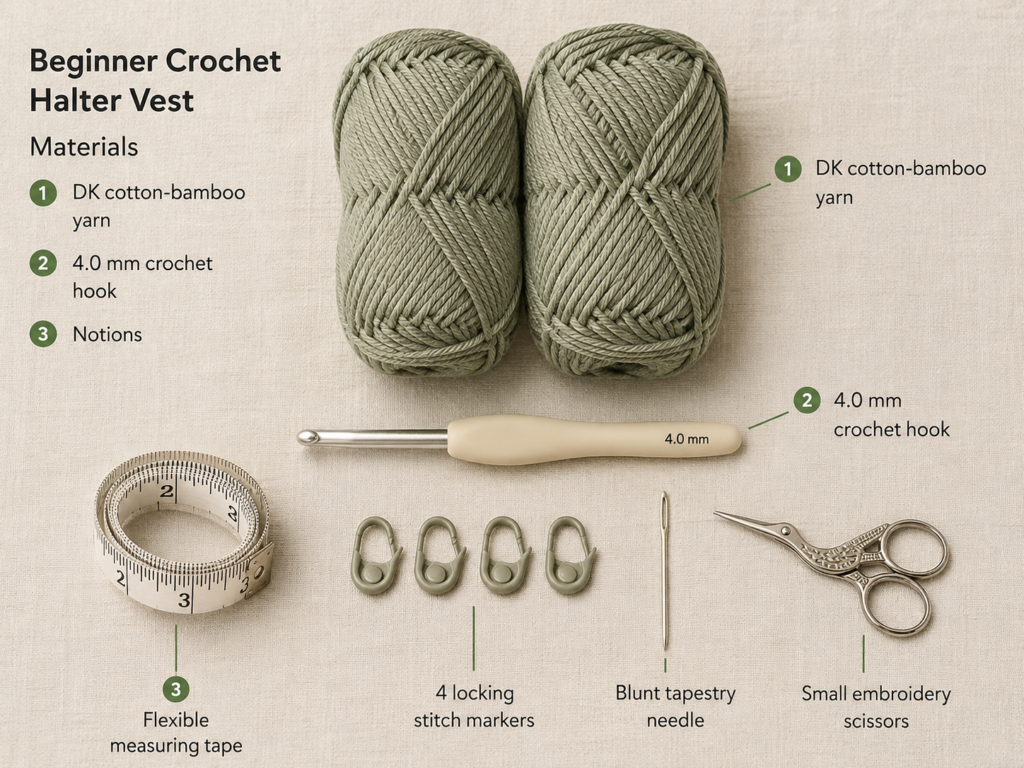
Materials You’ll Need
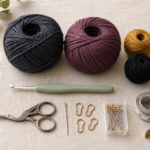
For a lightweight vest suitable for spring and summer, choose yarn that produces a fabric with drape rather than a thick, rigid texture.
Yarn: CYC #3 DK/light-worsted cotton, cotton-bamboo or similar breathable blend
Approximate yarn amount:
XS–S: 600–750 yd
M–L: 750–950 yd
XL–2XL: 950–1,150 yd
3XL+: allow additional yarn based on desired length
These are planning estimates rather than fixed yardages because this tutorial is made to measure.
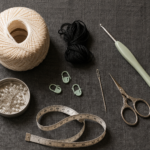
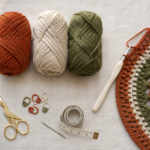
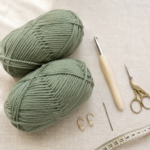
Hook: 4.0 mm crochet hook, or size required for your preferred fabric
Also needed:
- Scissors
- Tapestry needle
- Measuring tape
- 4 locking stitch markers
- Optional blocking mat and rustproof pins
The Craft Yarn Council treats yarn-weight hook ranges as guidelines rather than absolute rules, so the feel and gauge of your garment should determine the final hook size.
Crochet Abbreviations Used
This tutorial uses US crochet terminology.
- ch = chain
- hdc = half double crochet
- hdc2tog = half double crochet two together
- sc = single crochet
- sl st = slip stitch
- st/sts = stitch/stitches
- rep = repeat
- RS = right side
- WS = wrong side
- FO = fasten off
These conventions align with the Craft Yarn Council’s crochet abbreviation system. Remember that US and UK names differ: for example, US half double crochet corresponds to UK half treble crochet.
Before You Start
Check your gauge
Make at least a 5-inch square in half double crochet, wash or steam it as you plan to treat the finished garment, and then measure the center 4 inches.
For this tutorial, the working example assumes approximately:
16 hdc = 4 inches
12 rows = 4 inches
That equals approximately 4 stitches per inch and 3 rows per inch.
You do not have to match that gauge exactly because the instructions use measurements. You do, however, need to know your stitches per inch before calculating the starting chain.
Decide how much ease you want
Measure around the fullest part of your bust.
For a stable cotton yarn, begin with roughly 0–1 inch of negative ease for a lightly fitted vest. If your yarn is not stretchy, use approximately zero ease.
Example:
Bust = 36 inches
Desired finished circumference = 35 inches
Each panel = 35 ÷ 2 = 17.5 inches wide
At 4 stitches per inch:
17.5 × 4 = 70 stitches
Your stitch count does not need to match the example.
The Craft Yarn Council recommends using body measurements and garment schematics when determining crochet garment fit rather than assuming a standard label alone will fit everyone.
Decide your length
Measure vertically from where you want the upper neckline to sit to the final hem.
Then measure from the hem upward to the point where you want the armhole to begin.
For many adults, the straight lower section might measure approximately 9–12 inches, but use your body rather than the example.
Count every row
Place a stitch marker in the first and last stitch. If your stitch count changes before the intentional shaping begins, your panel will slowly become narrower or wider.
Prevent curling
Do not make your foundation chain tightly. If the first edge already curves before you have completed several rows, restart with a looser chain or make the foundation with a hook 0.5 mm larger.
Choose your color before starting
Solid or lightly tonal yarn is easiest for beginners because the shaping stitches remain visible. Highly variegated yarn can disguise decreases and make counting harder.
Step-by-Step Crochet Halter Vest Tutorial
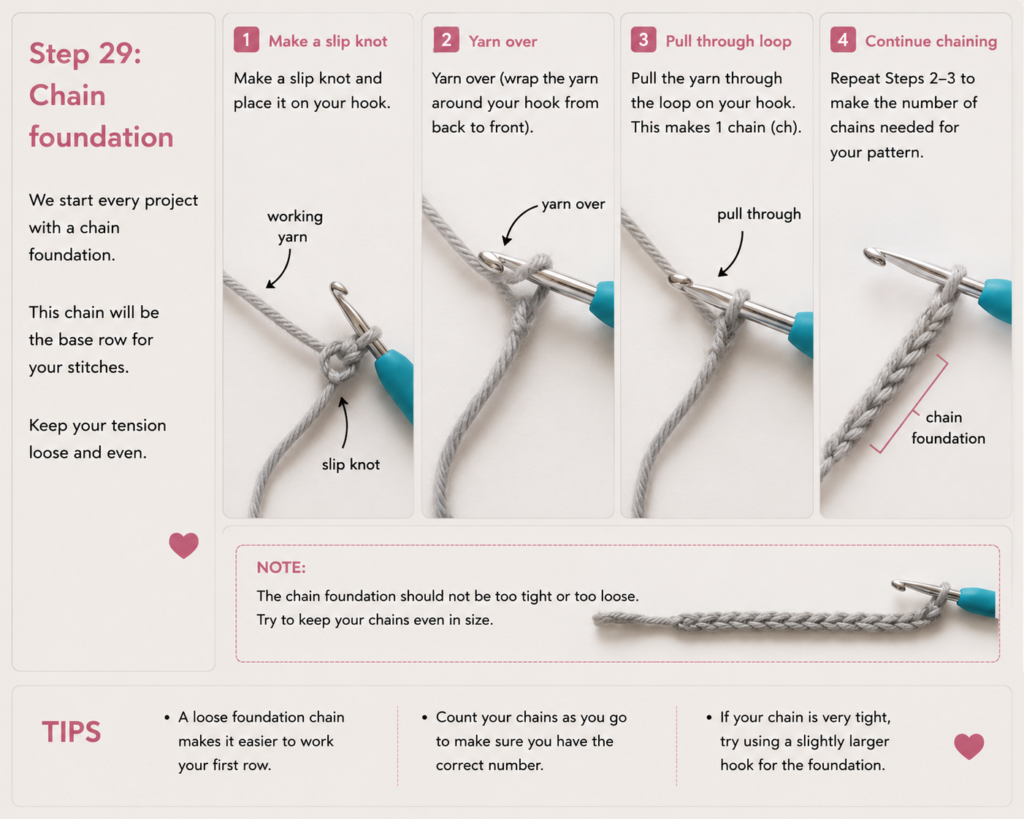
Step 1: Measure and Crochet the Foundation Chain
Calculate the finished width of one panel using half of your desired garment circumference.
Multiply that width by your stitches per inch.
For the 36-inch-bust example above:
17.5 inches × 4 stitches per inch = approximately 70 stitches.
Make enough chains to produce your calculated number of hdc stitches, accounting for your preferred turning-chain method.
Lay the chain on a flat table without stretching it. It should measure close to your calculated panel width and should remain flexible.
Beginner tip
Measure the chain every 15–20 stitches instead of waiting until you have made the entire chain. It is much easier to correct your tension early.
Common mistake to avoid
A foundation chain that is significantly tighter than the crochet fabric will create a hem that curves upward.
If necessary, crochet the foundation chain with a hook 0.5 mm larger and return to the 4 mm hook for Row 1.
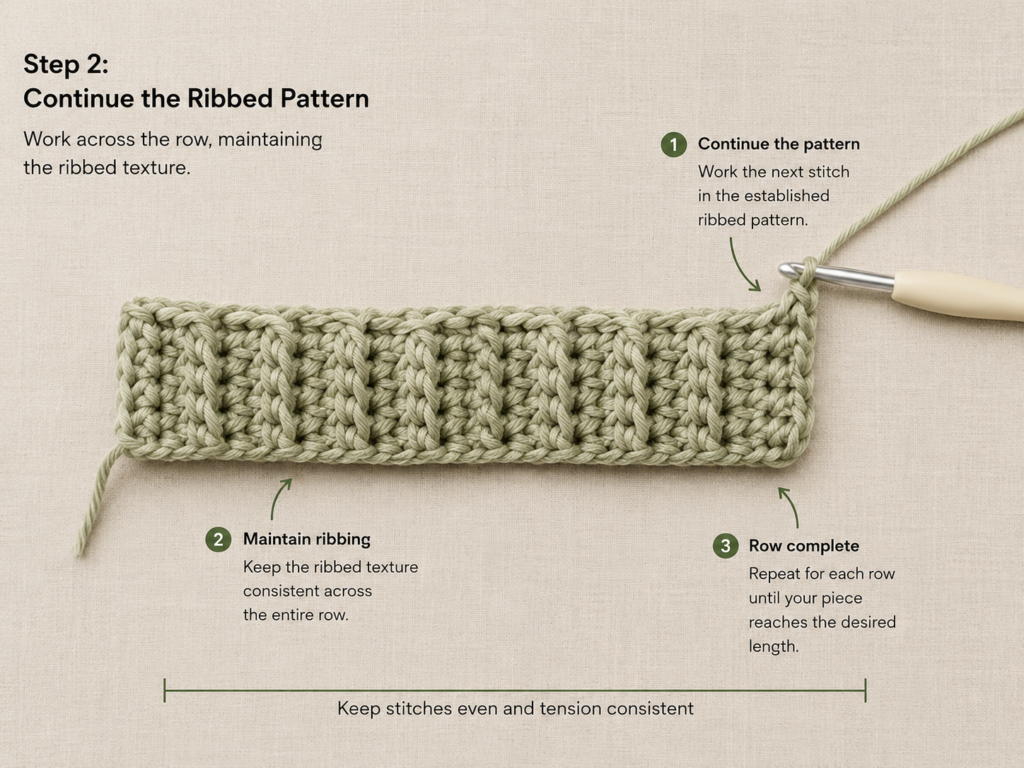
Step 2: Crochet the First Row
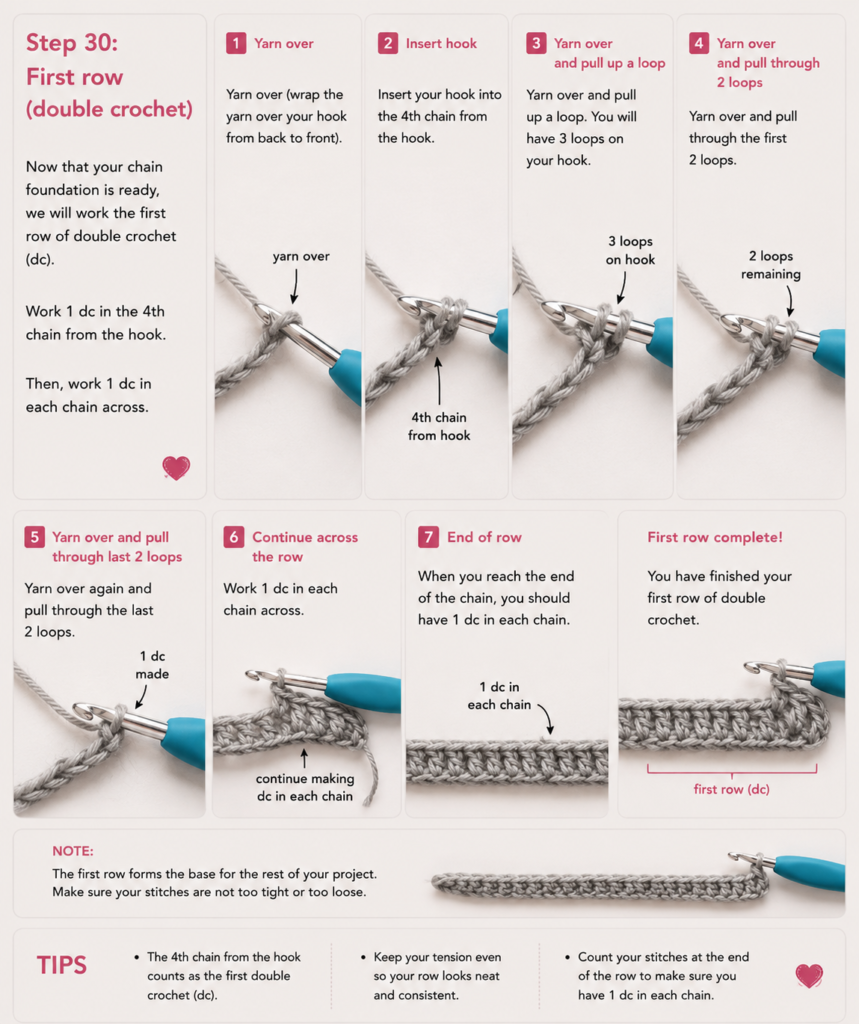
Work one hdc in each foundation stitch across.
For a standard hdc:
- Yarn over.
- Insert the hook into the stitch.
- Yarn over and pull up a loop.
- You now have three loops on the hook.
- Yarn over and pull through all three loops.
At the end of the row, chain 1 and turn. In this tutorial, the turning chain does not count as a stitch.
Continue placing the first hdc into the first actual stitch.
Beginner tip
Clip a marker into the first and last hdc of every row for the first several inches.
Common mistake to avoid
Do not crochet into the turning chain accidentally. If you do that repeatedly, the panel will widen.
Step 3: Build the Straight Lower Body
Continue working even rows of hdc:
Every row: Ch 1, turn, hdc in every stitch across.
Do not increase or decrease yet.
Continue until the panel reaches the height where your armhole should begin.
Try holding the panel against your body periodically. The bottom edge should sit where you want the finished hem, while the upper edge should reach slightly below the underarm.
At this stage the work should look like a clean rectangle.
Place one stitch marker at each upper corner. These markers identify the beginning of the shaped portion.
Beginner tip
Write down the total number of straight rows used for the front panel. You will need the same lower-body height when making the back.
Common mistake to avoid
Do not judge the length while stretching the fabric vertically. Allow it to lie naturally.
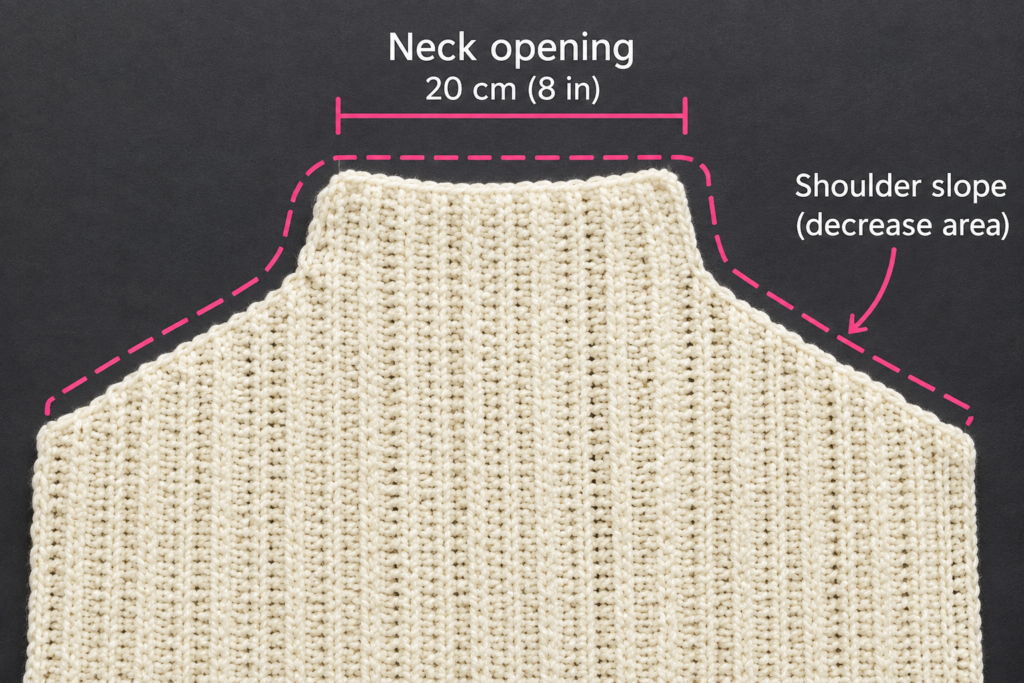
Step 4: Shape the Front Halter Section
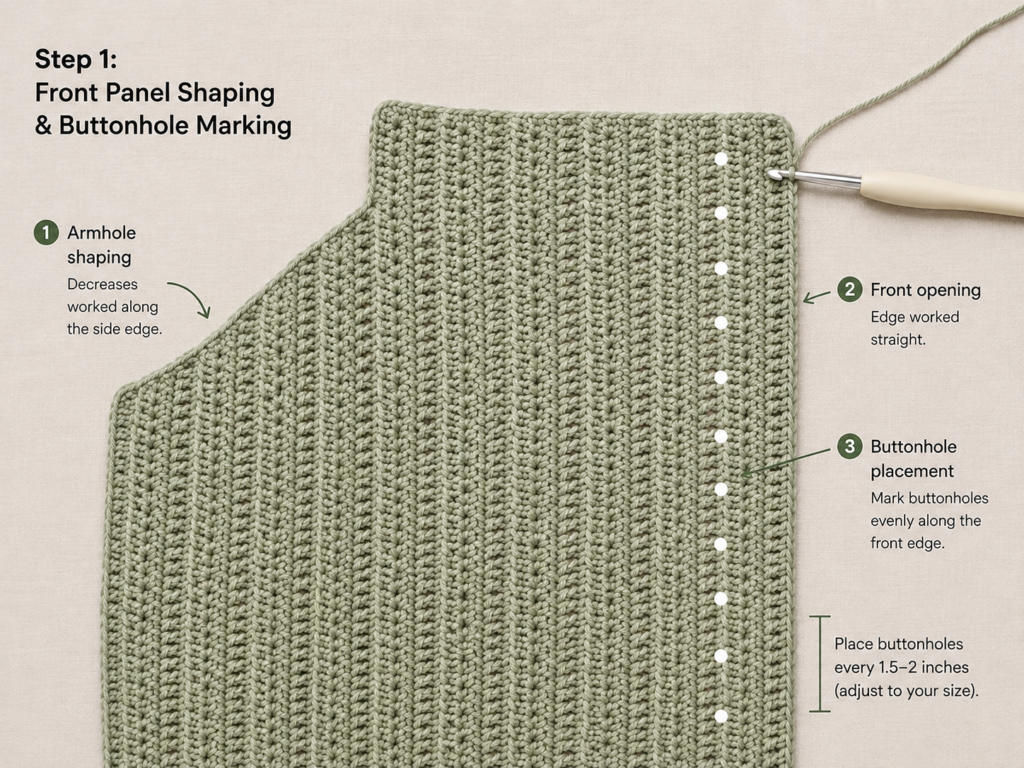
Now you will gradually narrow both sides.
A simple decrease row is:
Ch 1, turn. Hdc2tog over the first 2 sts, hdc across until 2 sts remain, hdc2tog over the final 2 sts.
You have reduced the stitch count by 2 stitches.
Repeat a decrease row on every row for a steep halter line, or alternate one decrease row with one straight hdc row for a softer slope.
For a beginner-friendly fit, alternating decreases and straight rows often produces a smoother armhole.
Continue until the upper edge is approximately 7–9 inches wide, or until it gives you the neckline coverage you prefer.
Hold the panel against your torso frequently.
The narrow top should cover the upper chest comfortably without extending onto the shoulders like a conventional tank top.
Once the width looks correct, work 1–2 inches straight without further decreases. This creates a stable upper neckline section.
Beginner tip
Count the stitches at the end of every decrease row and write the number down.
Common mistake to avoid
Do not decrease only on one side. Your halter will tilt off-center.
Step 5: Crochet the Back Panel
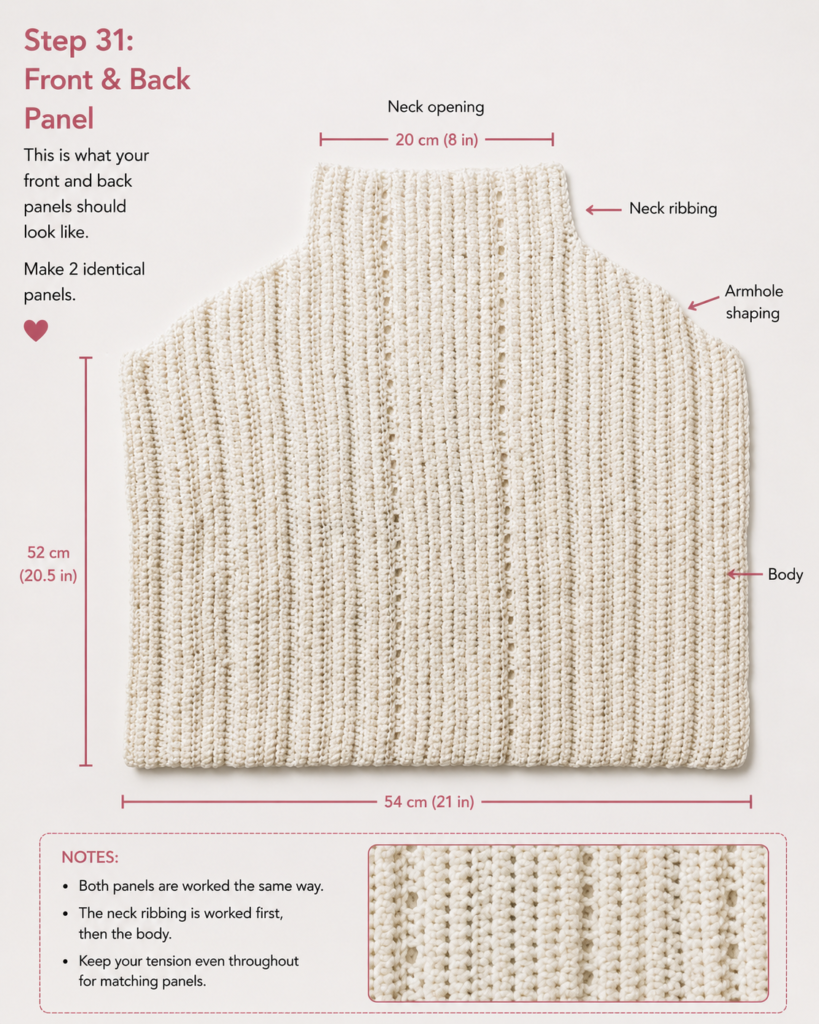
Make the back using the same foundation width and lower-body height.
The simplest beginner version uses approximately the same armhole starting point as the front.
When shaping the back, you have two choices:
More coverage: Use slower decreases so the top remains wider.
More pronounced halter shape: Follow the front shaping more closely.
For a classic wearable vest, I recommend keeping the upper back about 1–2 inches wider than the front neckline. This leaves enough room for comfortable shoulder connections without making the vest feel tight across the upper back.
Stop when its finished length matches the front.
Fasten off.
Beginner tip
Lay the back directly over the front every few rows. The bottom and side-seam sections should match exactly.
Common mistake to avoid
Do not assume equal row counts automatically create equal lengths if your tension changed between panels. Measure both pieces.
Step 6: Check Your Armhole Decreases
Before seaming anything, inspect both shaped edges.
A smooth decrease should blend into the row rather than forming obvious bumps.
If your edge is stair-stepped, that is not necessarily wrong—the final sc edging will smooth minor irregularities—but large jumps usually indicate that too many stitches were removed at once.
To make hdc2tog:
- Yarn over.
- Insert hook in first stitch and pull up a loop.
- Yarn over.
- Insert hook into the next stitch and pull up a loop.
- Yarn over and pull through all loops.
The two stitches now share one top.
Beginner tip
If the shaping looks too steep after several rows, alternate a decrease row with one plain row.
Common mistake to avoid
Do not place an additional hdc into either stitch already used in the hdc2tog.
Step 7: Seam the Sides
Place the front and back panels together with their right sides facing one another.
Align:
- Bottom hems
- Straight side edges
- Armhole starting markers
Using the long yarn tail and a tapestry needle, mattress stitch or whip stitch from the hem up to the armhole marker.
Stop there.
Repeat on the opposite side.
Turn the garment right side out and try it on carefully.
Check that the vest is comfortably fitted around the torso before weaving in the seam ends permanently.
Beginner tip
Use stitch markers to hold both layers together every 2–3 inches before sewing.
Common mistake to avoid
Do not accidentally seam into the armhole shaping. The angled upper sides must remain open.
Step 8: Connect the Shoulders
Put the vest on and measure the gap between each front upper corner and the corresponding back upper corner.
You can connect them using narrow crochet bridges.
Attach yarn at one front corner.
Chain until the chain reaches the back comfortably without pulling.
Slip stitch into the corresponding back corner.
Turn and work one row of sc back across the chain.
Fasten off.
Repeat on the second side.
For a wider, more vest-like shoulder, add another row or two of sc.
For a narrow halter look, keep the connection slim.
Beginner tip
Make the first chain slightly shorter than you think you need. Crochet straps relax with wear.
Common mistake to avoid
Check that neither bridge is twisted before fastening it to the back.
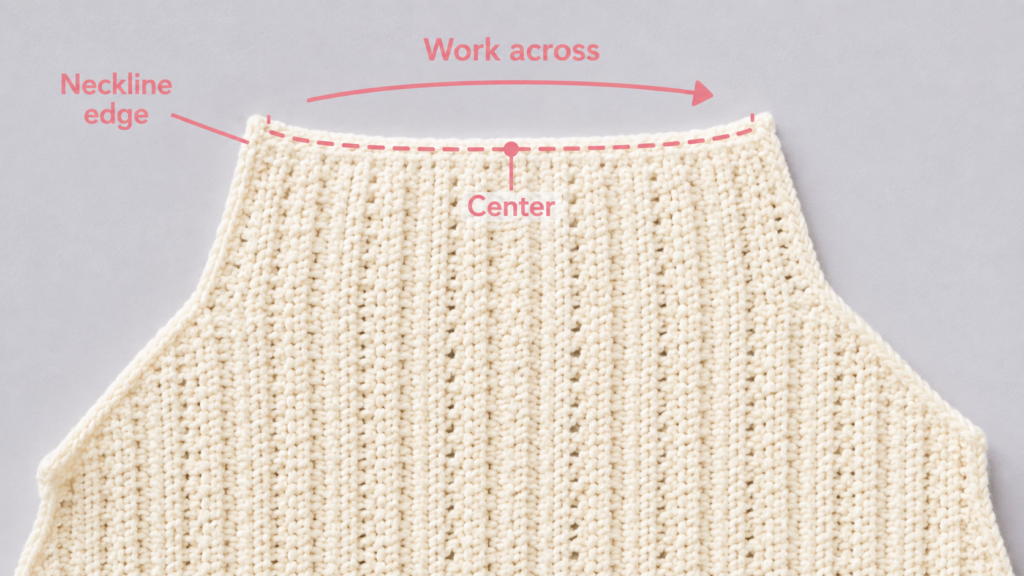
Step 9: Add the Neckline and Armhole Edging
Attach yarn at a discreet location.
Work one round of sc evenly around each armhole.
A useful starting rhythm along row ends is approximately 2 sc for every 3 hdc rows, but this is not a fixed rule. Watch the fabric.
If the edging flares, you have too many stitches.
If it puckers, you have too few.
Repeat around the neckline.
At the upper corners, use an extra stitch if necessary to keep the edge from pulling inward.
Join with a sl st and fasten off.
Beginner tip
Finish one armhole first and inspect it before copying the stitch spacing on the other.
Common mistake to avoid
Trying to force exactly one stitch into every row end can make shaped crochet edges ripple.
Step 10: Finish the Bottom Hem
If your foundation edge already lies flat, one simple round of sc is enough.
For a slightly firmer vest-like hem, work:
Round 1: sc evenly around the lower edge.
Round 2: sc in every stitch around.
Join and fasten off.
Avoid a very thick border on lightweight yarn because it can cause the lower edge to hang differently from the body fabric.
Pattern Notes or Stitch Notes
Turning chain
The ch-1 turning chain in this tutorial does not count as a stitch.
Place your first hdc in the first actual stitch.
Stitch count
The straight lower body maintains the same stitch count on every row.
Each shaped decrease row removes:
1 stitch from the first edge + 1 stitch from the second edge = 2 stitches total.
Repeat pattern
Lower section:
Ch 1, turn, hdc across.
Shaping row:
Ch 1, turn, hdc2tog, hdc across to final 2 sts, hdc2tog.
Right side / wrong side
Because ordinary hdc is visually usable from both sides, choose whichever surface you prefer as the RS before seaming.
Then keep that decision consistent for both panels.
Size adjustment
Do not change hook size simply to create another garment size.
Instead:
- Measure your body.
- Calculate panel width.
- Crochet the corresponding number of stitches.
- Adjust lower-body length.
- Shape until the upper section gives the desired coverage.
This preserves fabric quality while changing garment size.
Common Beginner Mistakes
1. Starting chain is too tight
Problem: The hem curves upward.
Fix: Restart the foundation with looser tension or a hook 0.5 mm larger.
2. The panel slowly gets narrower
Problem: You are probably missing the last stitch.
Fix: Mark the first and last stitch of every row.
3. One armhole slopes faster than the other
Problem: A decrease was missed or added on one side.
Fix: Count after every decrease row. Each full decrease row should remove exactly two stitches.
4. The neckline feels too tight
Problem: You continued decreasing beyond the necessary width or made the shoulder bridges too short.
Fix: Stop shaping earlier or lengthen the shoulder connection before final finishing.
5. Armhole edging ripples
Problem: Too many sc stitches were placed into the row ends.
Fix: Remove the edging and redistribute the stitches more sparsely.
6. Armhole edging puckers
Problem: Too few stitches were used.
Fix: Add slightly more stitches through the shaped sections.
7. Front and back do not match
Problem: Row tension changed or one panel received a different number of straight rows.
Fix: Measure in inches rather than relying only on row count.
How to Customize This Crochet Project
Change the yarn
For hot weather, choose cotton, bamboo-cotton or another breathable plant-fiber blend.
For spring layering, a lightweight wool-cotton blend can work well.
Avoid very bulky yarn for this construction because it creates thick armhole edges.
Change the color
A single neutral shade gives the vest a clean wardrobe look.
For a more playful version, try:
- Contrast edging
- A different-color hem
- Graduated stripes in the lower body
- Color blocking between front and back
Keep the shaping region relatively simple if you want the halter silhouette to remain visually clear.
Make it cropped
Stop the straight lower-body section several inches sooner.
Always make both panels the same shortened measurement.
Make it longer
Continue the lower-body rows until the panel reaches the upper hip before beginning the halter shaping.
Remember that extra length requires additional yarn.
Add more texture
Once you are comfortable with garment shaping, replace sections of plain hdc with:
- BLO hdc ribbing
- Moss-stitch bands
- Narrow eyelet rows
- Surface crochet stripes
Keep the decrease rows simple until you understand how your decorative stitch affects stitch counts.
Change the neckline
For a narrower halter, continue decreasing longer.
For more upper-chest coverage, stop decreasing sooner.
Gift idea
Because fit is important, this vest works best as a gift when you can obtain the recipient’s bust circumference, desired length and preferred level of coverage.
Finishing Instructions
Fasten off securely
Leave tails approximately 6 inches long whenever possible.
Pull the yarn through the final loop but do not simply cut it flush with the fabric.
Weave in ends
Use a tapestry needle to weave each end through several stitches, reverse direction, and pass back through the fabric.
Pay particular attention to:
- Side seams
- Shoulder connections
- Neckline joins
These areas experience more movement than the center of the fabric.
Block the vest
Check the yarn label first.
For most cotton or cotton blends, lightly wet blocking can help smooth the shaped edges.
Lay the vest flat and gently arrange:
- Hem
- Side seams
- Armholes
- Upper neckline
- Shoulder bridges
Do not aggressively stretch it larger.
Try it on again
After blocking and drying, check:
- Armhole comfort
- Neckline position
- Side-seam fit
- Shoulder length
- Overall garment length
Quick Printable-Style Summary
Project: Easy Crochet Halter Vest
Skill level: Advanced beginner
Yarn: DK/light-worsted cotton, cotton-bamboo or breathable blend
Hook: 4.0 mm or size needed for your preferred fabric
Main stitches: ch, hdc, hdc2tog, sc, sl st
Starting method: Calculate one panel as approximately half your desired finished bust circumference, then multiply the width by your stitches per inch.
Lower body: Work straight hdc rows from hem to underarm.
Halter shaping: Decrease one stitch at each side on decrease rows until the neckline reaches your preferred width.
Back: Repeat lower-body construction and shape the upper back.
Assembly: Seam front and back along each side, stopping at the armholes.
Shoulders: Add short chain-and-sc bridges between the front and back upper corners.
Finishing: Sc around neckline, armholes and optional lower hem. Weave in ends and block.
FAQ
Is a crochet halter vest suitable for beginners?
Yes, provided you already know how to chain and make a basic crochet stitch. The main new techniques are hdc2tog decreases, garment measurements and seaming. The project is more approachable when you check the fit frequently instead of relying only on fixed row counts.
What is the best yarn for a crochet halter vest?
A smooth cotton or cotton-blend yarn is an excellent option because it provides stitch definition and works well for warm-weather garments. DK weight is easier for many beginners to handle than very fine fingering yarn.
How much yarn do I need?
A typical adult version may use approximately 600–1,150 yards depending on size, length, gauge and yarn construction. Buy slightly more than your estimate if you are adding length or borders.
How do I make the vest fit my bust?
Measure the fullest bust circumference, decide how much ease you want, divide the desired finished circumference by two, and crochet each lower panel to that width.
Do not rely only on an XS/S/M/L label.
Can I make this crochet halter vest cropped?
Yes. Simply shorten the straight lower-body section before beginning armhole shaping.
The upper shaping method remains the same.
Why are my armholes rippling?
Too many stitches were probably added during the finishing round. Remove the border and space your sc stitches slightly farther apart along the row ends.
Can I use worsted-weight yarn instead?
You can, but your vest will be heavier and may feel warmer. Use your own gauge calculation rather than the DK stitch count and choose a hook that creates flexible garment fabric.
Conclusion
This crochet halter vest is a useful first garment because nearly every stage teaches a transferable crochet skill: measuring for fit, maintaining straight edges, shaping with decreases, matching panels, seaming, finishing openings and blocking.
The biggest advantage of the made-to-measure approach is that you can keep the basic construction while changing nearly everything else. Shorten it into a crop top, lengthen it over the hips, add contrast edging, widen the upper back or experiment with textured rows once you are comfortable with the shaping.
Save your measurements and final stitch counts when the vest is finished. Those notes become a personal garment template that makes your next crochet top substantially easier.