A mini crossbody bag is one of those crochet projects that is small enough to finish without losing momentum but useful enough that you may actually carry it every day.
This beginner-friendly crochet mini crossbody bag pattern creates a compact phone pouch with a rounded base, sturdy cotton fabric, subtle horizontal texture, a drawstring top, and a simple crocheted shoulder strap. The finished bag is roomy enough for a typical smartphone plus a card holder, keys, or a few small essentials without becoming a full-size purse.
Instead of asking you to sew several complicated shaped pieces together, the bag body begins with one foundation chain and is crocheted around both sides of that chain. Once the bottom is established, you simply continue upward in joined rounds.
The pattern uses only basic crochet skills: chains, single crochet, half double crochet, slip stitch, and working in the back loop only.
If this is your first wearable crochet accessory, the sections below explain not only what to crochet but also why each step matters, where beginners usually make mistakes, and how to change the size without redesigning the entire bag.
What You’ll Learn
By the end of this project, you will know how to:
- crochet an oval bag base around a foundation chain;
- recognize both sides of a starting chain;
- create a crisp base-to-body fold with BLO stitches;
- crochet straight sides in joined rounds;
- add simple horizontal texture without changing stitch count;
- make evenly spaced eyelets;
- crochet an adjustable-length crossbody strap;
- attach a strap securely enough for regular use;
- make and thread a simple crochet drawstring;
- adjust the bag for a different phone or desired finished size.
Materials You’ll Need
For one approximately 5-inch-wide by 7-inch-tall mini bag:
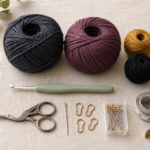
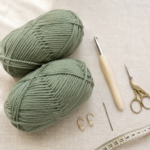
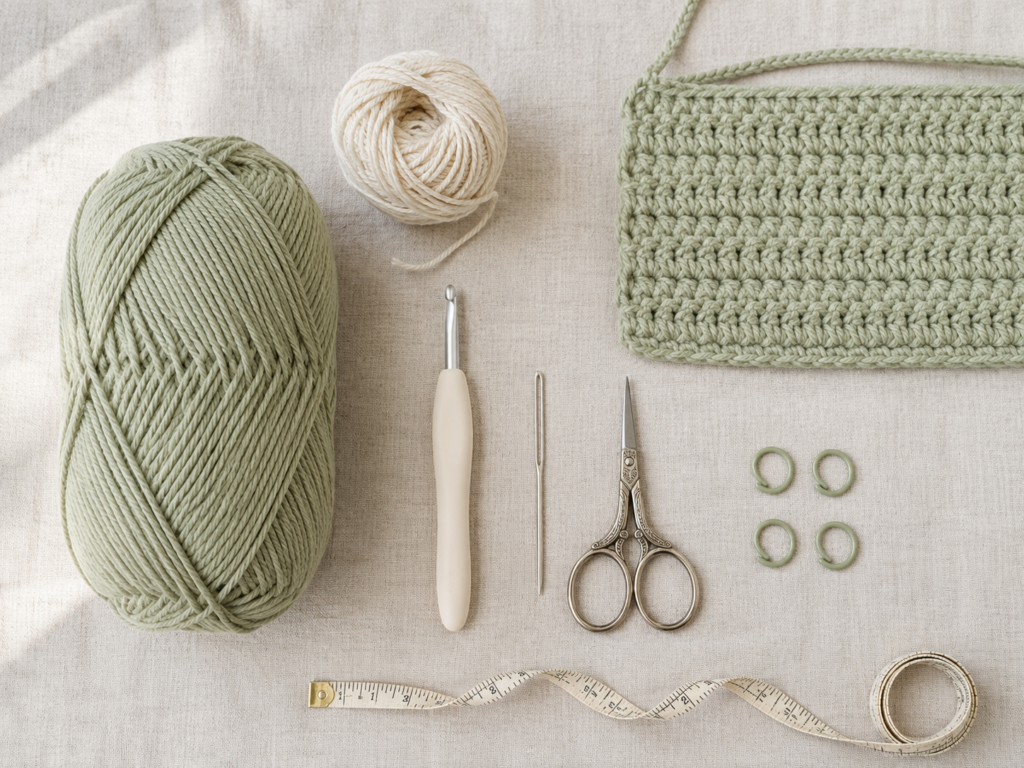
- 150–180 yards / 137–165 m Medium #4 cotton or cotton-blend yarn in your main color
- approximately 10–15 yards / 9–14 m contrast cotton yarn for the drawstring, if desired
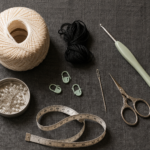
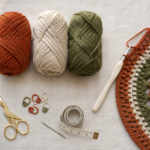
- 4.5 mm crochet hook
- scissors
- blunt tapestry or yarn needle
- 1–2 stitch markers
- flexible measuring tape
- optional removable marker for identifying the first stitch of each round
A tightly spun cotton works particularly well for this project because the resulting fabric stays relatively crisp. Softer yarn can still work, but the bag and strap may stretch more.
The Craft Yarn Council places worsted and aran yarns in the Medium #4 category; remember that recommended hook ranges are guidelines, and a bag often benefits from a firmer fabric than a garment.
Crochet Abbreviations Used
This tutorial uses US crochet terminology.
- ch = chain
- sc = single crochet
- hdc = half double crochet
- sl st = slip stitch
- st/sts = stitch/stitches
- rep = repeat
- BLO = back loop only
- RS = right side
- WS = wrong side
These abbreviations align with standard US terminology published by the Craft Yarn Council. In UK terminology, a US single crochet is called a double crochet, and a US half double crochet is called a half treble.
Before You Start
Finished size
Approximately:
- 5 in / 12.5 cm wide
- 7 in / 18 cm tall
- strap approximately 44–48 in / 112–122 cm, adjustable
The finished measurement can vary slightly according to yarn, hook, and personal tension.
Gauge
Aim for approximately:
16 hdc × 12 rounds = 4 in / 10 cm
Exact gauge is less critical than it would be for a fitted sweater, but it still determines whether your phone will fit.
Before committing to the full bag, crochet several rows of hdc and compare the fabric to your phone. You want a dense fabric with very small spaces between stitches.
How to count stitches
Because the bag is worked in joined rounds, place a marker in the first actual stitch, not in the beginning chain.
Your beginning chain does not count as a stitch in this tutorial.
After every round, count before continuing. Fixing one missing stitch immediately is far easier than discovering five rounds later that the bag has developed a diagonal side.
How to keep the sides straight
The most important rule is simple:
Do not accidentally crochet into the joining slip stitch.
Join each round to the first proper stitch. Then begin the next round in that same first stitch unless otherwise stated.
How to avoid curling
The first oval may cup slightly once the BLO round is added. That is intentional—it is the point where the flat base begins becoming a pouch.
Severe curling or rippling usually means your tension has changed considerably.
Choosing colors
For the cleanest beginner result, make the entire bag and strap in one color and reserve a contrast color only for the drawstring.
Using one main color also makes it easier to identify stitch anatomy without color changes competing visually.
Step-by-Step Crochet Tutorial
Step 1: Make the Foundation and Oval Base
Start by making ch 20.
Beginning in the second chain from your hook:
- Work 2 sc in the second chain.
- Work 1 sc in each of the next 17 chains.
- Work 3 sc in the final chain.
Do not turn your work.
Rotate the foundation chain so you can crochet into the unused loops along its opposite side.
- Work 1 sc in each of the next 17 available chain loops.
- Work 1 additional sc in the same foundation-chain position that already contains your first 2 sc.
- Join with a sl st to the first sc.
You should have 40 sc around the oval.
The extra stitches at both ends allow the crochet to travel smoothly around the ends of the foundation rather than forming sharp corners.
Beginner tip: Before joining, lay the oval flat and check that the starting chain has not twisted.
Common mistake to avoid: Do not crochet back across the first row as though you were making a rectangle. For this project, you are working around the chain, using both its top and underside.
Step 2: Turn the Flat Base Into the Bag Body
Chain 1.
For Round 2, work 1 sc BLO in every stitch around.
Join with a sl st to the first sc.
Stitch count: 40 sc
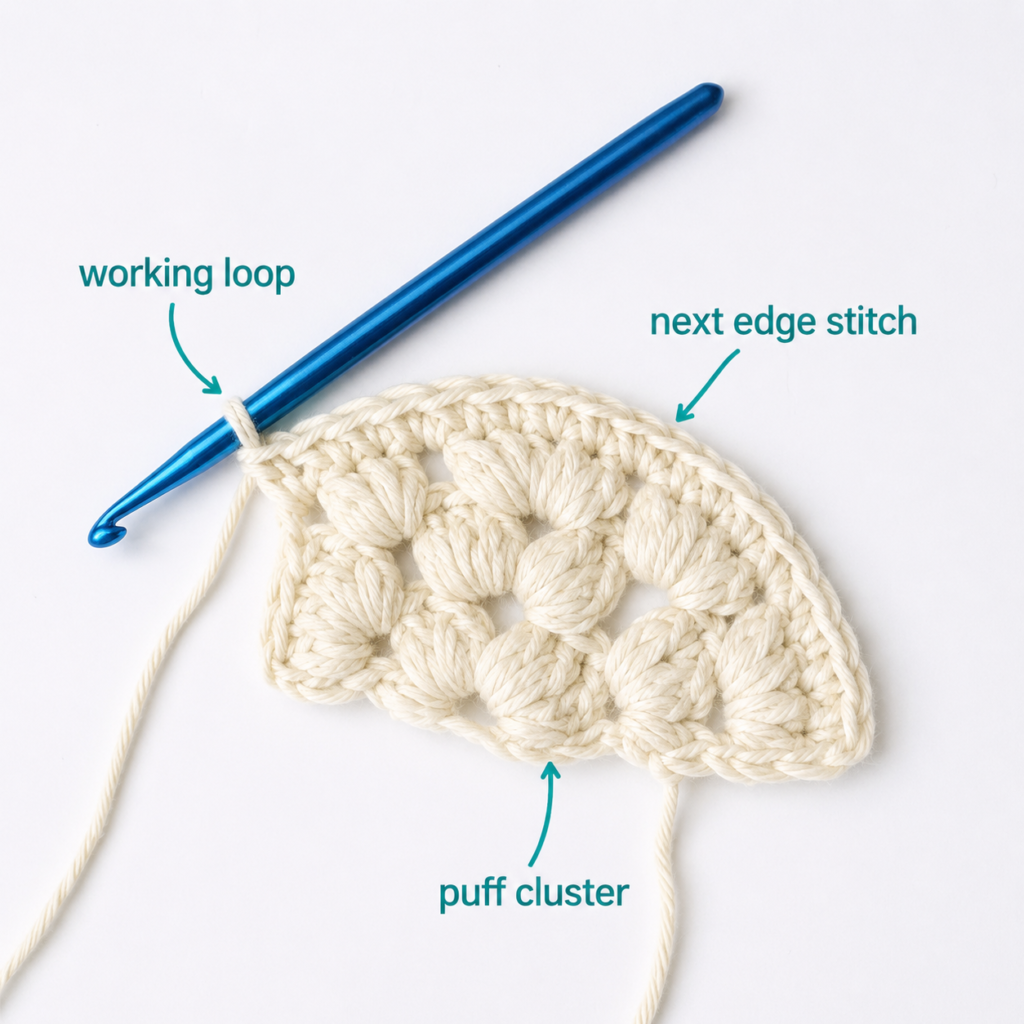
Working only through the back loop leaves the unused front loops visible as a horizontal ridge.
That ridge creates a subtle fold line between the bottom and walls of the bag.
After finishing the round, gently press the oval base flat with your fingers. The next rounds will naturally begin traveling upward.
Beginner tip: Look at the top of each stitch. You will see a small “V.” The back loop is the half of the V farther away from you.
Common mistake to avoid: Do not insert the hook under both loops during this round. If you do, the bag will still work, but you will lose the clean base ridge.
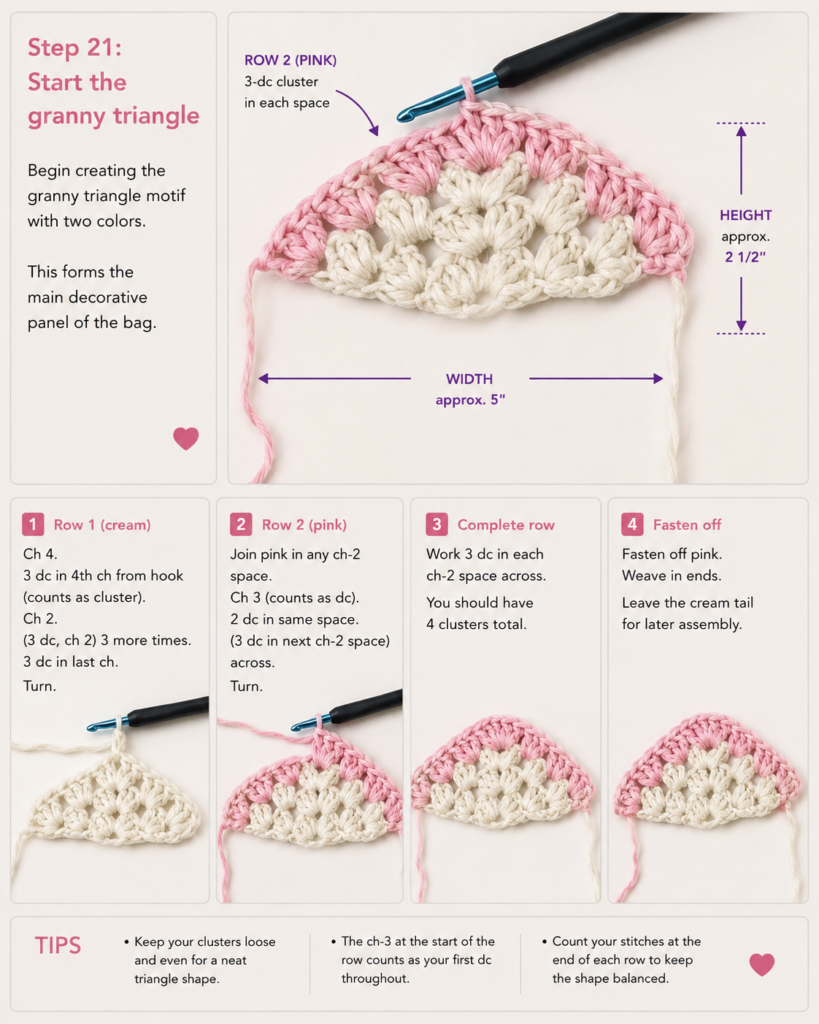
Step 3: Crochet the First Solid Body Section
Now switch to half double crochet.
For Rounds 3–5:
- Ch 1.
- Hdc in each stitch around.
- Join with a sl st to the first hdc.
Stitch count: 40 hdc each round
Half double crochet is useful here because it builds height faster than single crochet while still producing a fairly substantial fabric.
Keep your stitches relaxed enough that the hook passes through easily, but not so loose that large holes appear between them.
Beginner tip: To make a half double crochet: yarn over, insert your hook into the stitch, yarn over and pull up a loop. You should now have three loops on the hook. Yarn over once more and pull through all three.
Common mistake to avoid: Accidentally adding one stitch beside the join. Marking the first hdc of every round is the easiest prevention.
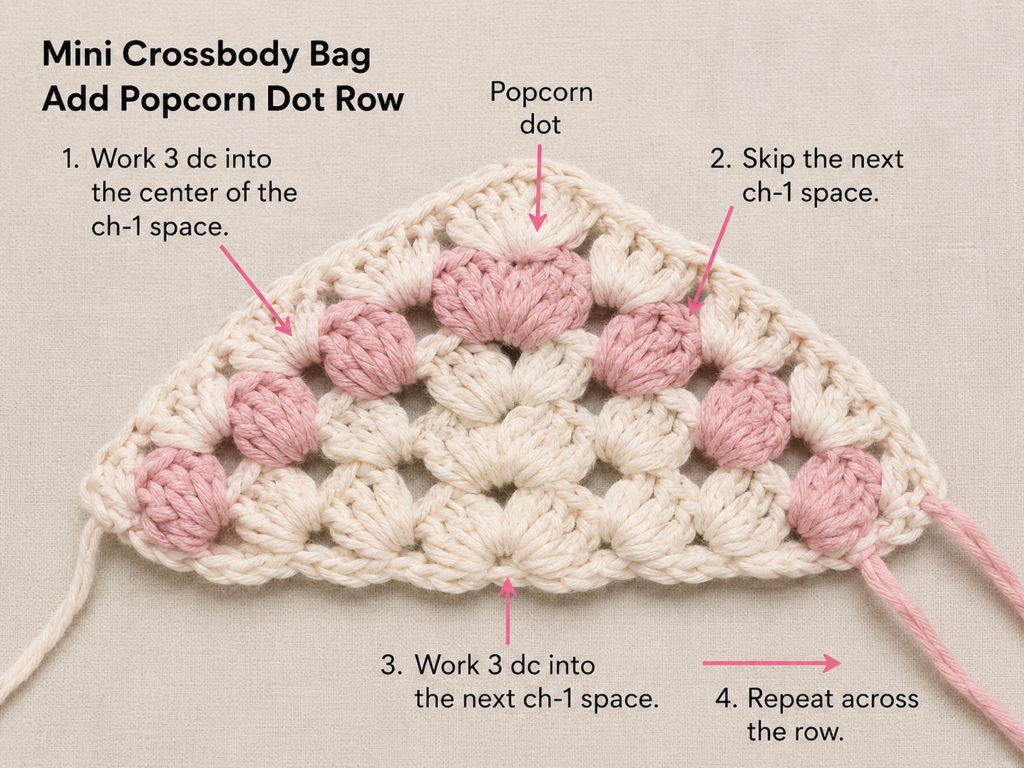
Step 4: Add the First Textured Ridge
For Round 6:
- Ch 1.
- Sc BLO in each stitch around.
- Join with a sl st.
Stitch count: 40 sc
This creates the first decorative horizontal ridge.
It does not require changing yarn color, making complicated post stitches, or counting a special repeat.
Once you understand the round, you can repeat the same idea periodically up the bag.
Beginner tip: Stretch the top of your work gently toward you. This makes the back loops easier to identify.
Common mistake to avoid: Do not tighten BLO stitches excessively. Overly tight stitches can pull the bag inward at the textured rounds.
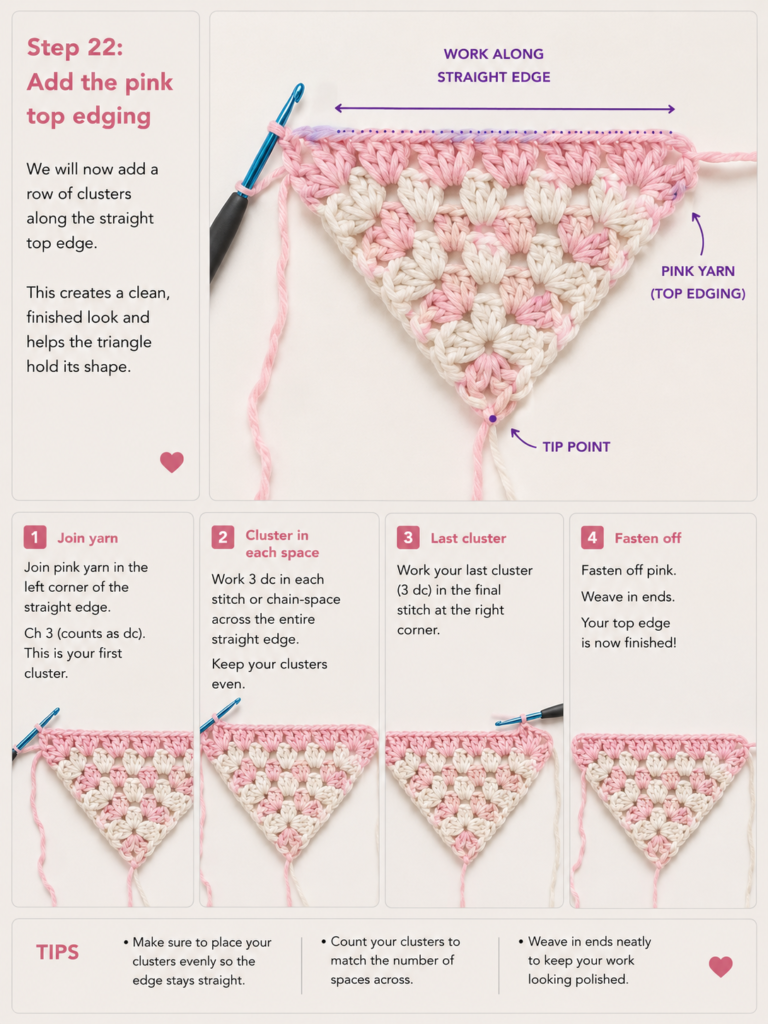
Step 5: Continue the Body to the Correct Height
Continue in the following sequence:
Rounds 7–9: Hdc in every stitch around.
Round 10: Sc BLO in every stitch around.
Rounds 11–13: Hdc in every stitch around.
Round 14: Sc BLO in every stitch around.
Rounds 15–17: Hdc in every stitch around.
Round 18: Sc BLO in every stitch around.
Maintain 40 stitches throughout.
You should now see several narrow horizontal ridges separated by smooth hdc sections.
Before moving on, measure the bag from the bottom ridge upward.
At this point, you are aiming for approximately 5¾–6 inches / 14.5–15 cm before the top finishing rounds.
If your phone is unusually tall, add another three hdc rounds followed by one BLO sc round.
Beginner tip: Test the actual phone now. Place it gently inside without stretching the crochet. Its top should sit below where the drawstring will be placed.
Common mistake to avoid: Do not assume another person’s row count will automatically fit your device. Crochet gauge and phone dimensions vary.
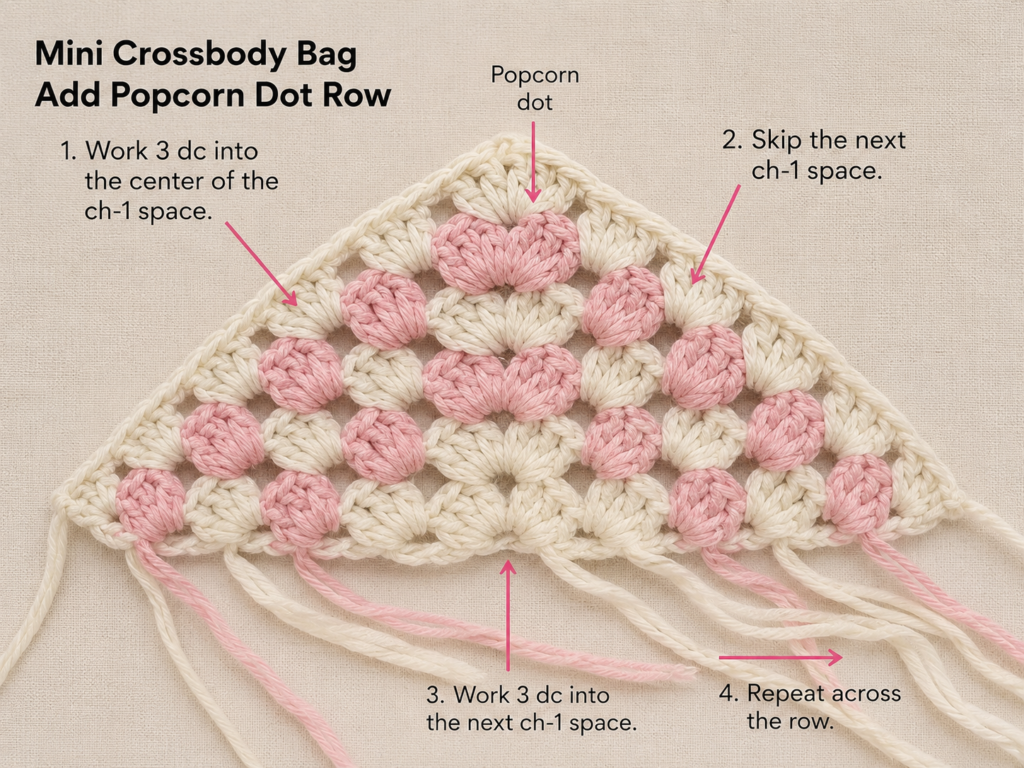
Step 6: Crochet the Eyelet Round
The next round creates openings for the drawstring.
For Round 19:
- Ch 1.
- Sc in the first stitch.
- Ch 1.
- Skip the next stitch.
- Repeat sc in next stitch, ch 1, skip next stitch around.
- Join with a sl st to the first sc.
You should have 20 sc stitches and 20 ch-1 spaces.
The holes should appear evenly spaced all the way around the top.
Do not worry if they look small. Cotton crochet eyelets open slightly when the drawstring passes through them.
Beginner tip: Count the eyelets before continuing. If two solid stitches appear next to each other or two chains appear together, you probably missed a repeat.
Common mistake to avoid: Do not put an sc into the skipped stitches. They are intentionally skipped to create openings.
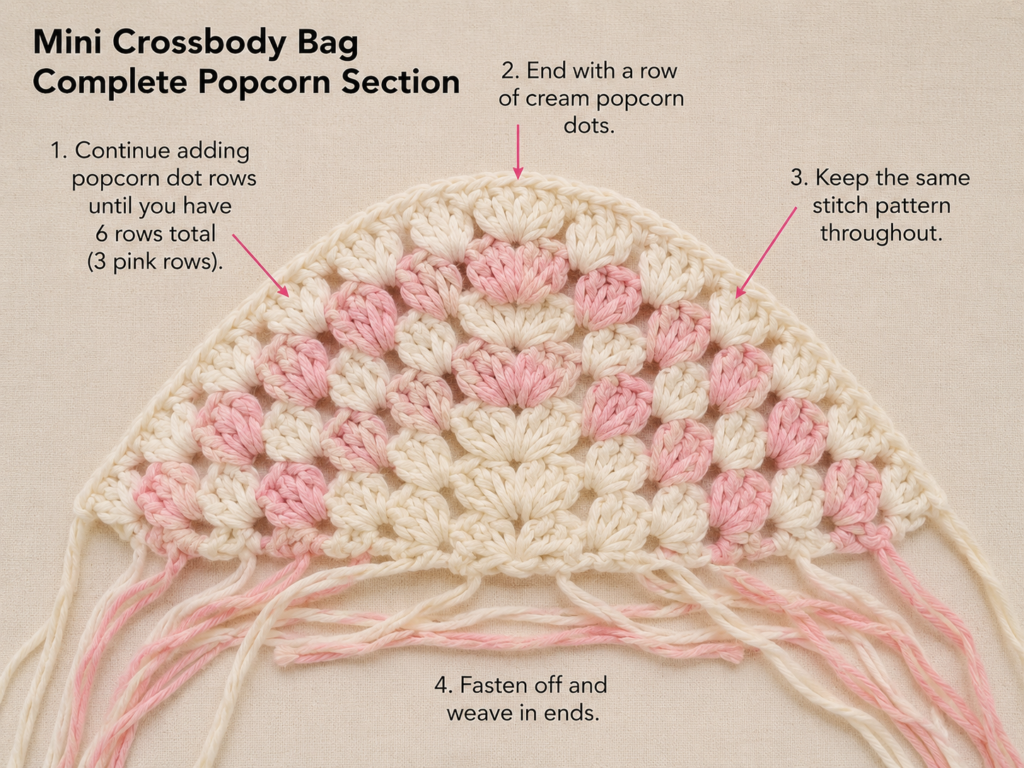
Step 7: Finish the Top Edge
For Round 20:
- Ch 1.
- Work 1 sc into each sc and 1 sc into each ch-1 space.
- Join.
You should again have 40 sc.
For Round 21:
- Ch 1.
- Sc in every stitch.
- Join.
Fasten off.
These two rounds stabilize the top and prevent the eyelet row from stretching too far when the drawstring is pulled.
Run your fingers around the rim.
You are checking for:
- accidentally skipped stitches,
- a loose joining stitch,
- a dramatically tight section,
- yarn tails that should be woven in before adding the strap.
Step 8: Crochet the Crossbody Strap
A narrow flat single-crochet strap is easy for a beginner and less likely to dig into your shoulder than a plain chain.
Begin with a chain long enough to fit your body comfortably.
For an average adult crossbody length, start with approximately 44–48 inches / 112–122 cm of chain.
At the sample gauge, that may be around 181 chains, but measuring the actual chain is more reliable than blindly following the number.
Once the chain is the correct length:
Strap Row 1: Sc in the second ch from hook and in every chain across.
Strap Row 2: Ch 1, turn, sc in every stitch across.
Fasten off, leaving a 10–12 inch / 25–30 cm tail at both attachment ends if possible.
For a wider strap, work one additional row of sc.
Beginner tip: Before crocheting back into your long foundation chain, run your fingers from one end to the other and untwist it.
Common mistake to avoid: A very loose chain produces a wavy strap. Try to keep the chain even and slightly relaxed.
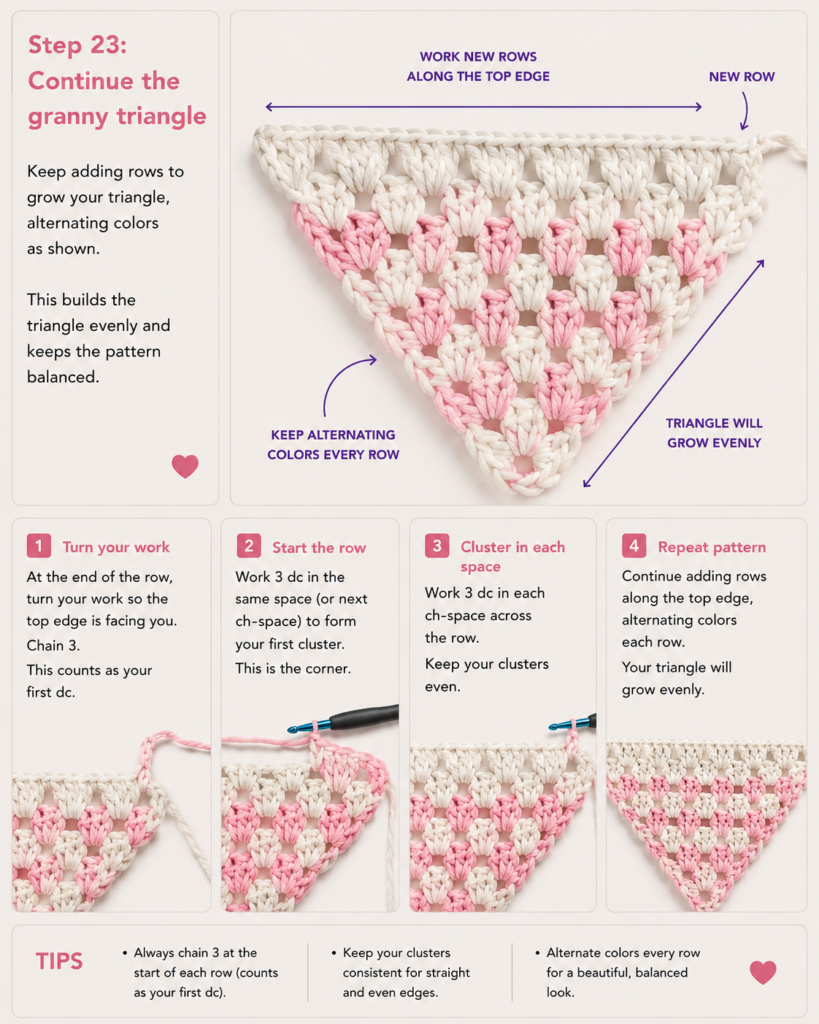
Step 9: Attach the Strap Securely
Lay your bag flat.
Identify the center of each side edge.
Position one strap end against the inside of the bag, overlapping approximately ¾–1 inch / 2–2.5 cm.
Use the long yarn tail and a tapestry needle to sew through:
- the strap,
- the top two or three rounds of bag fabric,
- and back through the strap again.
Work several passes across the width of the strap.
Repeat on the opposite side.
Before knotting and weaving in the final tail, check that the strap is not twisted.
Hang the empty bag from the strap and gently pull downward on the pouch. Neither attachment should gap away from the fabric.
Beginner tip: Strong attachment comes from sewing through several rows of bag fabric—not only the final top stitch.
Common mistake to avoid: Attaching one end while the strap has a half twist. Lay the entire strap flat before sewing the second end.
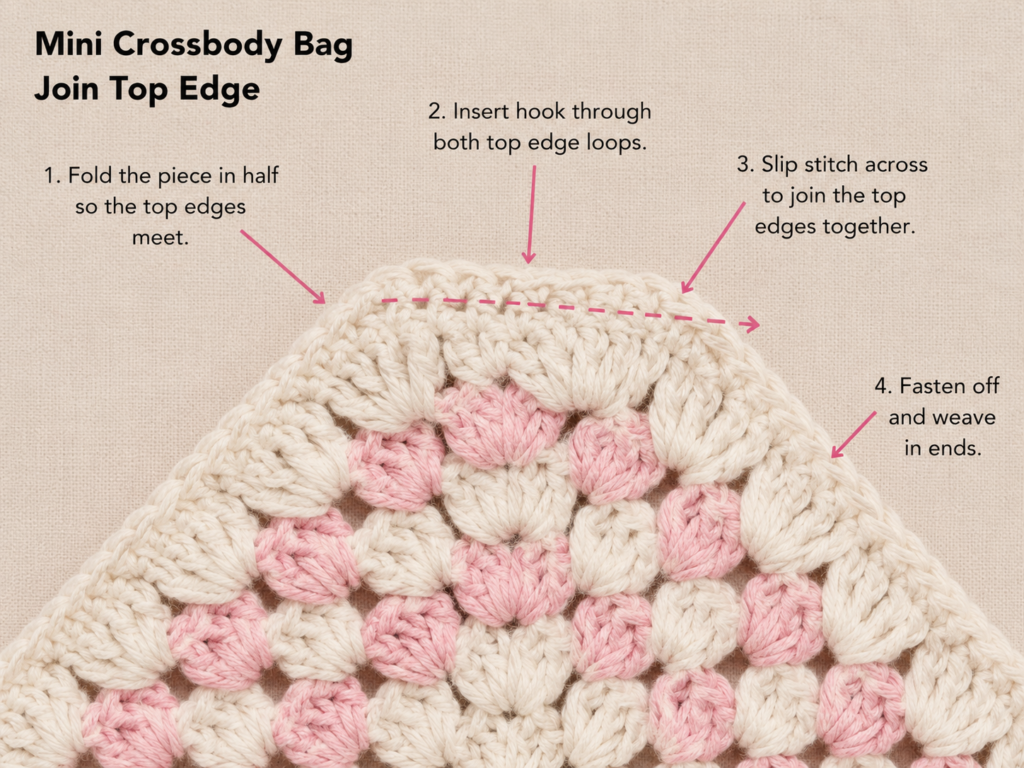
Step 10: Make and Thread the Drawstring
With your cream or contrast yarn, make approximately 70–75 chains.
Fasten off.
Tie a small secure knot close to each end, leaving a neat short tail.
Locate the eyelet at the front center of the bag.
Feed one end of the chain:
- through the first opening,
- out through the next,
- into the next,
- continuing alternately around the entire bag.
Both ends should finish together near the front.
Pull gently to gather the top, then tie a bow.
Do not pull so tightly that the eyelet stitches distort.
Beginner tip: If pushing soft yarn through the holes is difficult, thread the drawstring through a large tapestry needle and use the needle to guide it.
Common mistake to avoid: Accidentally skipping an eyelet can make one section gather more than the others.
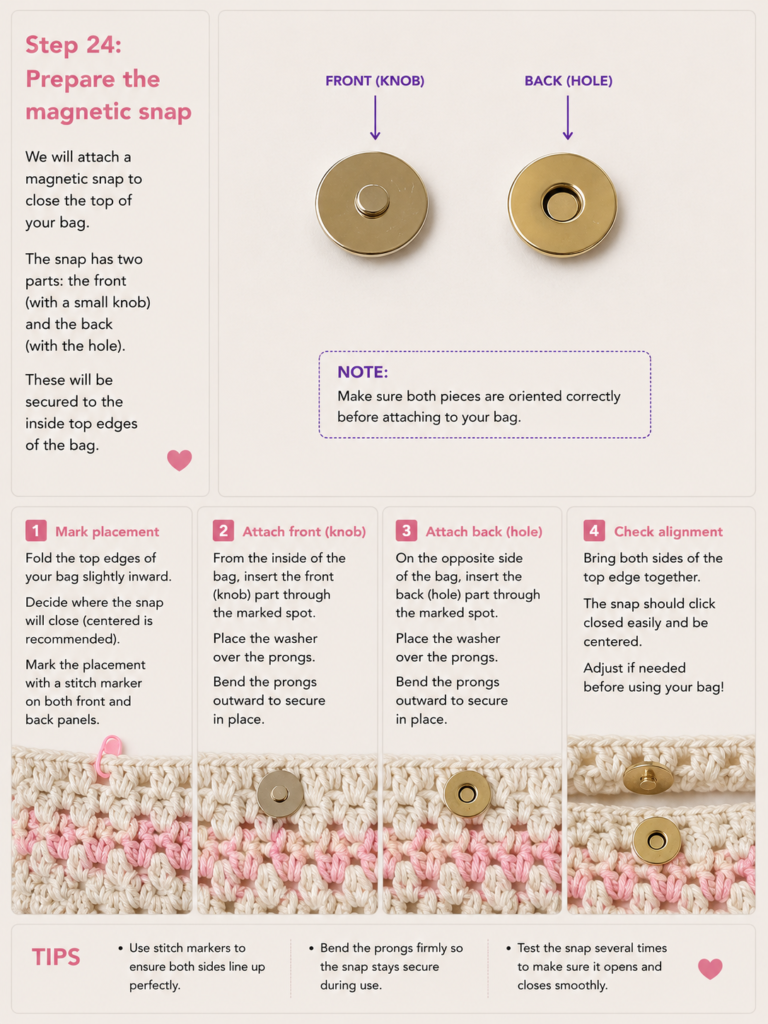
Step 11: Weave In Ends and Shape the Bag
Thread each remaining yarn tail onto your tapestry needle.
Weave through the wrong side of several stitches in one direction, change direction, and pass through another set of stitches.
Avoid pulling so hard that the fabric puckers.
Trim excess yarn only after the tail feels secure.
Gently shape the bottom corners with your fingers.
If the bag is slightly uneven, light blocking can help.
For cotton:
- dampen the bag lightly,
- reshape it to the intended dimensions,
- lay it flat to dry,
- keep the strap arranged straight while drying.
Always follow the yarn manufacturer’s care instructions. Care symbols on the yarn label indicate appropriate washing, drying, ironing, and other treatment.
Step 12: Check the Finished Bag
Place your phone in the bag and tighten the drawstring.
The pouch should hold the phone without being stretched taut.
Check that:
- the base stays reasonably flat,
- side seams remain vertical,
- the eyelets gather evenly,
- the strap attachments remain secure,
- the drawstring opens again without resistance.
Pattern Notes or Stitch Notes
Turning chain rules
The bag body is worked in joined rounds and is not turned.
The ch 1 at the beginning of a round does not count as a stitch.
The strap is worked in turned rows.
Stitch count
The bag maintains 40 working stitches after the base round.
On the eyelet round, think of the 20 sc and 20 chain spaces together as 40 positions around the top.
Repeat pattern
The main texture sequence is:
- 3 rounds hdc
- 1 round sc BLO
Repeat that sequence until the bag reaches the required height.
Right side and wrong side
Because the bag is crocheted continuously upward from its base, the outer surface naturally becomes the RS.
If the joins are slightly more visible on one side, position that line toward the back when attaching the strap and threading the drawstring.
Adjusting the width
For a wider bag, increase the foundation chain.
Every extra chain adds approximately one stitch to each long side of the finished base, meaning two additional stitches around the circumference.
Keep the final stitch count even if you want the eyelet repeat to work without adjustment.
Adjusting the height
Simply repeat the body texture sequence before making the eyelets.
For a very small phone pouch, stop sooner.
For sunglasses, a slim wallet, or a larger smartphone, add another texture repeat.
Common Beginner Mistakes
1. The foundation chain twists
Problem: The oval base looks crossed or corkscrewed.
Fix: Before joining the first round, flatten the starting chain and make sure both ends face naturally in the same plane.
2. The stitch count keeps increasing
Problem: The top of the bag starts flaring outward.
Likely cause: You are crocheting into the joining slip stitch as though it were a normal stitch.
Fix: Mark the first real stitch of each round.
3. The bag gets narrower at every ridge
Problem: Each BLO round cinches the fabric.
Likely cause: BLO single crochet tension is tighter than your hdc tension.
Fix: Relax your yarn slightly during those rounds or use the same loop height you normally use for sc.
4. The bag spirals sideways
A small diagonal line at joined rounds is normal, but severe twisting usually means stitches have been added or lost.
Count every few rounds rather than waiting until the top.
5. The strap stretches too much
A single-chain strap can stretch substantially.
Use at least two rows of single crochet as directed. For an even stronger strap, add a third row or sew a narrow cotton ribbon to its underside.
6. The eyelets do not line up evenly
This usually comes from forgetting a skipped stitch.
Undo only the eyelet round and work it again. Fixing one round is quicker than trying to disguise uneven gathers later.
7. The strap attachment looks weak
Do not sew only through the final top edge.
Overlap the strap with several rounds of bag fabric and make several passes through both layers.
How to Customize This Crochet Project
Change the yarn
For the most structured result, choose cotton.
A cotton-acrylic blend can create a slightly softer bag while remaining practical.
Very fuzzy or loosely spun yarn is less ideal for your first version because it makes stitch anatomy harder to see.
Change the colors
Easy combinations include:
- sage + cream
- terracotta + oatmeal
- dusty rose + ivory
- navy + natural cotton
- black + camel
- lavender + pale gray
You can also crochet each BLO ridge in a contrast color.
If you do, change color immediately before the ridge round and return to the main color afterward.
Make the bag wider
Increase the foundation chain.
Measure your phone’s width first and add roughly ¾–1 inch / 2–2.5 cm of ease.
Remember that the bag is worked around both sides of the chain, so changing the starting chain changes both sides simultaneously.
Make it taller
Repeat more hdc/ridge sections before the eyelet round.
This is the simplest modification in the pattern.
Make the strap wider
Work:
- 2 rows for a slim strap,
- 3 rows for a medium strap,
- 4 rows for a more comfortable wide strap.
For a heavier bag, a wider strap distributes weight better.
Use a different closure
Instead of the drawstring, consider:
- a wooden button and chain loop;
- magnetic snap;
- small zipper;
- toggle closure;
- leaving the top open.
A zipper gives the most security but requires additional sewing skills.
Add a lining
A simple rectangular cotton lining helps prevent small objects from pushing through crochet fabric and reduces stretching.
Cut fabric slightly larger than the flattened bag, sew the side and bottom seams, turn the lining right side out, insert it, fold its upper edge inward, and hand-sew it just below the crochet rim.
Gift ideas and use cases
A mini crossbody bag works well as:
- phone pouch;
- travel bag;
- festival bag;
- walking bag;
- teenager’s mini purse;
- teacher or staff phone holder;
- handmade birthday gift;
- small craft-fair item.
Finishing Instructions
Once all components are assembled:
- Check every strap attachment.
- Weave in all remaining tails.
- Trim ends only after weaving securely.
- Dampen and reshape the cotton if needed.
- Let the bag dry completely before loading it with a phone.
- Store it flat or hanging without heavy contents inside.
For washing, follow the yarn label rather than assuming every cotton yarn is machine washable. The Craft Yarn Council’s care-symbol guide explains the standard symbols typically shown on yarn labels.
Quick Printable-Style Summary
Project: Crochet Mini Crossbody Bag
Skill level: Beginner / Easy
Finished size: Approx. 5 × 7 in / 12.5 × 18 cm
Yarn: Medium #4 cotton, approximately 150–180 yd
Hook: 4.5 mm
Stitches: ch, sl st, sc, hdc, sc BLO
Starting method: Ch 20 and crochet around both sides to form an oval.
Base: 40 sc around.
Main body: Maintain 40 sts. Alternate 3 hdc rounds with 1 sc BLO ridge round.
Eyelet round: Sc, ch 1, skip 1 around.
Top: 2 solid sc rounds.
Strap: Long chain measured to wearer; work 2 sc rows.
Drawstring: Ch approximately 70–75 and weave through eyelets.
Finishing: Sew strap ends securely over several rounds, weave in yarn tails, lightly block if needed.
FAQ
Is a crochet mini crossbody bag easy for beginners?
Yes. This version uses only fundamental stitches and avoids complicated shaped panels or advanced joining techniques. The most important beginner skill is maintaining the 40-stitch count around the body.
What yarn is best for a crochet mini crossbody bag?
Cotton or a cotton-rich blend is a strong choice because it produces a sturdy fabric and generally has less elastic stretch than soft acrylic yarn.
How much yarn do I need for a mini crossbody bag?
For this phone-sized version, plan for approximately 150–180 yards of worsted-weight cotton. A very long or wide strap can increase the amount required.
Can I make this crossbody bag larger?
Yes. Add chains to the initial foundation for width and add body rounds for height. Keep your circumference stitch count even if you want to use the same eyelet repeat.
How long should a crochet crossbody strap be?
For many adults, approximately 44–48 inches works well, but body height and preferred wearing position differ. The most reliable method is to measure the foundation chain against your own body before crocheting back across it.
How do I stop a crochet bag strap from stretching?
Use dense stitches rather than a plain chain, work the strap slightly shorter than the maximum desired length, and add an extra single-crochet row if necessary. A fabric or ribbon backing can strengthen the strap even further.
Can I use acrylic instead of cotton?
Yes, but expect the bag to feel softer and potentially stretch more. Choose a firm acrylic and use a hook size that produces dense fabric.
Conclusion
This crochet mini crossbody bag is intentionally uncomplicated: one oval foundation, straight body rounds, a few easy textured ridges, one eyelet round, and a simple strap.
Once you make the first version, the construction is easy to adapt. A few extra starting chains create a wider bag, more body rounds create additional height, and changing the strap width can make the same basic design suitable for a child, teenager, or adult.
The most useful habit throughout the project is counting your stitches. Keep the body at 40 stitches, check the fit against the phone before finishing the top, and make the strap attachment stronger than you think it needs to be.
Save the tutorial so you can return to the sizing and customization notes when making your next version.