A crochet tote can look beautiful on a hook and still fail the moment you load it with two textbooks and a planner. For a bag meant for college, the fabric needs to be firmer, the base needs enough depth to hold books without twisting, and the straps need to distribute weight instead of stretching into thin cords.
That is exactly what this crochet tote bag for college pattern is designed to do.
This beginner-friendly project starts with an elongated oval bottom, builds upward in mostly simple stitches, adds a small textured center section for interest, and finishes with two wide shoulder straps. The solid construction makes it much more practical for notebooks, a pencil pouch, a paperback, a planner, and other everyday campus essentials than a very open market-bag mesh.
The tutorial is written in US crochet terminology and includes step-by-step guidance, stitch counts, troubleshooting, customization ideas, and image references throughout.
The finished bag measures approximately 15–15.5 inches wide, 14–15 inches tall and about 4.5 inches deep, depending on your yarn and tension.
What You’ll Learn
- How to turn a foundation chain into an elongated oval bag bottom.
- Where to place increases so the base lies flat.
- How to create a crisp transition from bottom to side walls.
- How to crochet a dense tote fabric that works well for books.
- How to make a simple crossed double-crochet accent.
- How to keep the stitch count consistent while working in the round.
- How to position two matching shoulder straps.
- How to reinforce the strap attachments for regular use.
- How to resize the tote for smaller or larger college supplies.
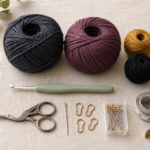
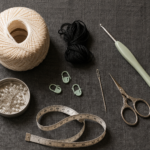
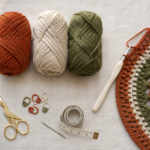
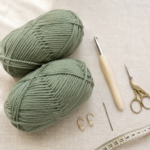
Materials You’ll Need
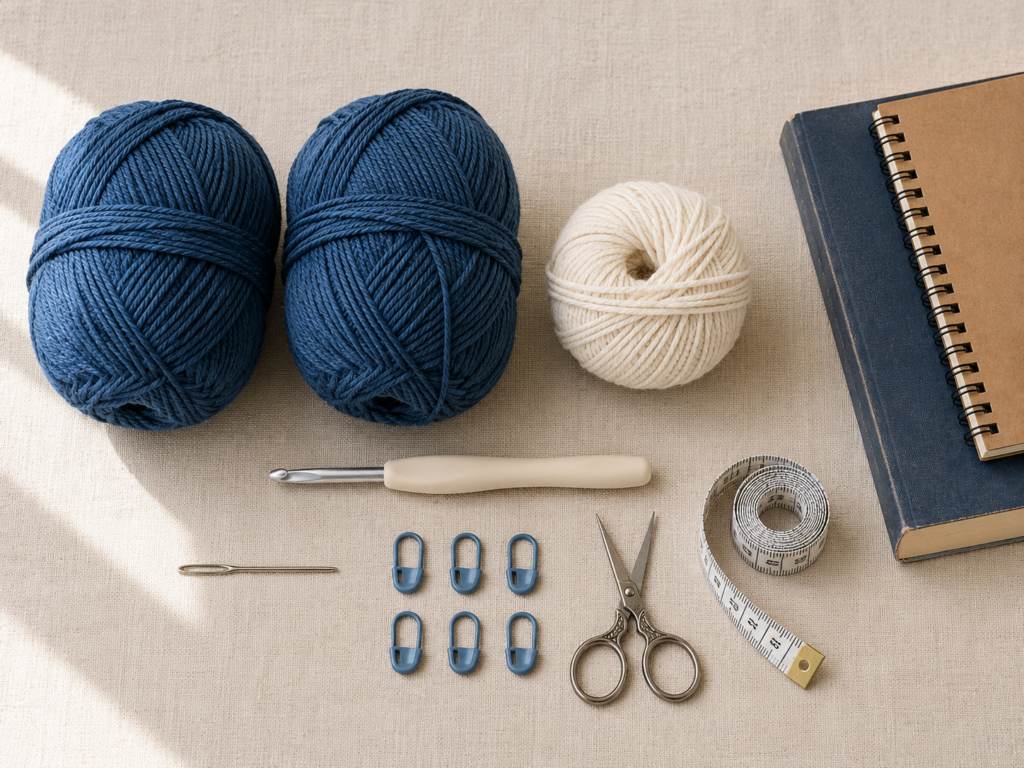
For one medium-large college tote:
- Approximately 550–650 yd / 500–595 m of #4 medium-weight cotton or cotton-blend yarn.
- About 400–450 yd in the main color.
- About 150–200 yd in the contrast color.
- 5.0 mm crochet hook.
- Scissors.
- Blunt tapestry needle.
- 5–6 locking stitch markers.
- Flexible measuring tape.
- Optional cotton fabric and sewing thread for a lining.
- Optional narrow cotton webbing or twill tape for hidden handle reinforcement.
For the sample design described here, imagine deep denim blue as Color A and warm cream as Color B.
Cotton is especially useful for this type of project because it creates a more stable bag fabric than many very elastic yarns. Your exact yarn does not have to match a specific brand, but choose something that feels firm rather than fuzzy or highly stretchy.
The Craft Yarn Council classifies worsted and Aran yarns in the medium-weight category and provides standard hook and gauge guidance for yarn substitution.
Crochet Abbreviations Used
This pattern uses US terminology:
- ch = chain
- sc = single crochet
- hdc = half double crochet
- dc = double crochet
- sl st = slip stitch
- st/sts = stitch/stitches
- rep = repeat
- BLO = back loop only
- rnd = round
- RS = right side
- WS = wrong side
The Craft Yarn Council’s abbreviation list also notes that US single crochet corresponds to UK double crochet, while US double crochet corresponds to UK treble crochet.
Before You Start
Gauge and tension
Exact garment-style gauge is not critical, but firm fabric is important.
A useful target is approximately 14–15 single crochet stitches across 4 inches / 10 cm with the 5.0 mm hook.
If your fabric feels loose enough that you can easily stretch large gaps between the stitches, try a 4.5 mm hook.
If your hands are struggling to insert the hook and the base feels stiff like cardboard, move up to 5.5 mm.
How to count stitches
Place a locking marker in the first stitch of each round. Move it upward every time you return to that point.
The loop currently sitting on the crochet hook is not counted as a stitch.
Keeping the base flat
The increases belong at the two rounded ends of the base.
If you accidentally place increases along the long straight sides, the bottom can ripple.
If you forget an increase, the rounded section may curl upward before you are ready to begin the walls.
Keeping the walls straight
Once the base reaches the correct size, stop increasing completely.
From that point onward, you will work one stitch into each existing stitch.
Choosing colors
A darker lower section is practical for a campus tote because the bottom is the area most likely to touch floors, desks, library shelves, and public transport.
Try navy, charcoal, forest green, rust, chocolate, or denim for the main color, paired with cream, oatmeal, pale blue, blush, or soft gray.
US/UK terminology note
This tutorial uses US crochet terms. If you normally use UK terminology, translate the stitch names before beginning rather than halfway through the project.
Step-by-Step Crochet Tutorial
Step 1: Make the Foundation Chain
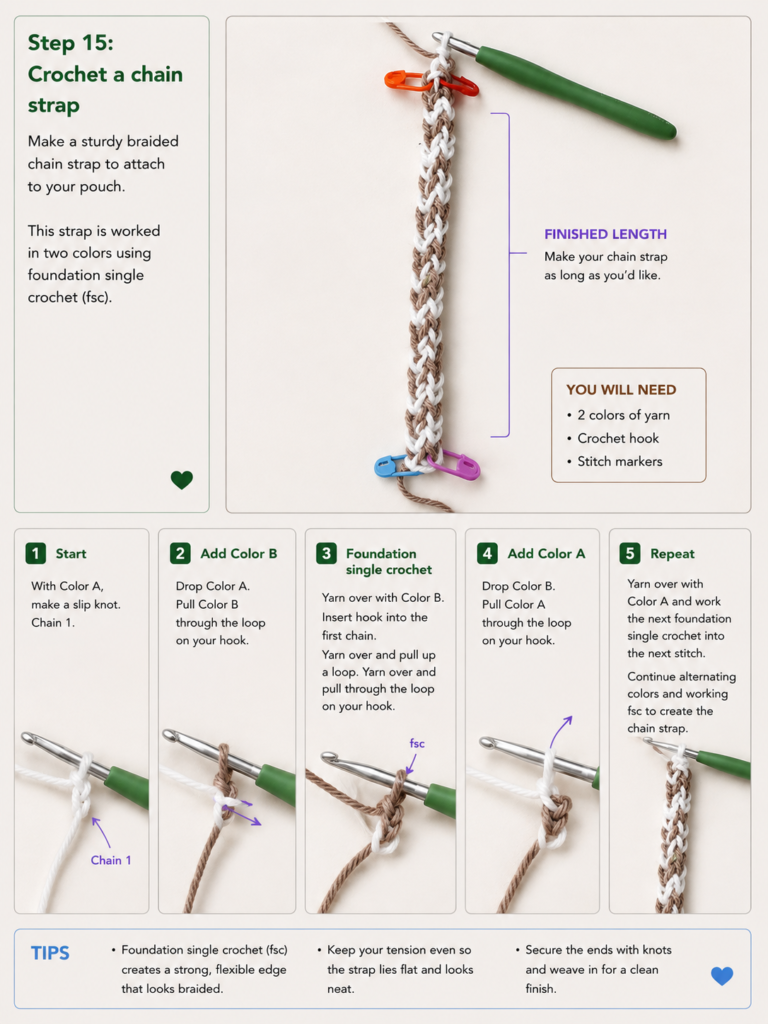
With Color A, make a slip knot.
Ch 37.
Do not pull the chains excessively tight. A firm bag does not require an overly tight foundation chain; it requires even, controlled tension through the finished fabric.
Working into the back bumps of the foundation creates a tidy center line on the bottom, but beginners can work through the standard chain loops instead.
Beginner tip
Count all 37 chains twice before continuing.
Common mistake to avoid
Do not include the loop sitting on your hook when counting your foundation.
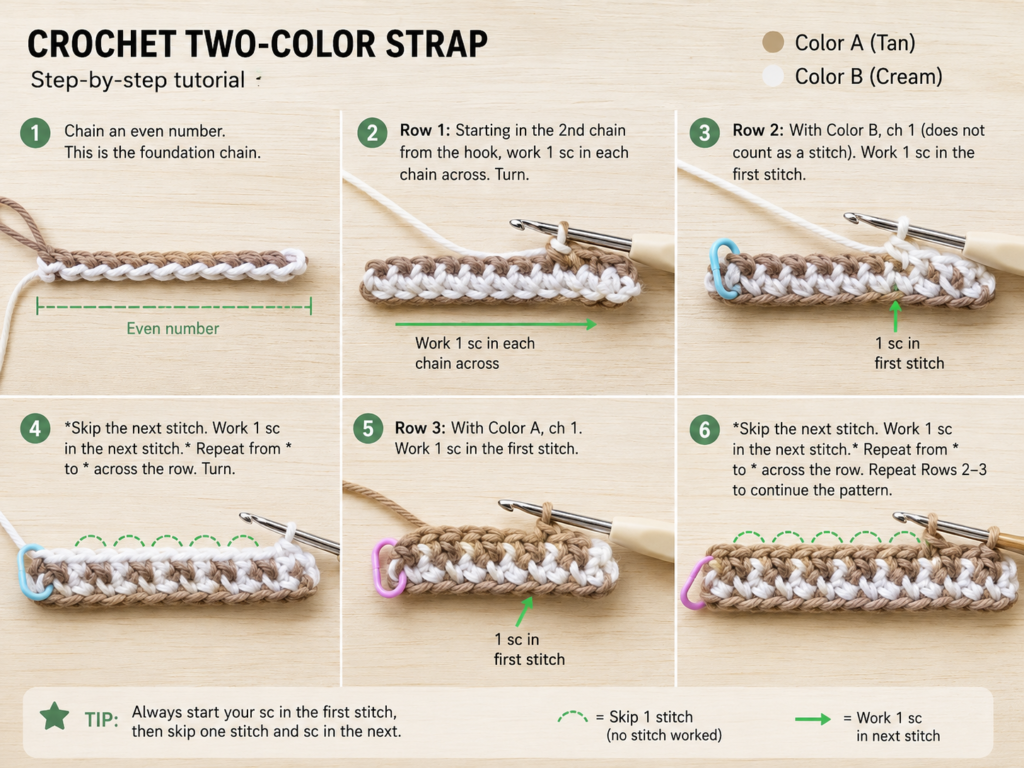
Step 2: Crochet Around Both Sides of the Chain
Instead of making a separate rectangular panel, the starting chain becomes the center line of an elongated oval bottom.
Base Round 1
Sc in the second chain from the hook.
Sc in each of the next 34 chains.
You now have 35 single crochets along the first long side.
Work 3 sc into the final chain.
Rotate the work so the unused underside loops of the foundation chain face you.
Sc in the next 34 underside loops.
In the first chain, where your first sc was made, work 2 additional sc.
You now have three stitches wrapping around each end.
Stitch count: 74 sts.
Place your beginning-of-round marker.
Beginner tip
Imagine that you are crocheting around a narrow running track. The foundation chain is in the center; you travel down one side, curve around the end, and return down the opposite side.
Common mistake to avoid
After reaching the end of the chain, do not turn the work like a normal row. Rotate it and crochet into the unused underside of the same foundation.
Step 3: Expand the College Tote Base
The rounded ends need controlled increases. The long sides stay straight.
Place markers around the curved sections if that helps you recognize them.
Base Round 2
Across each straight side, work 1 sc in each stitch.
Across each three-stitch rounded end, work:
2 sc in each of the 3 curve stitches.
This turns three curve stitches into six.
Stitch count: 80 sts.
Base Round 3
At each curved end work:
[Sc in next st, 2 sc in next st] 3 times.
Sc normally across each long side.
Stitch count: 86 sts.
Base Round 4
At each curved end work:
[Sc in next 2 sts, 2 sc in next st] 3 times.
Sc normally across both long sides.
Stitch count: 92 sts.
Base Round 5
At each curved end work:
[Sc in next 3 sts, 2 sc in next st] 3 times.
Sc normally across the long sides.
Stitch count: 98 sts.
Lay the base flat.
Depending on your gauge, it should measure around 14–15 inches long and roughly 4–4.5 inches wide.
Beginner tip
Judge the shape on a flat surface, not while holding it in the air.
Common mistake to avoid
If the entire edge begins waving, check whether you accidentally increased along the straight sections.
Step 4: Turn the Base Into the Lower Walls
Now stop increasing.
Round 6
Work 1 sc BLO in every stitch around.
98 sts.
Working through the back loops leaves the unused front loops visible as a subtle ridge around the base. That ridge helps visually define the bottom of the tote.
Rounds 7–13
Work 1 sc in each stitch around.
98 sts per round.
You may work these rounds continuously, moving the marker after each round.
By Round 13, the sides should be clearly standing upward.
Beginner tip
After two wall rounds, place the bag over a small box or stack of books for a moment. This makes it easier to see whether the fabric is growing vertically.
Common mistake to avoid
Do not continue the base-increase sequence into the side walls. Doing so will make the bag flare outward.
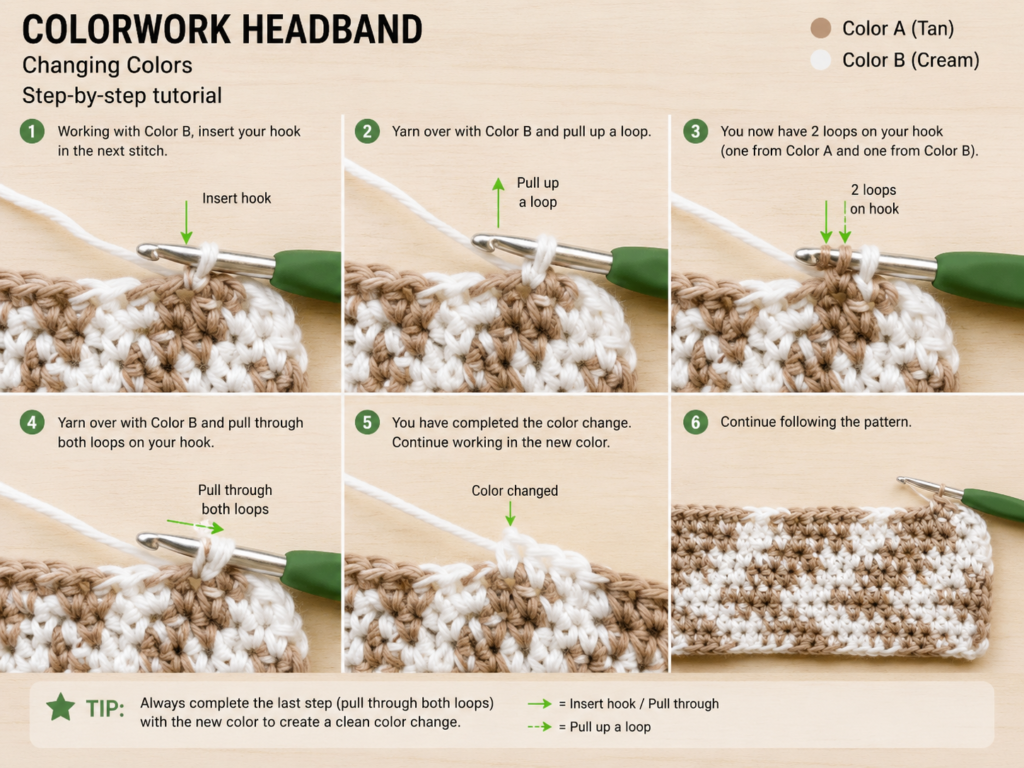
Step 5: Change to the Contrast Color
At the end of Round 13, sl st into the first stitch.
Fasten off Color A, leaving a tail long enough to weave securely.
Join Color B, warm cream, near one narrow side of the bag rather than in the middle of the front.
This keeps the yarn transition less noticeable.
Round 14
Ch 1. The chain does not count as a stitch.
Hdc in the same stitch and in every stitch around.
Join with a sl st.
98 hdc.
From this point through the textured section, work in joined rounds so the accent rows remain visually level.
Beginner tip
Leave a 5–6 inch yarn tail at the color change. Short tails are much harder to weave securely into a bag that will receive regular use.
Common mistake to avoid
Avoid tying a bulky knot between the two colors. A woven yarn tail is neater and more flexible.
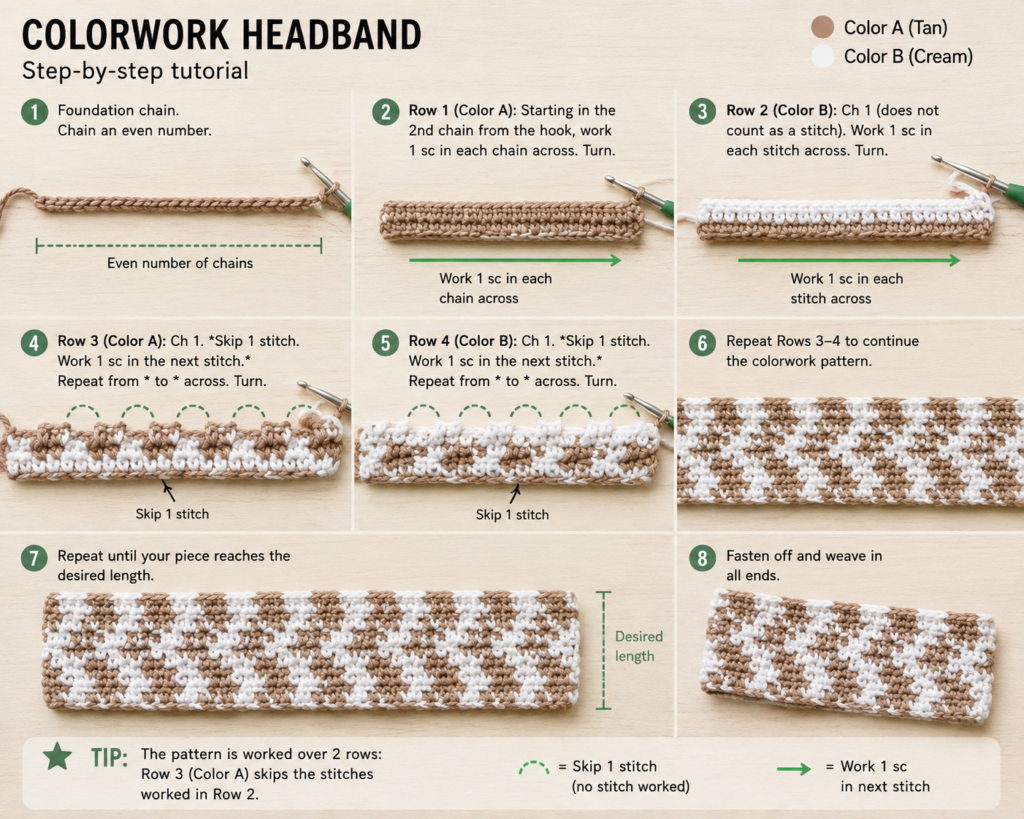
Step 6: Crochet the Crossed Double-Crochet Accent
The textured rows add interest without creating the large holes found in a traditional market bag.
Round 15 — Crossed Double Crochet
Ch 2. The chain does not count as a stitch.
Skip the first stitch.
Dc in the second stitch.
Now move your hook backward and work one dc into the stitch you skipped.
The two stitch posts cross.
Continue around:
*Skip next st, dc in next st, dc back into skipped st; rep from * around.
Because 98 is even, you will make 49 crossed pairs.
Join with sl st to the first dc.
Round 16
Ch 1.
Sc in every stitch around.
Join.
98 sc.
Rounds 17–18
Ch 1.
Hdc in every stitch around.
Join each round.
98 hdc.
Round 19
Repeat the crossed-double-crochet round.
Round 20
Sc around.
Rounds 21–22
Hdc around.
Round 23
Repeat the crossed-double-crochet round.
Round 24
Sc around.
You now have three crossed-stitch bands separated by denser rows.
Beginner tip
The second dc of each crossed pair may feel awkward because your hook travels backward. Keep that stitch slightly relaxed rather than pulling the working yarn tightly.
Common mistake to avoid
Each crossed pair uses two different stitches. Do not place both double crochets into one stitch.
Step 7: Crochet the Strong Upper Section
Change back to Color A.
Rounds 25–34
Ch 1.
Sc in every stitch around.
Join each round with a sl st.
98 sts per round.
The solid upper section is intentional. It creates a strong area for the straps to pull against.
If you want a taller tote, add two to four additional single-crochet rounds here.
When finished, flatten the bag naturally without stretching it.
You should have approximately 49 stitches across the front and 49 across the back.
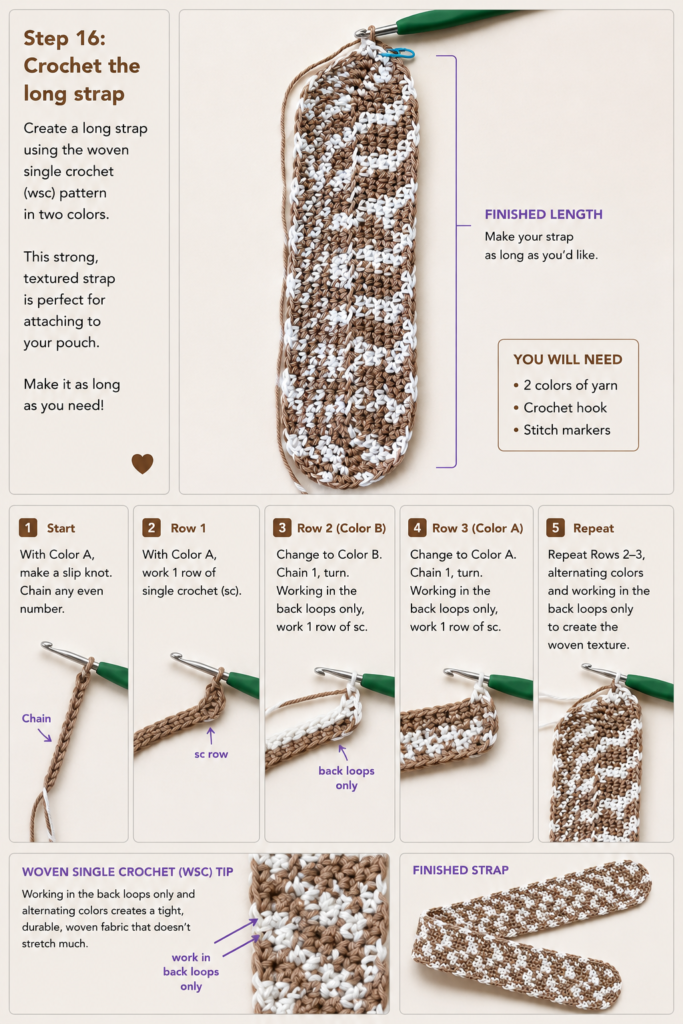
Step 8: Mark and Crochet the First Shoulder Strap
On one face of the tote, divide the 49 stitches approximately like this:
- 8-stitch side margin
- 8-stitch first strap anchor
- 17-stitch center gap
- 8-stitch second strap anchor
- 8-stitch side margin
Place markers around both eight-stitch anchor groups.
Repeat the same marking on the back face.
Stand the tote upright and check that the four anchor areas align visually before crocheting.
First Strap
Join Color A at the first eight-stitch anchor.
Strap Row 1
Sc across the 8 marked stitches.
Turn.
Strap Row 2
Ch 1. The chain does not count as a stitch.
Sc in all 8 stitches.
Turn.
Repeat Strap Row 2 until the strap measures approximately 24 inches / 61 cm.
Measure the strap rather than relying only on row count.
Cotton straps can lengthen slightly after repeated use.
Beginner tip
Count the eight strap stitches every few rows. Dropping one edge stitch slowly creates a tapered strap.
Common mistake to avoid
Do not make the strap extremely loose. The handles carry much more concentrated tension than the body.
Step 9: Attach the Strap and Repeat
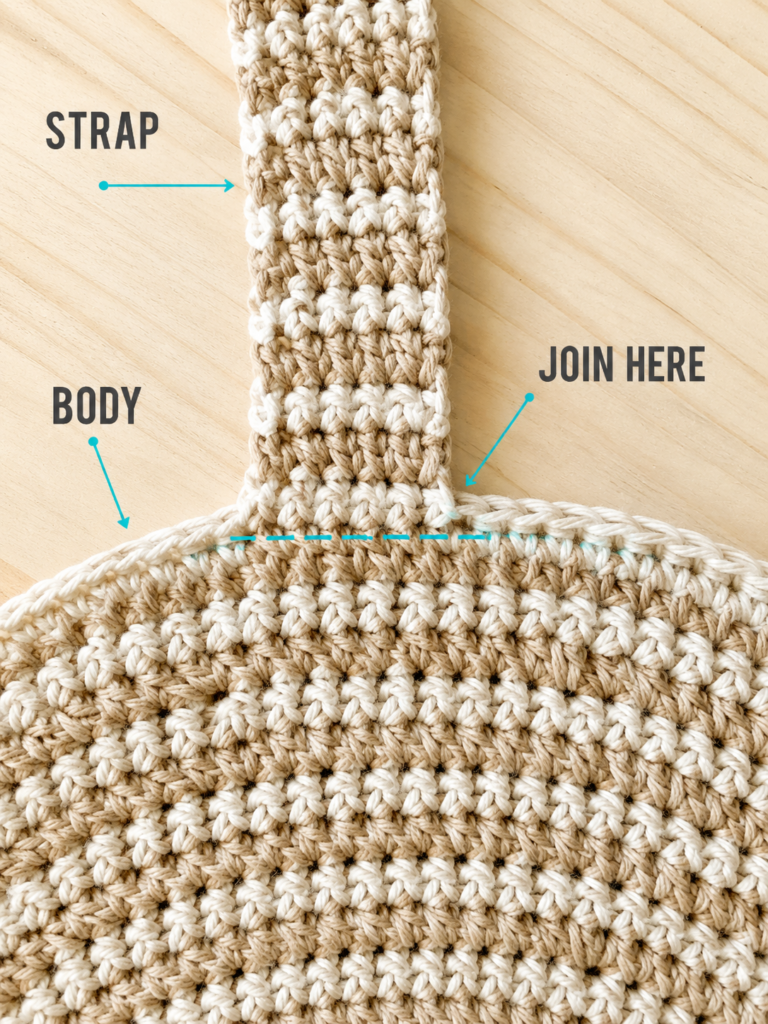
Bring the free strap end toward the second eight-stitch anchor on the same face of the tote.
Before attaching it, run your fingers from one end of the strap to the other.
Make sure there are no twists.
Align the eight strap stitches with the eight marked tote stitches.
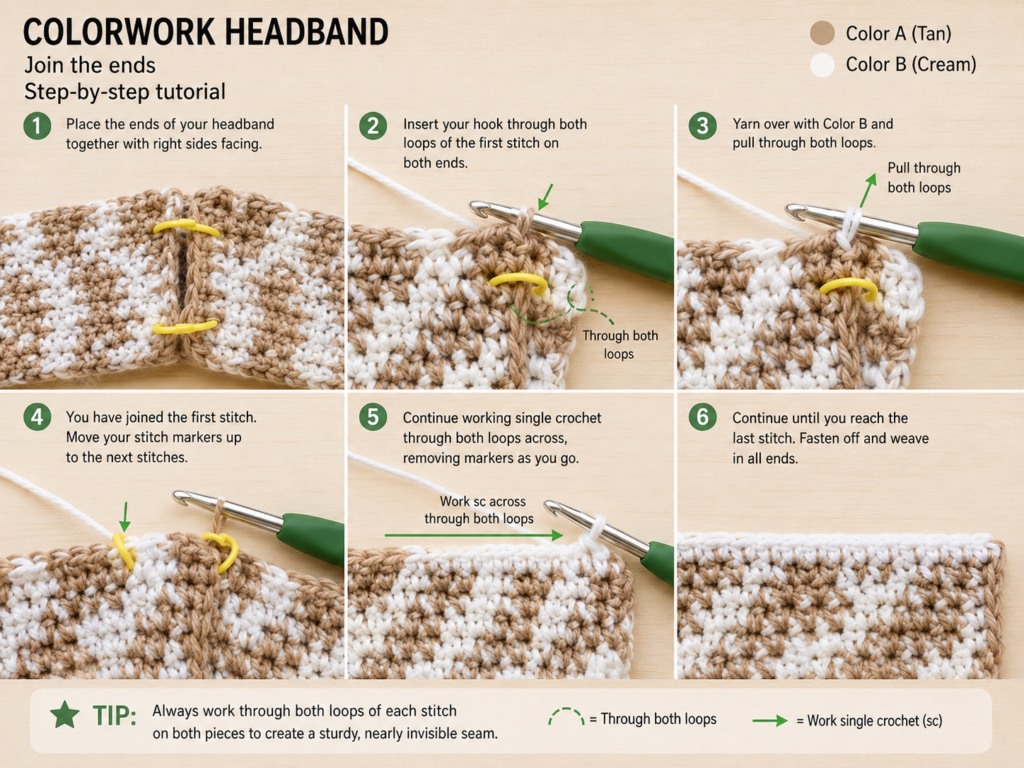
Slip stitch through the strap and tote edge across all eight positions.
Leave a long tail.
Thread the tail onto a tapestry needle and reinforce the attachment by whipstitching across the join once more.
Repeat the same procedure on the opposite face to make the second handle.
Measure the first finished strap before completing the second one so the two handles match.
Beginner tip
Measure the actual strap length rather than assuming the second handle will match because it has the same number of rows. Small tension changes accumulate over a long strap.
Common mistake to avoid
Always check for a twisted strap before the first attachment stitch.
Pattern Notes or Stitch Notes
Turning chains
The ch 1 at the beginning of sc and hdc rounds does not count as a stitch.
The ch 2 before a crossed-dc round also does not count as a stitch.
For the straps, ch 1 and turn after every row; the chain does not count.
Stitch count
After Base Round 5, the tote has 98 stitches.
Maintain 98 stitches through the entire body.
Do not increase after beginning the walls.
Repeat pattern
The center texture uses:
- Crossed-dc round.
- Sc round.
- Two hdc rounds.
The design uses three crossed-dc bands.
Right side and wrong side
Because the bag is worked in the round, keep the outside of the tote facing you as you crochet the body.
The straps are worked back and forth in rows, so they naturally have alternating right- and wrong-side rows.
Size adjustment
For a wider tote, begin with a slightly longer foundation chain.
For more depth, add another controlled base-increase round before beginning the BLO wall round.
For a taller bag, add extra body rounds before marking the straps.
For a smaller bag, stop the base one increase round earlier.
Remember that changing the base size changes the final circumference, so you will need to recalculate handle positioning rather than using the exact 49-stitch face division.
Common Beginner Mistakes
1. The base starts ruffling
Cause: Too many increases.
Fix: Check the curved ends. Increases should remain concentrated there rather than appearing along the straight sides.
2. The base cups upward too early
Cause: Missed increases, very tight tension, or a hook that is too small.
Fix: Verify your stitch count and gently lay the work flat after every base round.
3. The bag keeps widening after the bottom
Cause: Continuing to increase after Base Round 5.
Fix: The body must stay at 98 stitches. Work one stitch into each stitch.
4. The decorative crossed stitches contract
Cause: Pulling the second dc of each pair too tightly.
Fix: Allow the working loop a little extra room while reaching back into the skipped stitch.
5. One strap narrows toward the top
Cause: Missing the first or final sc in some rows.
Fix: Count eight stitches regularly. A locking marker in the first and last strap stitch can help.
6. The handles stretch dramatically
Cause: Loose tension or highly elastic yarn.
Fix: Use cotton, shorten the strap slightly, and reinforce the inside with cotton twill tape if you expect to carry heavier books.
7. One handle is twisted
Cause: Attaching the second end without checking orientation.
Fix: Follow the strap from its first anchor to the free end with your fingers before joining.
How to Customize This Crochet Project
Yarn changes
A sturdy cotton or cotton-acrylic blend is the safest starting point.
Avoid very soft chenille, fluffy novelty yarn, or extremely stretchy acrylic if the bag will regularly hold books.
Color changes
For a university-inspired version, try:
- Navy + cream
- Forest green + oatmeal
- Burgundy + soft gray
- Black + camel
- Denim + ivory
- Terracotta + beige
You can also work the entire tote in one color and let the crossed stitch provide the texture.
Size changes
For an everyday smaller tote, stop after Base Round 4 and crochet fewer body rounds.
For a large lecture-day tote, increase the base once more and add two to four body rounds.
Always test your intended contents against the base before building the walls.
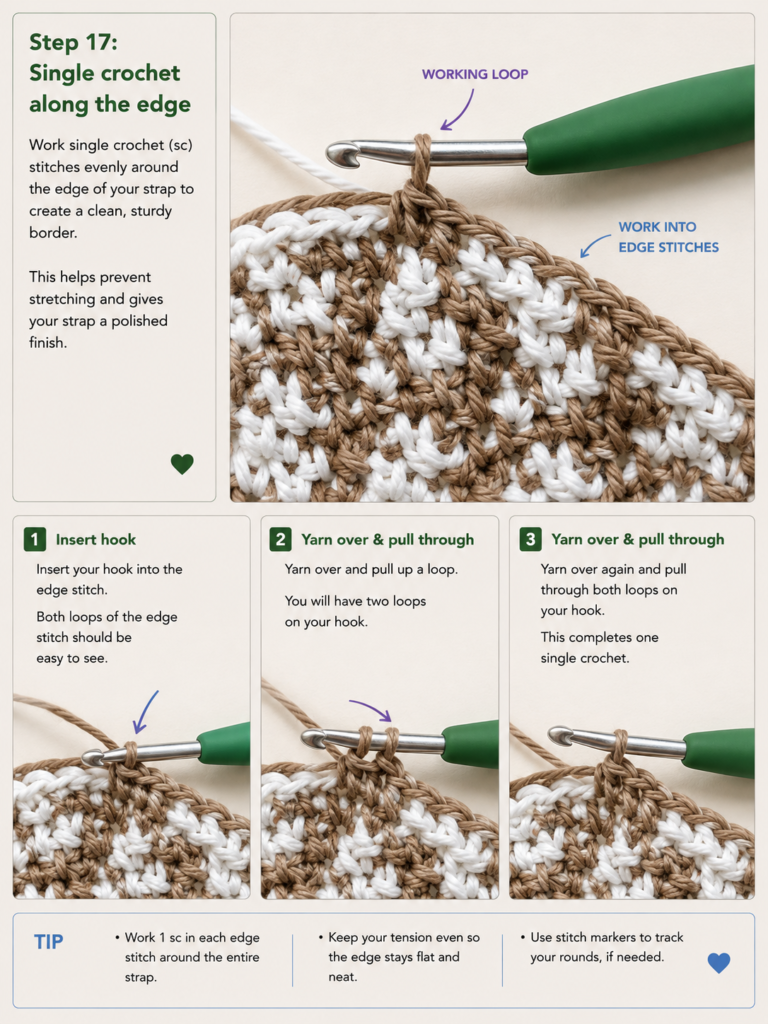
Border options
The upper edge is already dense, but you can add one finishing round of:
- Slip stitch
- Single crochet
- Reverse single crochet
Avoid bulky scallops directly around the strap anchors.
Texture options
If you do not want crossed double crochet, replace each crossed-dc round with:
- Hdc
- Moss stitch
- Extended single crochet
- Simple alternating sc and hdc
The final height may change slightly.
Optional lining
A cotton lining can substantially improve the practicality of a college tote.
It helps prevent pens, keys and notebook corners from pushing between crochet stitches.
Add a small interior pocket for a student ID, phone, or earbuds.
Strap reinforcement
For heavier use, sew narrow cotton twill tape to the inside of each finished crochet strap.
Keep it slightly shorter than the stretched strap so the tape takes much of the load.
A crochet tote is suitable for ordinary books and campus supplies, but a fragile laptop deserves a padded sleeve or dedicated protective compartment rather than relying on crochet alone.
Gift ideas and uses
The finished design also works as:
- Library bag
- Teacher tote
- Book-club gift
- Planner bag
- Yarn-project bag
- Study tote
- Bookstore bag
- Everyday shoulder bag
Finishing Instructions
Once both straps are attached, cut the yarn leaving a tail of at least six inches.
Pull the tail through the final loop.
Thread each yarn tail onto a blunt tapestry needle.
Weave through several stitches on the wrong side.
Change direction and weave through another section before trimming.
Pay extra attention to the four strap anchors. Those ends experience more strain than decorative color-change tails.
If the tote looks uneven, lightly damp-block it.
Do not aggressively stretch it to measurements. The goal is to smooth the stitches and encourage the base and upper edge to sit straight.
Allow the bag to dry flat or supported in its natural shape.
For washing, follow the care instructions printed on the yarn label rather than assuming every cotton yarn has identical requirements. The Craft Yarn Council’s care guide explains the standard washing, drying, bleaching and ironing symbols commonly used on yarn labels.
Quick Printable-Style Summary
Skill level: Easy / Advanced Beginner
Finished size: Approximately 15–15.5 in wide × 14–15 in tall × 4–4.5 in deep
Yarn: #4 medium cotton or firm cotton blend, approximately 550–650 yd
Hook: 5.0 mm
Main stitches: ch, sc, hdc, dc, sl st, BLO, crossed dc
Starting method: Ch 37 and work around both sides of the foundation to create an oval base.
Base counts:
- Round 1: 74 sts
- Round 2: 80 sts
- Round 3: 86 sts
- Round 4: 92 sts
- Round 5: 98 sts
Body: Maintain 98 sts after the base.
Lower section: BLO transition plus dense sc rounds.
Middle section: Hdc, sc and three crossed-dc accent rounds.
Upper section: Dense sc for strap support.
Straps: Two straps, each 8 sc wide and approximately 24 in long.
Finishing: Reinforce strap anchors, weave in ends and lightly block.
FAQ
Is this crochet tote bag pattern suitable for complete beginners?
It is best for an advanced beginner who already knows how to chain and single crochet. The crossed double crochet is the most unfamiliar stitch, but the project does not require difficult shaping, sewing multiple large panels, or complex colorwork.
If you can reliably make sc, hdc and dc stitches, the new techniques are manageable.
What yarn is best for a crochet college tote?
A medium-weight cotton or cotton-heavy blend is one of the most practical options. It provides useful structure without making the tote excessively bulky.
Very stretchy yarn can make the bag and straps lengthen when loaded.
Will a crochet tote stretch when I put books inside?
Some stretching is normal.
Dense stitches, cotton yarn, a solid base, wide straps and optional lining all help control it.
Avoid making the body or straps with very loose tension.
Can I use this tote for a laptop?
You can carry a laptop only if you provide appropriate protection. Crochet fabric is not impact-resistant or padded.
For electronics, use a padded laptop sleeve inside the tote and reinforce the bag and straps appropriately.
How can I make the handles shorter?
Simply stop the strap rows once the strap reaches your preferred length.
For hand carrying, try approximately 15–18 inches.
For a shoulder tote, 22–26 inches is a useful starting range, but check the fit against your own shoulder before attaching the free end.
Can I make the entire tote in single crochet?
Yes.
Replace the decorative cream section with sc rounds while maintaining the same 98-stitch count.
The result will be denser and somewhat slower to crochet but very straightforward.
How do I stop the tote bottom from curling?
First verify the base stitch counts.
If the counts are correct but the base still cups, your tension may be too tight.
If the base ruffles, you probably have too many increases.
The bottom should lie mostly flat before you deliberately start the wall section.
Conclusion
A college tote needs to do more than look good in a finished photograph. The bottom should support books, the body should stay reasonably solid, and the handles should remain comfortable after the bag is filled.
This version combines a firm oval base, uncomplicated single-crochet sections, a small amount of decorative texture, and two wide shoulder straps, making it a useful next project for a beginner who is ready to move beyond scarves and flat rectangles.
Once you have made the first one, the same construction can be adapted into a smaller library bag, a taller book tote, a one-color everyday bag, or a fully lined campus tote with pockets.
Save the tutorial before starting so you can return to the base-increase sequence and strap measurements while you work.