A miniature backpack is one of those crochet projects that looks far more complicated than it actually is.
This crochet school backpack keychain pattern turns a small amount of leftover yarn into a tiny backpack complete with an oval base, real pouch opening, drawstring, flap, front pocket, shoulder straps and a reinforced key-ring loop.
Because most of the project is worked in single crochet, it is approachable for a confident beginner. You will also get useful practice with crocheting around a foundation chain, working in the back loop, increasing around curves, making a simple buttonhole and sewing small crochet pieces neatly into place.
The school-inspired navy, mustard and cream color combination makes it especially suitable for back-to-school season, teacher gifts, locker keys, lunch bags and backpack charms.
The tutorial below is an original construction developed for this article. The selected source above was used only to study how clear step-by-step photographs can document miniature-backpack construction.
What You’ll Learn
By completing this project, you will practice:
- Making an oval crochet base.
- Crocheting on both sides of a foundation chain.
- Using increases to shape curved ends.
- Using BLO stitches to create a crisp bottom edge.
- Working straight rounds without accidentally increasing.
- Creating small drawstring eyelets.
- Shaping a tapered backpack flap.
- Making and attaching a tiny functional front pocket.
- Adding realistic backpack straps.
- Reinforcing crochet before attaching metal key-ring hardware.
- Weaving in ends neatly on a miniature project.
Materials You’ll Need
For one backpack keychain:
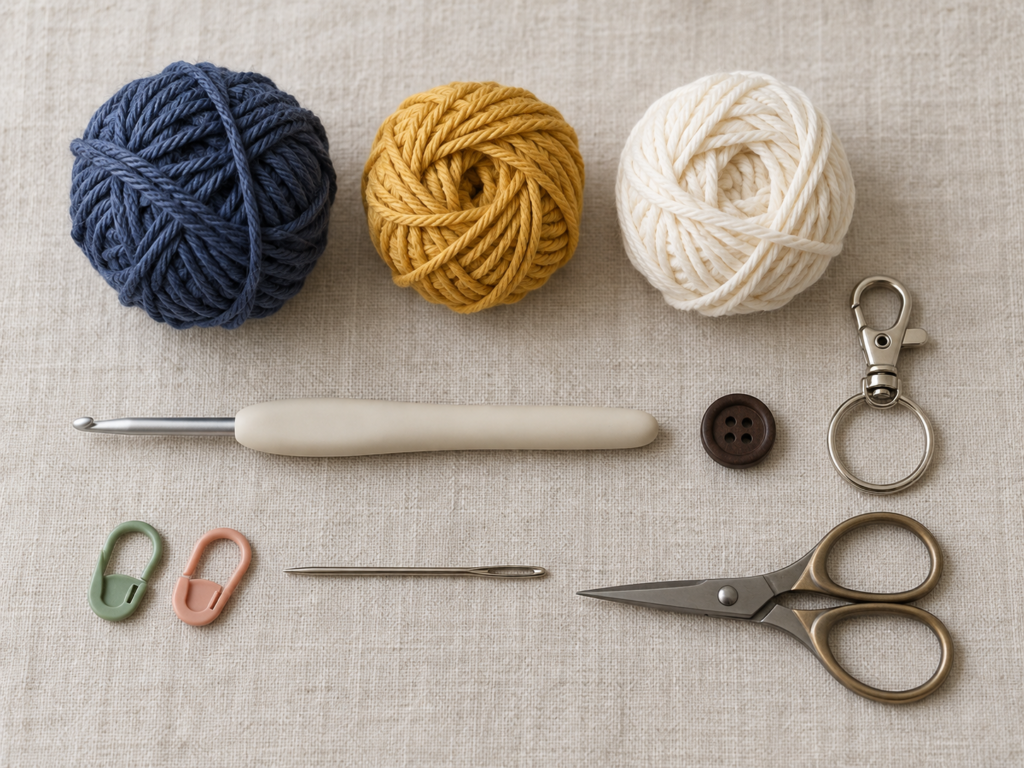
- Approximately 20–25 g sport or light DK cotton yarn in dusty navy blue.
- Approximately 5 g DK cotton yarn in mustard yellow.
- Approximately 3 g cream cotton yarn for the drawstring.
- 3.0 mm crochet hook.
- 10–12 mm flat button.
- 20–25 mm split key ring or small swivel keychain clasp.
- Tapestry needle.
- Scissors.
- Stitch marker.
- A few sewing pins are optional but useful when positioning the pocket and straps.
- Measuring tape is optional.
A smooth cotton yarn is an excellent choice because small stitches remain easy to see and the finished backpack keeps its shape well. If you substitute yarn, remember that yarn-weight categories are useful guidelines rather than a guarantee that two yarns will behave identically. The Craft Yarn Council recommends checking gauge when substituting yarns.
Crochet Abbreviations Used
These instructions use US crochet terminology.
- BLO = back loop only
- ch = chain
- dec = single crochet decrease
- inc = 2 single crochet stitches in the same stitch
- rnd = round
- sc = single crochet
- sk = skip
- sl st = slip stitch
- st/sts = stitch/stitches
These abbreviations follow widely used industry conventions.
US/UK terminology note
A US single crochet is called a double crochet in UK terminology. A US slip stitch is commonly abbreviated ss in UK patterns.
Before You Start
Gauge and tension
Exact gauge is not as critical for a keychain as it would be for a garment.
What matters more is making a dense fabric without obvious gaps. With DK cotton and a 3.0 mm hook, approximately 26–28 single crochet stitches across 4 inches/10 cm is a useful target.
If your fabric feels floppy, go down 0.25–0.5 mm in hook size.
If you are struggling to insert your hook, loosen your tension or go up slightly.
Count every shaping round
The first three rounds determine whether the backpack sits evenly. Place a marker in the first stitch and recount before beginning the next round.
Keep the straight sides straight
Once the base is finished, stop increasing. Accidentally adding even two stitches can make such a small backpack flare noticeably.
Do not overstuff it
This is designed as a tiny usable pouch, not a stuffed amigurumi.
Choose colors before beginning
For a recognizable school-backpack appearance, use:
- one darker body color;
- one contrasting pocket color;
- one light drawstring color.
Navy + mustard + cream gives the project a classic classroom feel, but nearly any three-color combination works.
Step-by-Step Crochet Tutorial
Step 1: Crochet the Oval Backpack Base
With navy yarn, ch 8.
Round 1
Beginning in the second chain from the hook:
- Sc in the next 6 chains.
- Work 3 sc into the final chain.
- Rotate the foundation chain so you can crochet along its unused underside loops.
- Sc in the next 5 underside loops.
- Work 2 sc into the final end loop.
Stitch count: 16 sts.
Do not turn.
Round 2
- Inc in the first st.
- Sc in the next 5 sts.
- Inc in each of the next 3 sts.
- Sc in the next 5 sts.
- Inc in each of the final 2 sts.
Stitch count: 22 sts.
Round 3
- Sc 1, inc.
- Sc in the next 5 sts.
- Repeat [sc 1, inc] three times around the first curved end.
- Sc in the next 5 sts.
- Repeat [sc 1, inc] twice around the second end.
Stitch count: 28 sts.
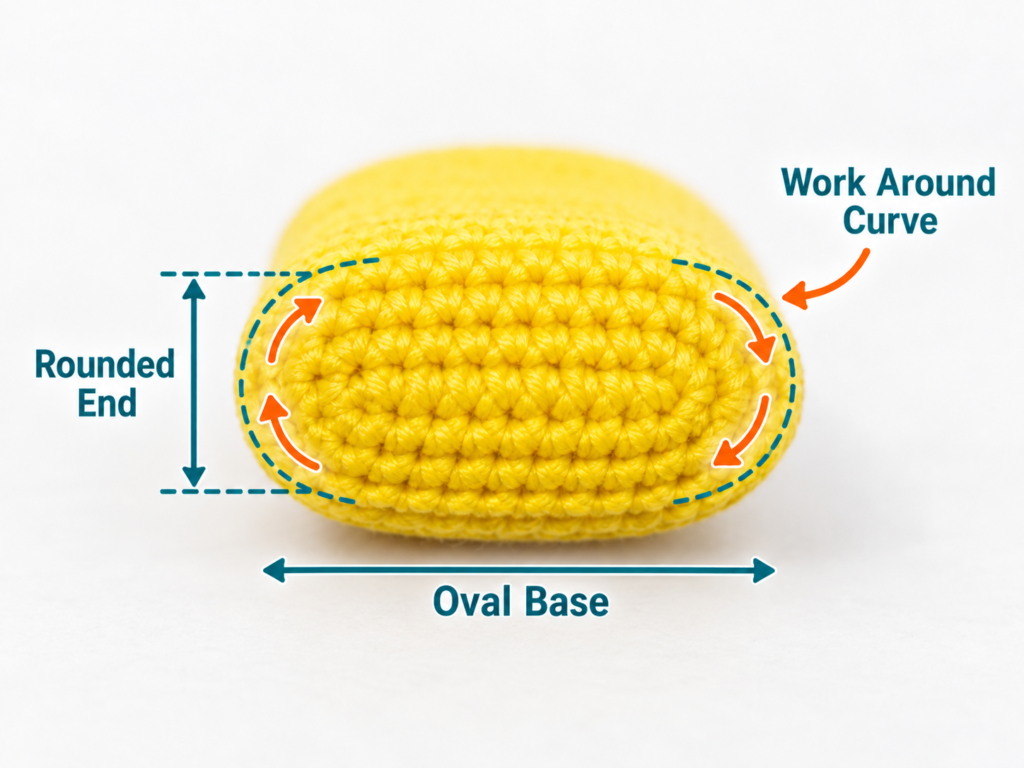
Your work should now resemble a small flattened capsule or oval.
Beginner tip
If you cannot see the unused loops underneath the foundation chain, rotate the chain toward you rather than turning the entire project over. The second half of Round 1 is worked into the opposite side of the same foundation chain.
Common mistake to avoid
Do not place all increases at one end. Both curved ends need increases or the backpack will become lopsided.
Step 2: Create the Crisp Bottom Edge
Round 4
Work 1 sc in the BLO of every stitch around.
Stitch count: 28 sts.
The unused front loops form a small horizontal ridge around the base.
This is a useful miniature-bag technique: instead of allowing the base to blend gradually into the sides, the BLO round gives the fabric a clear point at which to bend upward.
Beginner tip
Look at the top of a single crochet stitch. You will see a small “V.” The loop farther from you is the back loop.
Insert the hook only through that loop.
Common mistake to avoid
Do not accidentally crochet through both loops halfway around. The ridge should continue around the entire base.
Step 3: Crochet the Backpack Body and Eyelets
Rounds 5–13
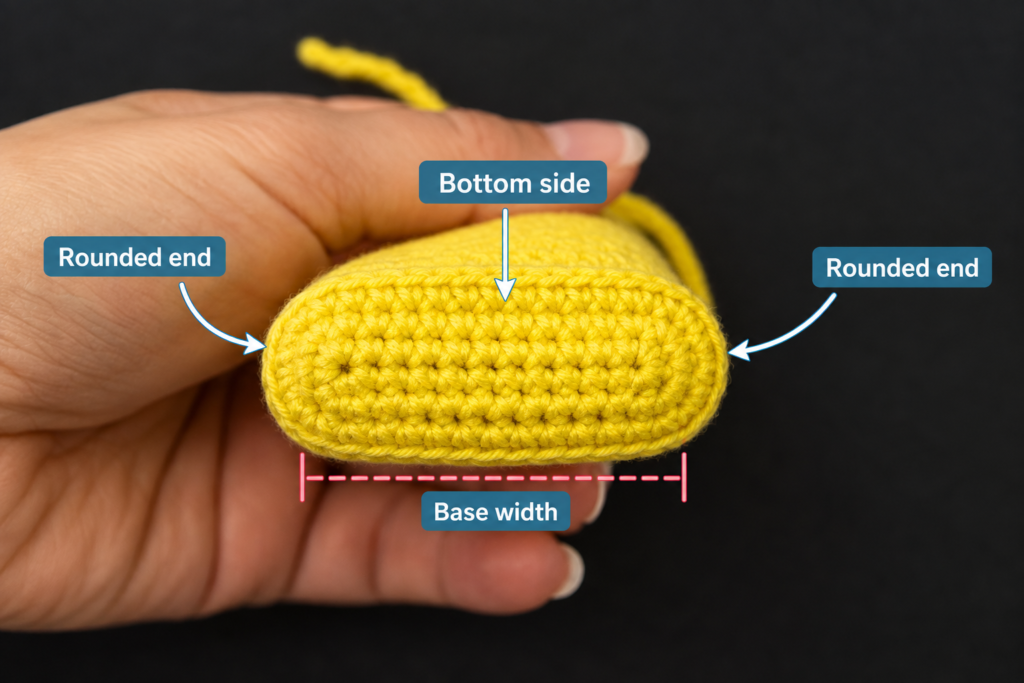
Sc once in every stitch around.
28 sts each round.
Your oval should gradually become a miniature pouch.
Stop occasionally and place the project on a flat surface. The sides should rise approximately vertically instead of widening.
Round 14 – Eyelets
Repeat the following seven times:
Sc in next 3 sts, ch 1, sk 1.
You now have seven evenly spaced openings.
Round 15
Sc in every sc and work 1 sc into each ch-1 space.
28 sts.
Fasten off the navy yarn.
Beginner tip
Before working the eyelet round, locate the center front of the backpack. Ideally one opening should appear reasonably close to each side of the front rather than creating a noticeably uneven arrangement.
Common mistake to avoid
Do not crochet into the skipped stitch underneath each chain. You are deliberately creating a hole for the drawstring.
Step 4: Crochet the Backpack Flap
Turn the backpack so the seam/round marker is toward the back.
Find 11 centered stitches along the rear top edge.
Join navy yarn.
Flap Row 1
Ch 1 and sc across the 11 selected stitches.
11 sts. Turn.
Row 2
Ch 1, sc across.
11 sts.
Row 3
Ch 1, dec, sc 7, dec.
9 sts.
Row 4
Ch 1, sc across.
9 sts.
Row 5
Ch 1, dec, sc 5, dec.
7 sts.
Row 6
Ch 1, sc across.
7 sts.
Row 7 – Buttonhole
Ch 1.
Sc in the first 2 sts, ch 3, sk 3, sc in the final 2 sts.
Fasten off.
The flap should now taper gently toward the buttonhole.
If desired, join navy yarn at one upper corner and work slip stitches around the outside edges to give the flap a more defined outline.
Beginner tip
Before fastening off, fold the flap forward. If it does not reach the front where you want the button, add one plain row before making the buttonhole.
Common mistake to avoid
Do not decrease in every row. Alternating plain rows with decrease rows creates a smoother taper.
Step 5: Crochet and Attach the Front Pocket
With mustard yarn:
Ch 7.
Pocket Row 1
Sc in the second ch from the hook and across.
6 sts.
Rows 2–5
Ch 1, turn, sc across.
6 sts each row.
Fasten off, leaving approximately 10 inches/25 cm for sewing.
Center the pocket on the lower front of the backpack.
Pin it temporarily if necessary.
Using the long tail:
- Sew down one side.
- Sew along the bottom.
- Sew up the opposite side.
- Leave the top edge open.
Do not sew the pocket so tightly that the backpack front puckers.
Next, close the flap and determine where the buttonhole naturally reaches.
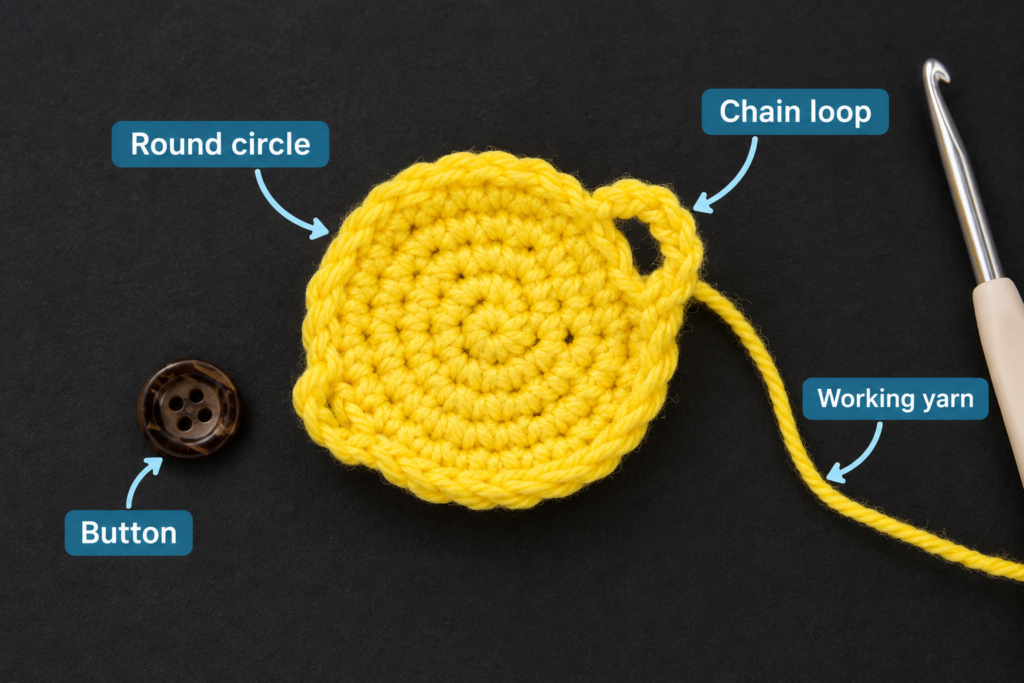
Sew the button securely to the backpack body above the pocket.
Beginner tip
Use the stitch rows on the main backpack as alignment guides. Counting an equal number of stitches from each side is more reliable than judging placement by eye.
Common mistake to avoid
Avoid sewing the button onto the functional pocket itself unless you intentionally want the pocket held closed.
Step 6: Make the Drawstring
With cream yarn, ch 48.
For a more substantial cord, work a slip stitch into each chain beginning in the second chain from the hook.
Fasten off.
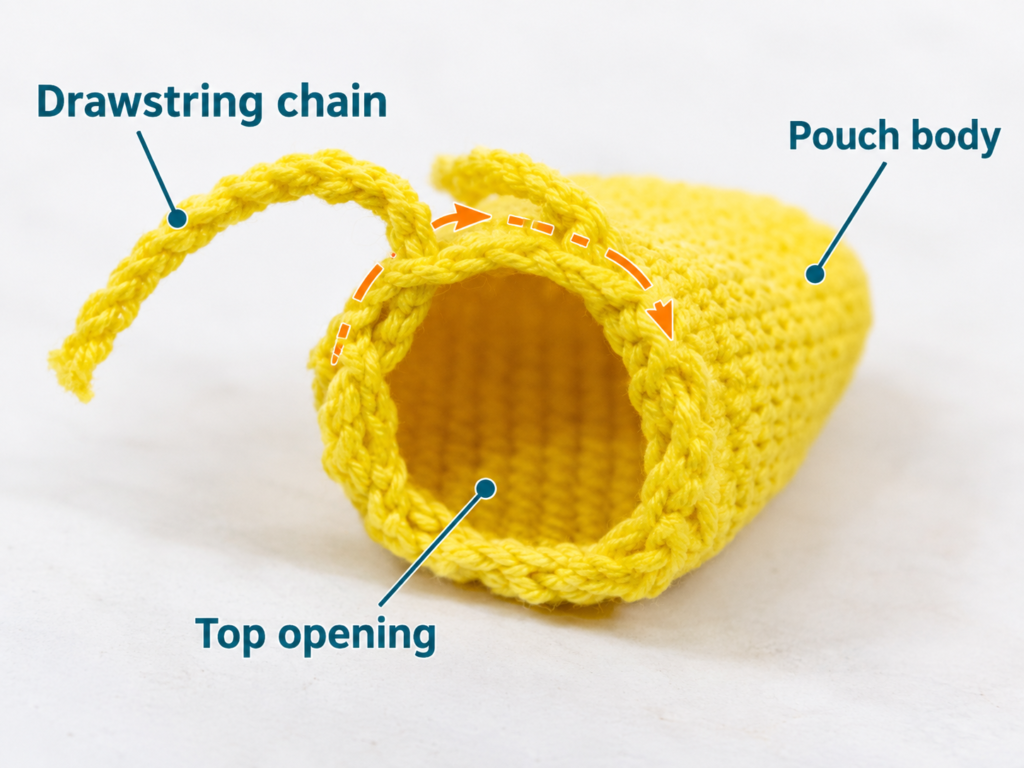
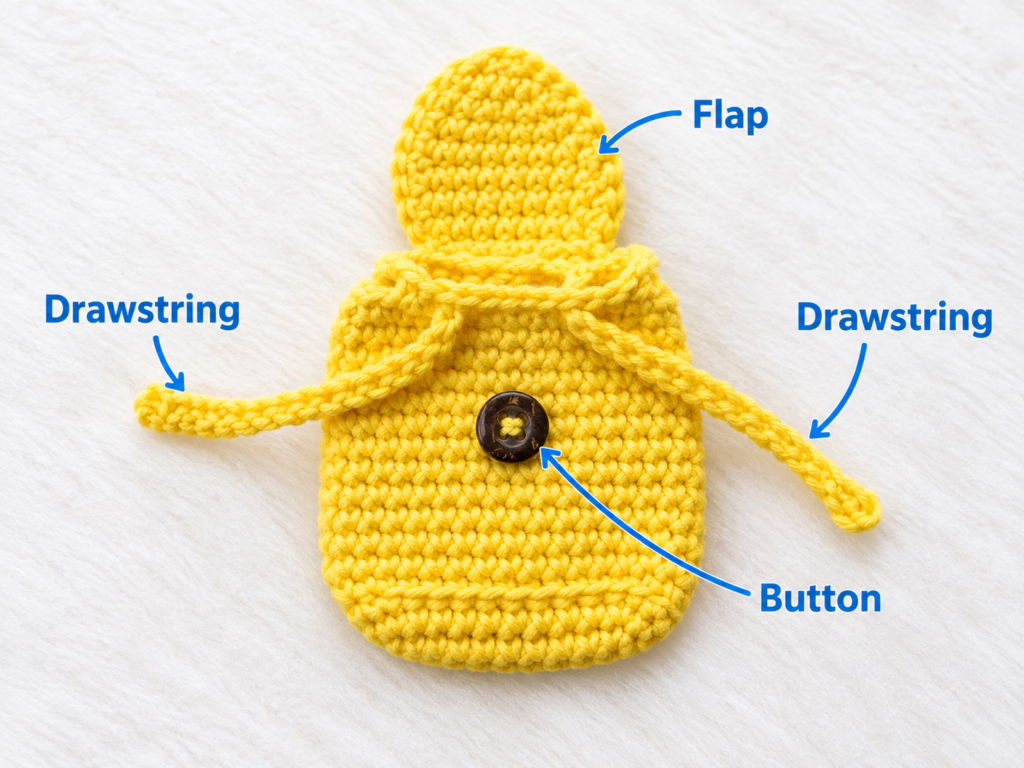
Using the tapestry needle or the blunt end of your hook, feed the cord through the eyelets:
- in through one opening;
- out through the next;
- continue alternating around the backpack.
Arrange both cord ends at the center front.
Tie a small overhand knot at each end.
Pull the cords gently. The top should gather without collapsing.
Beginner tip
Thread the cord while the backpack is still empty. It is much easier to find every eyelet.
Common mistake to avoid
Do not make the drawstring excessively thick. On a project this small, a bulky cord can distort the opening.
Step 7: Add the Backpack Straps
Make two.
With navy yarn, ch 19.
Starting in the second chain from your hook, work 1 slip stitch into every chain.
Fasten off with long tails at both ends.
Turn the backpack around.
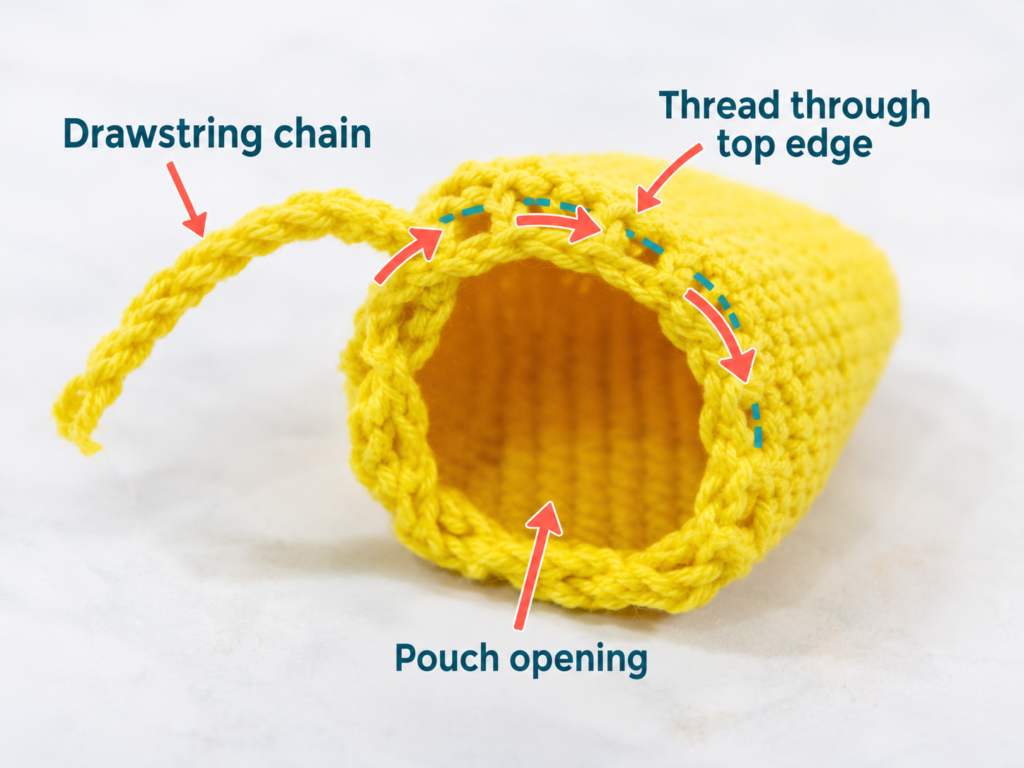
Position both straps vertically:
- upper ends approximately ½ inch/1.25 cm apart near the upper back;
- lower ends near the two bottom corners.
Use the yarn tails to sew each end firmly into place.
Beginner tip
Pin both straps before sewing either permanently. Compare them from several angles.
Common mistake to avoid
Do not pull the straps perfectly tight against the backpack. Leave the slightest curve so they resemble real shoulder straps.
Step 8: Make the Reinforced Key-Ring Tab
With navy yarn, ch 10.
Starting in the second chain from your hook, slip stitch across.
Fasten off with two long tails.
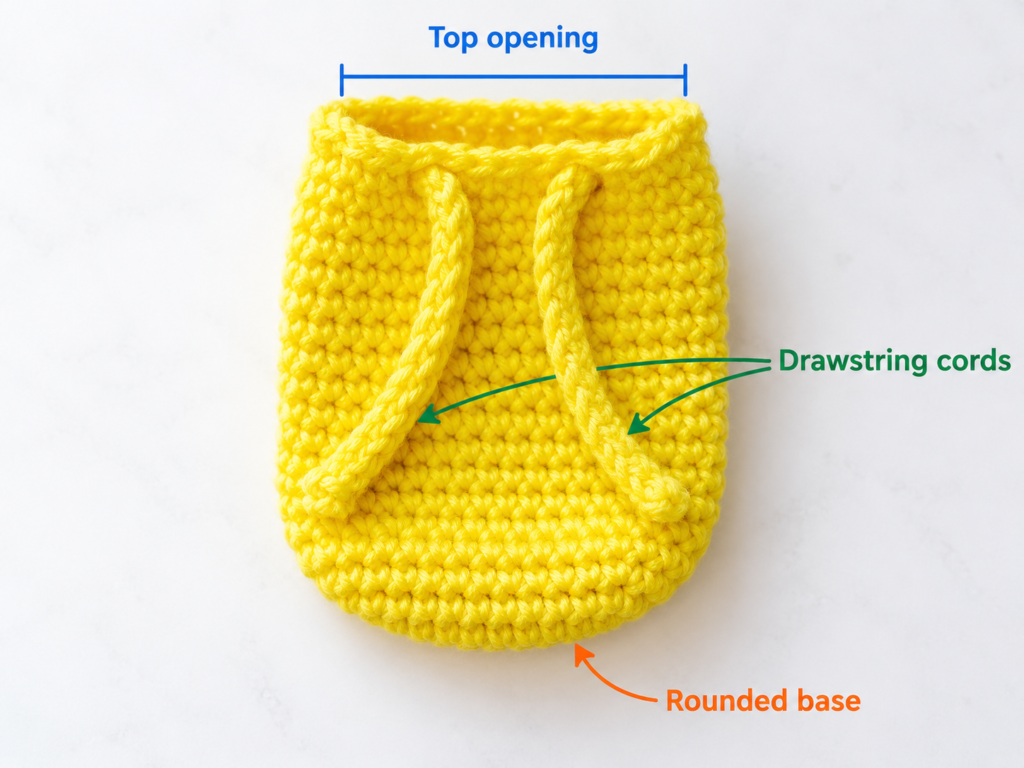
Pass the strip through your swivel clasp or split-ring attachment point and fold it in half.
Position the two ends together at the center back of the backpack, just behind the flap.
Sew through:
- the first end;
- backpack fabric;
- second end;
several times.
This is one part of the project where extra reinforcement is worth the effort. The backpack may be light, but keychains are repeatedly pulled, twisted and caught on other objects.
Weave the tails into the inside of the backpack.
Safety note
Buttons, beads and key-ring hardware are small parts. This backpack keychain is an accessory, not a toy for babies or toddlers. If giving it to a child, make sure the hardware and button are securely attached.
Pattern Notes or Stitch Notes
Turning-chain rule
The ch 1 at the beginning of flap and pocket rows is a height adjustment only. It does not count as a stitch.
Body stitch count
After Round 3, you should have 28 stitches.
Maintain 28 stitches through the straight body rounds.
Eyelets
Round 14 creates seven openings.
Do not accidentally work into the skipped stitches beneath those chain spaces on the following round.
Right side and wrong side
The backpack body is worked in rounds, so there is not a traditional right/wrong side distinction during the body.
For the pocket and flap, the side facing outward after assembly becomes the visible right side.
Size adjustments
For a taller backpack, add straight sc rounds before the eyelet round.
For a slightly wider backpack, add another evenly distributed increase round to the base before beginning the BLO round. Remember that increasing the base means every subsequent body round will also contain more stitches.
Common Beginner Mistakes
1. The base twists instead of lying flat
Cause: Too few increases or missed stitches along one curved end.
Fix: Undo the most recent round and recount both ends before continuing.
2. The backpack gets wider as it gets taller
Cause: Accidental increases during the straight body rounds.
Fix: Confirm that every round still has 28 stitches.
3. The bottom ridge disappears
Cause: Some stitches in Round 4 were worked through both loops.
Fix: Make sure the hook enters only the back loop during that round.
4. The flap sits off-center
Cause: The starting stitches were not centered across the rear of the bag.
Fix: Fold the body flat with the center front facing you, mark the center back, then count equally outward before attaching the flap yarn.
5. The pocket puckers the front
Cause: Sewing stitches are too tight.
Fix: Undo the seam and resew with enough slack for the pocket and backpack fabric to lie naturally.
6. The drawstring will not slide
Cause: The cord is too thick or the eyelets are too small.
Fix: Use a plain chain instead of a slip-stitched chain, or enlarge the eyelets to ch 2 on your next backpack.
7. The key-ring tab feels weak
Cause: It was attached through only one crochet stitch.
Fix: Sew through several neighboring body stitches and through both layers of the folded tab multiple times.
How to Customize This Crochet Project
Change the school colors
Try combinations such as:
- burgundy + cream;
- forest green + gold;
- royal blue + gray;
- lavender + white;
- black + red.
It can also be made in actual school colors for a personalized back-to-school gift.
Add an embroidered initial
Use contrasting yarn to embroider a small letter onto the front pocket before sewing it to the backpack.
Make the pocket wider
Start with ch 8 or ch 9 instead of ch 7.
Check the pocket against the backpack before finishing it because only a few additional stitches make a large visual difference at this scale.
Skip the drawstring
For an even simpler version, omit the eyelet round and rely only on the flap and button.
Add a striped body
Change yarn for two or three straight body rounds.
Carrying the unused yarn inside the backpack is often easier than cutting it after every stripe.
Turn it into a bag charm
Replace the split ring with a lobster clasp.
Make matching teacher gifts
A miniature backpack keychain paired with a crochet apple, pencil or book charm makes a cohesive handmade school-themed gift set.
Finishing Instructions
Inspect the backpack from every side before weaving in the final ends.
Check that:
- the pocket is centered;
- the flap closes without stretching;
- the buttonhole fits the button;
- the drawstring slides;
- both straps are level;
- the key-ring tab feels secure.
Use a tapestry needle to weave each tail through several nearby stitches inside the backpack. Reverse direction once before trimming; this gives small accessories more resistance to repeated handling.
Blocking
Heavy blocking is unnecessary.
If the backpack looks slightly uneven:
- dampen it lightly;
- shape the base with your fingers;
- align the pocket and flap;
- allow it to air dry.
Avoid excessive heat, particularly if you substituted acrylic yarn.
Washing and care
Hand washing or spot cleaning is safest because the project contains a button and metal keychain hardware.
Gently reshape while damp and air dry flat.
Quick Printable-Style Summary
Skill level: Confident beginner
Finished size: Approximately 2½–3 inches wide and about 3–3¼ inches tall, excluding keychain hardware. Exact measurements depend on yarn and tension.
Materials: Sport/light DK cotton, 3.0 mm hook, button, key-ring hardware, needle, scissors and stitch marker.
Main stitches: Ch, sc, sl st, inc, dec, BLO.
Starting method: Chain 8 and crochet around both sides to form an oval.
Base: Increase over three rounds until you have 28 stitches.
Body: Work one BLO round followed by straight sc rounds.
Closure: Add an eyelet round, cream drawstring and tapered button flap.
Details: Crochet a mustard front pocket, two narrow shoulder straps and a reinforced key-ring tab.
Finishing: Weave in all ends, reshape gently and attach metal hardware securely.
FAQ
Is this crochet school backpack keychain suitable for beginners?
Yes, provided you already know chain and single crochet.
The two skills most likely to feel new are crocheting around both sides of a foundation chain and working through the back loop only. Both are repeated slowly in this tutorial.
What yarn is best for a crochet backpack keychain?
Smooth sport or light DK cotton works particularly well because the stitches remain defined and the fabric is firm.
Acrylic can also work, but choose a smooth variety rather than fuzzy yarn.
Can I use worsted-weight yarn?
Yes.
Your backpack will be larger, particularly if you keep the same stitch counts. Try a 3.5–4.0 mm hook with worsted yarn if you still want a dense miniature fabric.
Do I need to check gauge?
You do not need garment-level gauge precision, but tension still controls the finished size and firmness.
Gauge is fundamentally the number of stitches and rows within a measured area, so a meaningful change in your tension or yarn will change the dimensions of the finished backpack.
Can the mini backpack actually hold something?
Yes. The body and little front pocket are functional.
Depending on your finished size, you could use the main compartment for a folded note, coin, tiny stitch markers or similarly small lightweight objects.
Avoid placing anything heavy inside because the key-ring tab is crocheted rather than made from webbing.
Can I make it without a button?
Yes.
Alternatives include a tiny snap fastener, loop-and-bead closure or simply allowing the flap to rest over the gathered drawstring.
For a child’s accessory, avoid poorly secured small embellishments.
How do I make the backpack larger?
The easiest method is using heavier yarn and a larger hook.
If you want to change the stitch count instead, enlarge the oval base first and then maintain the new total through every straight body round.
Conclusion
A tiny crochet backpack is a useful project for learning bag construction without committing to a full-sized bag.
Once you understand the sequence—oval base → upright walls → eyelets → flap → pocket → drawstring → straps → key-ring tab—you can turn the same basic idea into dozens of school-themed charms.
Try the first one in navy and mustard, then make another in school colors, add an embroidered initial to the pocket, or turn a set into handmade back-to-school gifts.





