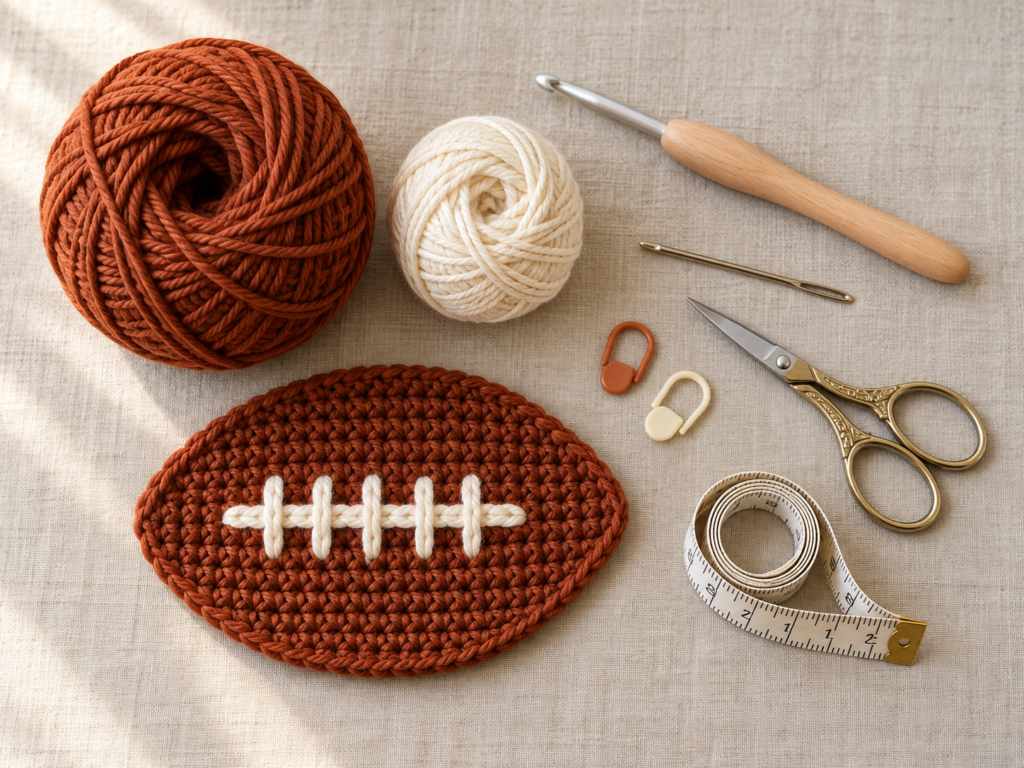
A crochet football coaster is a small project with a surprisingly useful collection of beginner skills packed into it. You get to practice increasing, crocheting straight edges, decreasing, working an edging, weaving in ends, and adding a simple embroidered detail—but you can still finish the project in roughly an hour.
This version is especially designed for beginners. Instead of constructing the coaster from complicated rounds or requiring a chart, we will crochet the football flat in rows. We start with one narrow tip, increase gradually until the football reaches its widest point, keep the center straight for several rows, and then reverse the process to create the opposite tip.
Finally, a single crochet border sharpens the silhouette and cream yarn creates the familiar football laces.
The result is a practical coaster approximately 6–7 inches long and 3½–4 inches wide, depending on your yarn, hook, and tension.
What You’ll Learn
By the end of this tutorial, you will know how to:
- make symmetrical crochet increases;
- recognize the real first and last stitch of a row;
- maintain an even stitch count through a straight section;
- work an hdc2tog decrease;
- mirror crochet shaping;
- crochet evenly around row ends;
- embroider simple football laces;
- weave in ends cleanly;
- lightly block a coaster into shape.
Materials You’ll Need
For one coaster, gather:
- Medium #4 cotton yarn in warm rust, chestnut or football brown;
- a small amount of Medium #4 cream or ivory yarn;
- 4.5 mm crochet hook;
- tapestry or yarn needle;
- small scissors;
- two removable stitch markers;
- measuring tape.
Cotton is an excellent choice for drink coasters because it creates a firm, defined fabric. Medium #4 includes yarns commonly described as worsted, afghan, or aran.
Crochet Abbreviations Used
This tutorial uses US crochet terminology.
- ch = chain
- hdc = half double crochet
- hdc2tog = half double crochet two together
- sc = single crochet
- sl st = slip stitch
- st/sts = stitch/stitches
- inc = increase
- dec = decrease
- RS = right side
- WS = wrong side
These abbreviations agree with the Craft Yarn Council’s standard US abbreviation list. In UK terminology, US single crochet corresponds to UK double crochet, while US half double crochet corresponds to UK half treble crochet. Craft Yarn Council
Before You Start
Gauge and tension
Exact gauge is not essential for this project because a coaster does not need to fit a body.
What matters is consistency.
Your fabric should feel dense enough to support a glass without large gaps, but not so stiff that it refuses to lie flat.
If your stitches are extremely tight, a 5 mm hook may give you a better result. If your fabric is loose and floppy, try a 4 mm hook.
How to count stitches
Look at the top of your crochet row.
Every hdc creates a small V.
Count those V shapes—not the turning chain.
Placing a stitch marker into the first stitch of each row is extremely useful if you are new to crochet.
Turning chains
At the end of each row, make ch 1 and turn.
For this tutorial, that ch 1 provides height only and does not count as a stitch.
Keeping the football symmetrical
The shaping is deliberately mirrored.
Your stitch-count sequence will be:
2 → 4 → 6 → 8 → 10 → 12
Then you maintain 12 stitches.
The decrease section reverses the numbers:
12 → 10 → 8 → 6 → 4 → 2
Write these numbers on a small note beside you if necessary.
Avoiding curling
Minor curling in a small crochet piece often relaxes after the border and light blocking.
Strong curling usually signals overly tight tension or uneven row edges.
Do not pull the yarn tight after finishing the final stitch of a row.
Step-by-Step Crochet Tutorial
Step 1: Crochet the First Football Point
With rust-brown yarn, ch 2.
Work 2 hdc into the second chain from the hook.
You now have:
Row 1: 2 sts
Ch 1 and turn.
That tiny two-stitch row is the first narrow end of your football.
Beginner tip
There is very little fabric to hold at this stage. Pinch the starting chain between your thumb and middle finger instead of trying to grip it with your whole hand.
Common mistake to avoid
Do not count the loop already sitting on your hook as a chain that you crochet into.
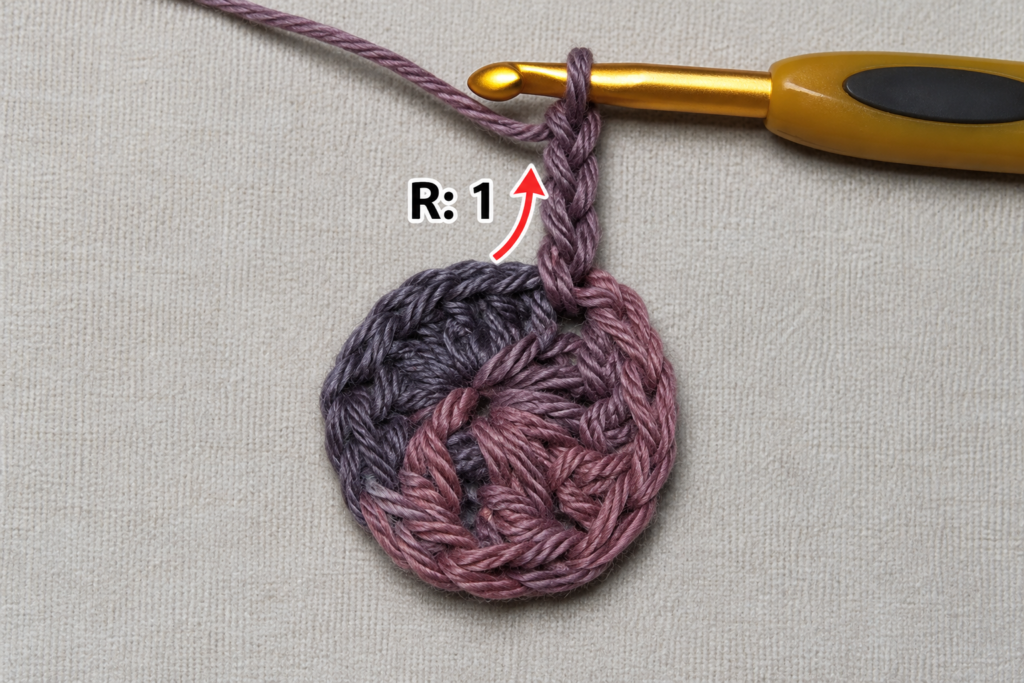
Step 2: Start Increasing the First Side
You will now widen both sides of the coaster.
Row 2
Work 2 hdc in each stitch across.
You should finish with:
4 sts
Ch 1, turn.
Row 3
Work:
- 2 hdc in first st;
- hdc in next 2 sts;
- 2 hdc in final st.
6 sts
Ch 1, turn.
Beginner tip
An increase simply means placing two stitches into one stitch.
Look carefully at the base of the stitches. Both new hdc stitches should enter the same V from the previous row.
Common mistake to avoid
Do not accidentally increase only one side. Both outside edges need to widen or the football will lean to one side.
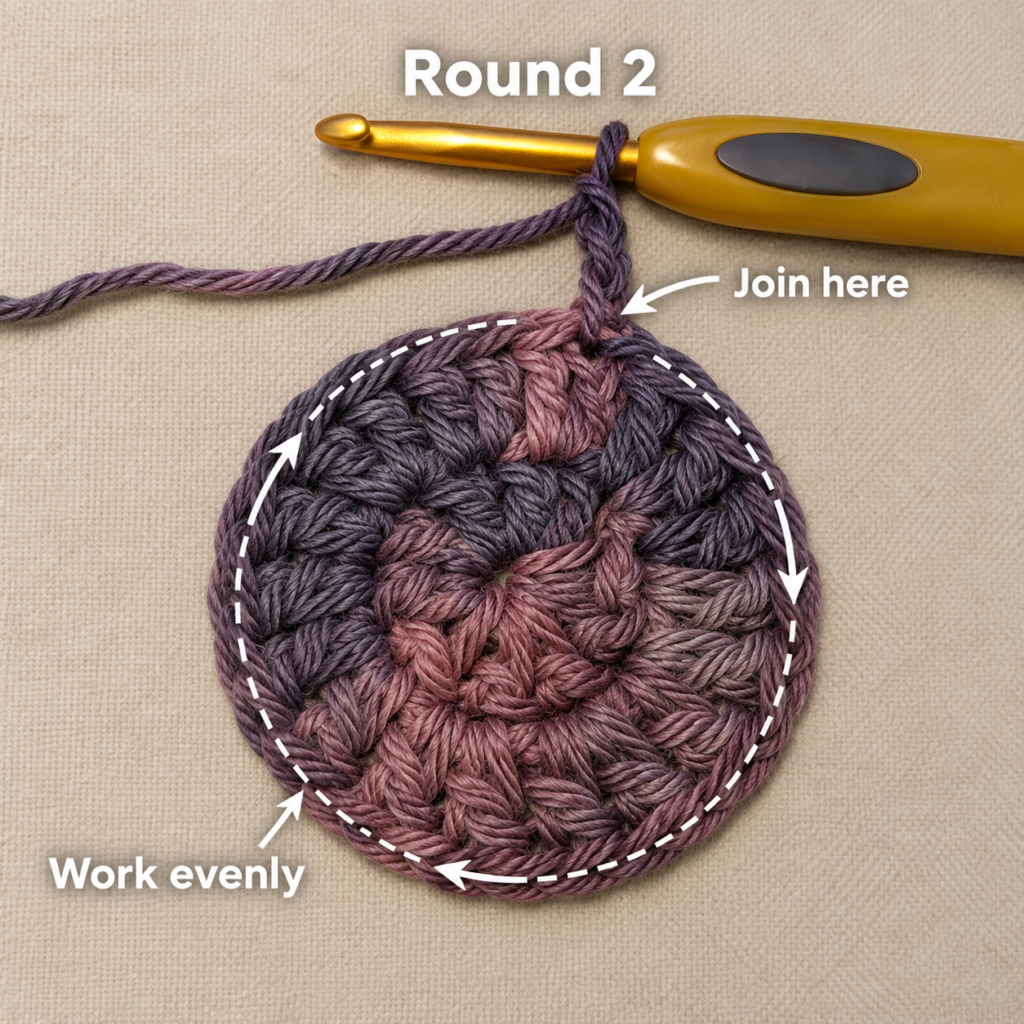
Step 3: Continue Increasing to Full Width
Continue the same principle.
Row 4
- 2 hdc in first st;
- hdc in next 4 sts;
- 2 hdc in final st.
8 sts
Ch 1, turn.
Row 5
- 2 hdc in first st;
- hdc in next 6 sts;
- 2 hdc in final st.
10 sts
Ch 1, turn.
Row 6
- 2 hdc in first st;
- hdc in next 8 sts;
- 2 hdc in final st.
12 sts
You have reached the maximum width.
The fabric should resemble one half of an elongated football: narrow at the bottom and gradually wider toward the working row.
Beginner tip
Count after every increase row.
Catching a missing stitch immediately is much easier than discovering it after the second half has been completed.
Common mistake to avoid
Do not crochet into the turning chain at the end. The turning chain does not count as a stitch in this pattern.
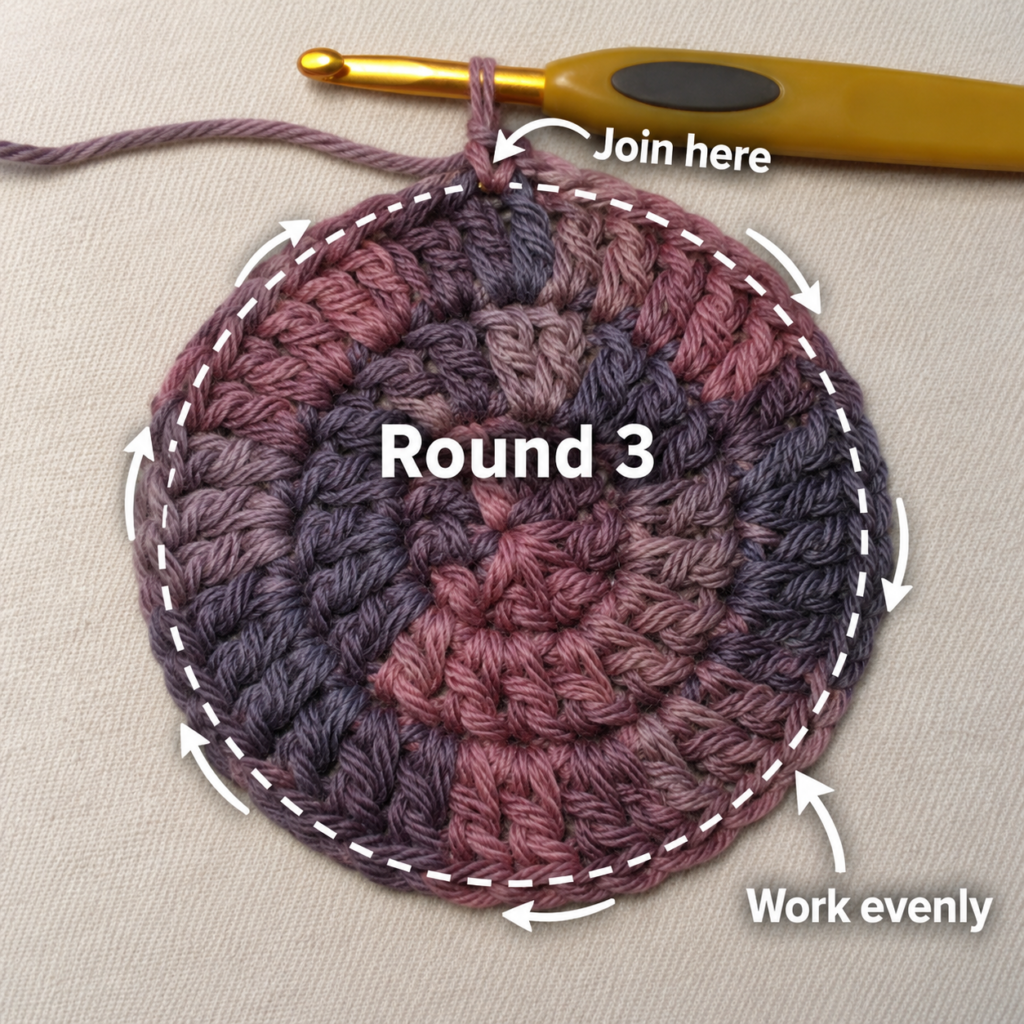
Step 4: Crochet the Straight Center Section
Now stop increasing.
Rows 7–12
At the beginning of each row:
Ch 1 and turn.
Then work:
1 hdc in every stitch across.
Each row contains:
12 sts
Repeat until Row 12 is complete.
These six even rows create the central body of the football.
Lay the piece flat after the first couple of straight rows. The sides of this section should remain approximately parallel rather than continuing to expand.
Beginner tip
Put a stitch marker into both the first and final stitch of Row 7.
Those markers make it easier to identify the row edges as you continue.
Common mistake to avoid
Beginners frequently lose the final stitch because it sits close to the turning chain.
If the next row contains only 11 stitches, inspect the previous row before continuing.
Step 5: Decrease to Form the Second Point
You now reverse the shaping.
We will use hdc2tog, meaning half double crochet two together.
How to work hdc2tog
- Yarn over.
- Insert the hook into the next stitch.
- Yarn over and pull up a loop.
- Yarn over again.
- Insert the hook into the following stitch.
- Yarn over and pull up a loop.
- Yarn over and pull through all loops on your hook.
Two previous stitches have become one finished stitch.
Row 13
- hdc2tog;
- hdc in next 8 sts;
- hdc2tog.
10 sts
Row 14
- hdc2tog;
- hdc in next 6 sts;
- hdc2tog.
8 sts
Row 15
- hdc2tog;
- hdc in next 4 sts;
- hdc2tog.
6 sts
Row 16
- hdc2tog;
- hdc in next 2 sts;
- hdc2tog.
4 sts
Row 17
Work hdc2tog twice.
2 sts
Fasten off.
You should now have an elongated, symmetrical football shape.
Beginner tip
After each decrease row, place the coaster flat and compare the new edge with the equivalent row on the first half.
Common mistake to avoid
Do not decrease by simply skipping the first or final stitch.
Skipping creates holes and abrupt steps. Hdc2tog creates a smoother transition.
Step 6: Crochet the Border
Rejoin the brown yarn near the center of one long side.
Ch 1.
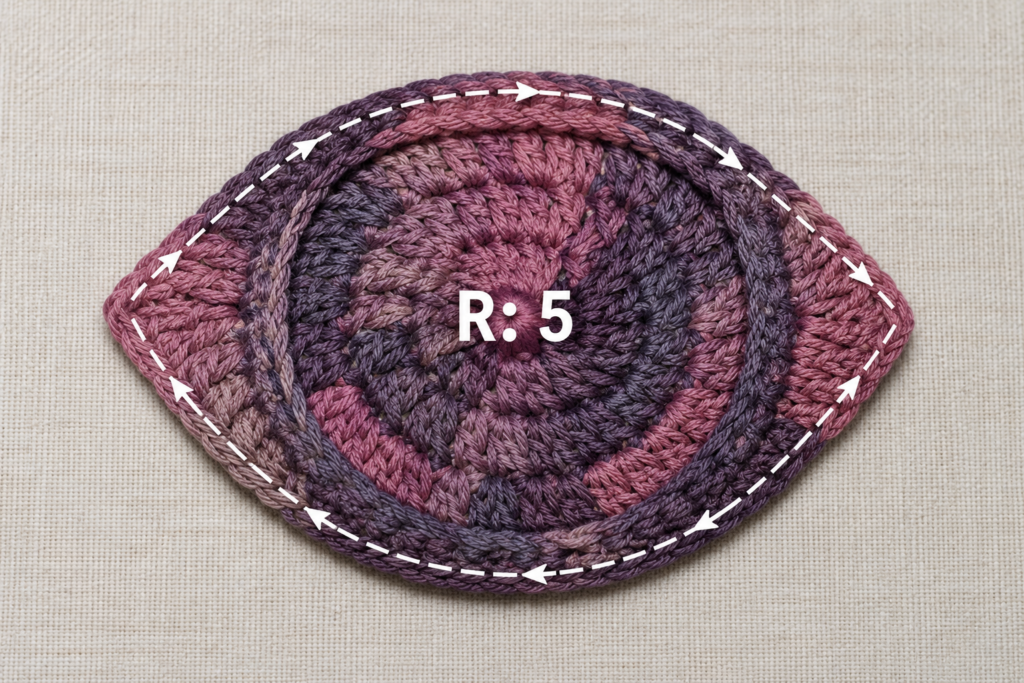
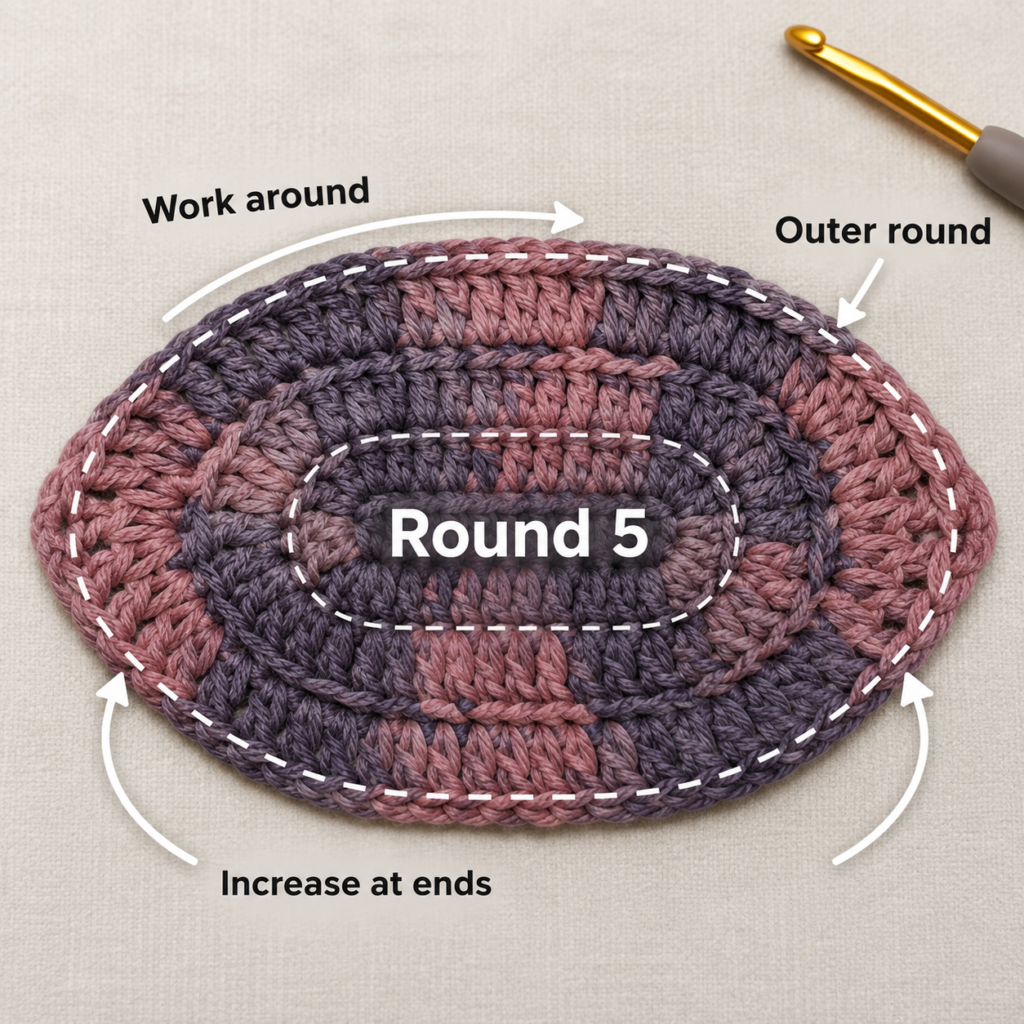
Work single crochet evenly around the entire perimeter.
Because you are crocheting along row ends rather than normal stitch tops for much of the border, there is no single universal stitch count.
Your goal is visual balance.
At each narrow point, work approximately:
sc, ch 1, sc
into the tip area.
This gives the end definition without turning it into a sharp corner.
Continue around and join to the first sc with a slip stitch.
Fasten off.
Beginner tip
Stop every few inches and place the coaster flat.
The border itself will tell you whether your spacing is correct.
Common mistake to avoid
If the outer border develops waves, you have probably added too many stitches.
If the coaster cups upward, you may have too few.
Remove the troublesome section and redistribute the stitches.
Step 7: Add the Football Laces
Cut approximately 20–24 inches of cream yarn.
Thread it through a blunt tapestry needle.
Choose the neatest-looking side of your coaster as the right side.
Lay the football horizontally.
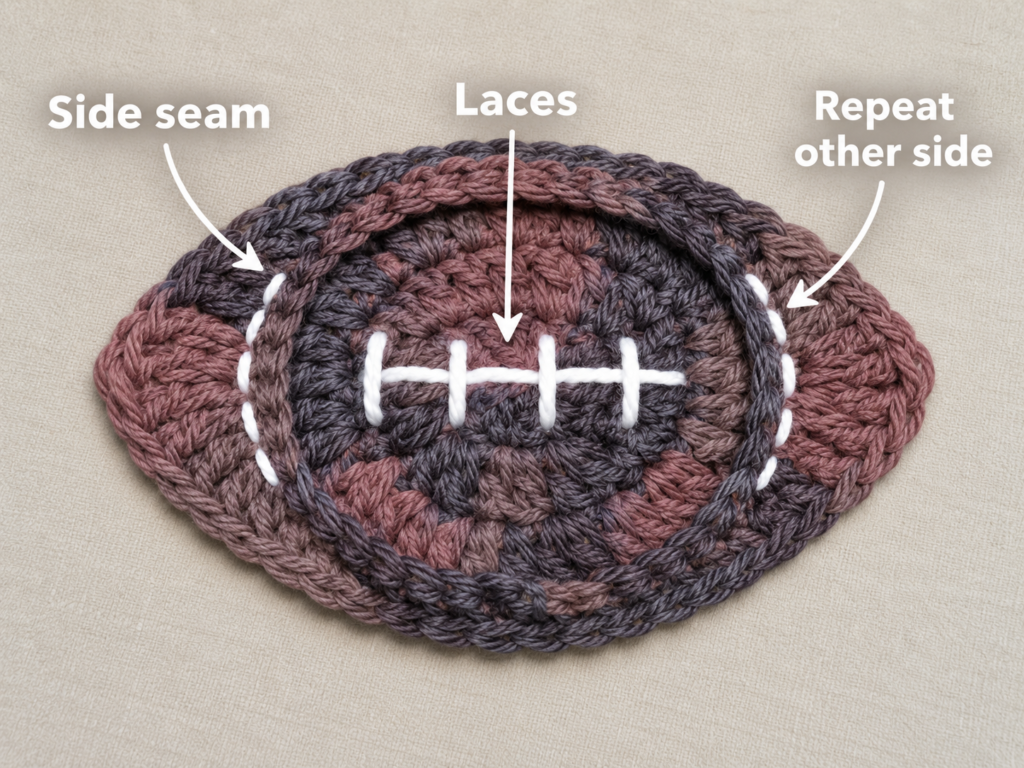
Begin with one straight horizontal stitch or a short line of running stitches across the center.
Next, add four or five short vertical stitches crossing that center line.
Space them evenly.
You are aiming for a recognizable football-lace effect, not complicated embroidery.
Beginner tip
Before sewing, place four stitch markers across the center to preview the spacing.
Move them until the positions look balanced, then embroider.
Common mistake to avoid
Do not pull the cream yarn tightly.
The laces should sit on top of the crochet texture. Tight embroidery can pucker the center of the coaster.
Optional end stripes
If you prefer a more detailed football, embroider a narrow cream stripe about ¾–1 inch inward from each point.
For an easy beginner version, the center laces alone are completely sufficient.
Pattern Notes or Stitch Notes
Turning chain: Ch 1 at the beginning of a row does not count as a stitch.
Maximum stitch count: 12 hdc.
Increase pattern: Increase once at each edge of every shaping row.
Center section: Maintain 12 stitches for six rows.
Decrease pattern: Use hdc2tog across the first two and final two stitches of each decrease row.
Right side/wrong side: Half double crochet looks attractive on both sides. Choose the smoother side for your embroidered laces.
Approximate size: 6–7 inches long and 3½–4 inches wide.
To make it longer
Add additional straight center rows before beginning the decreases.
For example, work Rows 7–14 straight rather than Rows 7–12.
To make it wider
Work an additional increase row:
- 2 hdc in first st;
- hdc across;
- 2 hdc in final st.
You would reach 14 stitches.
Remember to add the corresponding decrease row on the opposite side.
Common Beginner Mistakes
1. Accidentally losing the last stitch
The final stitch frequently hides beside the turning chain.
Fix: Mark the first and last stitches before you start working across.
2. Counting the turning chain as a stitch
That gradually changes the row width.
Fix: Treat ch 1 as height only.
3. Increasing on only one side
This produces an off-center football.
Fix: Every increase row gets one increase at the first stitch and one at the final stitch.
4. Beginning decreases too soon
Your coaster may resemble a diamond rather than a football.
Fix: Include enough straight rows through the center to elongate the shape.
5. Skipping stitches instead of decreasing
Skipping creates obvious gaps.
Fix: Use hdc2tog to merge two stitches gradually.
6. Creating a wavy border
This happens when too many sc stitches are squeezed around the perimeter.
Fix: Remove a few stitches and redistribute them.
7. Creating a tight, cupped border
The reverse problem occurs when too few border stitches are used.
Fix: Add stitches where the fabric is being pulled inward.
8. Puckering the football laces
The embroidery has been pulled too tightly.
Fix: Relax each cream stitch so it rests on the fabric rather than cutting into it.
How to Customize This Crochet Project
Change the yarn colors
Classic football colors are not mandatory.
Try:
- chocolate brown + white;
- burgundy + cream;
- navy + gold;
- dark green + white;
- orange + navy;
- gray + team-color laces.
Keeping good contrast between the body and laces is more important than using a specific shade.
Make a matching game-day set
Once you understand the stitch sequence, make four or six identical coasters.
Tie the stack together with cream yarn for an inexpensive handmade host gift.
Add end stripes
Use the same cream yarn to embroider one narrow curved stripe near each end.
Keep the embroidery fairly flat so a mug remains stable.
Make a mini applique
Use DK yarn and a smaller hook.
Follow the same shaping concept and skip the thick border if you plan to sew the football onto another item.
A mini football works well on:
- hats;
- scarves;
- blankets;
- tote bags;
- sports bunting;
- gift bags.
Change the texture
Once you have successfully made the basic version, experiment with:
- back-loop-only hdc;
- alternating sc and hdc;
- shallow ribbing.
Avoid large bobbles or raised popcorn stitches on functional coasters because drinkware sits best on a relatively level surface.
Finishing Instructions
Turn the coaster to the wrong side.
Use your tapestry needle to weave each yarn tail horizontally through several nearby stitches.
Change direction once and weave through another small section.
Trim the remaining yarn close to the fabric without cutting any actual crochet stitches.
Next, lightly dampen your cotton coaster.
Place it on a clean towel and gently adjust both pointed ends until they mirror one another.
Smooth the long edges.
Leave it completely flat until dry.
You usually do not need aggressive blocking for a small coaster.
Always follow the care instructions printed on your particular yarn label; yarn labels typically communicate fiber content, weight and care guidance. Craft Yarn Council
Do not treat an ordinary crochet drink coaster as a substitute for a heat-rated trivet for extremely hot cookware.
Quick Printable-Style Summary
Skill level: Beginner / confident beginner
Finished size: Approximately 6–7 × 3½–4 inches
Yarn: Medium #4 cotton or cotton blend
Hook: 4.5 mm
Main stitches: hdc, hdc2tog, sc, sl st
Starting method: Ch 2; work 2 hdc into second chain from hook.
Increase section:
2 → 4 → 6 → 8 → 10 → 12 sts
Center:
Work six even rows at 12 sts.
Decrease section:
10 → 8 → 6 → 4 → 2 sts
Border:
Single crochet evenly around the entire perimeter.
Decoration:
Use cream yarn to embroider one center seam plus four or five short cross-laces.
Finishing:
Weave in yarn tails and lightly shape/block flat.
FAQ
Is this crochet football coaster pattern suitable for a complete beginner?
It is a good project once you know how to chain and make a basic crochet stitch.
The only slightly newer skill is hdc2tog. Because the project is small, it is an excellent place to practice decreases without committing to a large garment or blanket.
What is the best yarn for a football coaster?
Medium-weight cotton is a practical choice for an everyday drink coaster.
Cotton gives the stitches good definition and usually creates a firmer surface than very stretchy yarn.
The Craft Yarn Council identifies worsted and aran as yarn types within the Medium #4 category. Craft Yarn Council
Can I crochet the football coaster with acrylic yarn?
Yes, particularly for decorative projects or party favors.
For something that will regularly sit beneath drinks, I prefer cotton or a cotton-rich blend because of its firm feel.
Always use the coaster only for ordinary drinkware unless the specific yarn/material is rated for the heat involved.
Why does my football look like a diamond?
You probably started the decrease section too quickly after reaching maximum width.
The straight middle rows create the longer football silhouette.
Add two or three additional straight rows next time.
Why are my two football points different?
Check the stitch-count sequence.
The first half should increase by two stitches per shaping row and the second half should decrease by two.
A missed increase or decrease produces unequal sides.
How do I make a bigger crochet football coaster?
Add one more increase row to make the project wider and add several additional straight rows to make it longer.
Any extra increase on the first half should have a matching decrease on the second half.
Do I need the white end stripes?
No.
A brown elongated shape plus the central white laces already communicates the football theme clearly.
The end stripes are optional decoration.
Conclusion
This crochet football coaster pattern is small, quick, and useful, but its real advantage for a beginner is the number of fundamental crochet skills it teaches in a manageable project.
You begin with only two stitches, learn to widen the fabric deliberately, practice maintaining an exact stitch count, reverse your shaping with decreases, clean up the edge with single crochet, and finish with simple surface embroidery.
Once you have made the first one, a second coaster will usually feel much faster.
Make a classic rust-brown and cream set for football season, experiment with team-inspired colors, or turn smaller versions into appliques for other crochet projects.





