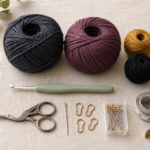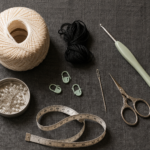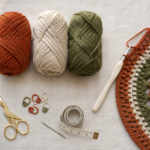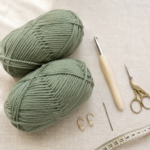
A little crochet Earth is one of those projects that can turn a plain bag, blanket, classroom banner or jacket into something much more personal.
The good news is that you do not need to master complicated tapestry crochet before making one.
This beginner-friendly crochet globe applique pattern uses a simple construction that breaks the design into manageable parts. First, you’ll crochet a flat blue circle for the ocean. Next, you’ll make several small green shapes separately. Finally, you’ll arrange and sew those pieces onto the circle to create a stylized globe.
That separate-piece method is especially helpful if you’re still learning colorwork. Instead of stopping every few stitches to change between blue and green, you can concentrate on one color at a time.
The finished globe is small, flat and lightweight, making it useful as an applique for bags, hats, classroom projects, blankets, wall hangings, geography-themed gifts, Earth Day projects and children’s accessories.
This tutorial includes the complete construction sequence, beginner tips, common mistakes, finishing advice and photo placements for every important stage.
What You’ll Learn
- How to crochet a flat circle that stays flat
- How to increase evenly in single crochet
- How to count joined rounds
- How to make small freeform-style crochet land shapes
- How to arrange applique pieces before sewing
- How to sew crochet appliques invisibly
- How to weave in small yarn ends securely
- How to block a crochet globe flat
- How to resize the finished globe
- How to use different yarn weights without changing the basic construction
Skill Level
Beginner to Easy
You should be comfortable making:
- chains
- single crochet
- half double crochet
- double crochet
- slip stitches
If you’ve made a simple crochet circle or coaster before, this project should feel very approachable.
Finished Size
Using DK cotton yarn and a 3.5 mm hook, the finished globe should measure approximately 3.5–4 inches / 9–10 cm across.
Exact size will depend on yarn thickness and tension.
Because this is an applique rather than a fitted garment, exact gauge is not critical.
Estimated Time
Approximately 60–90 minutes for one globe.
A confident crocheter may finish considerably faster.
Materials You’ll Need
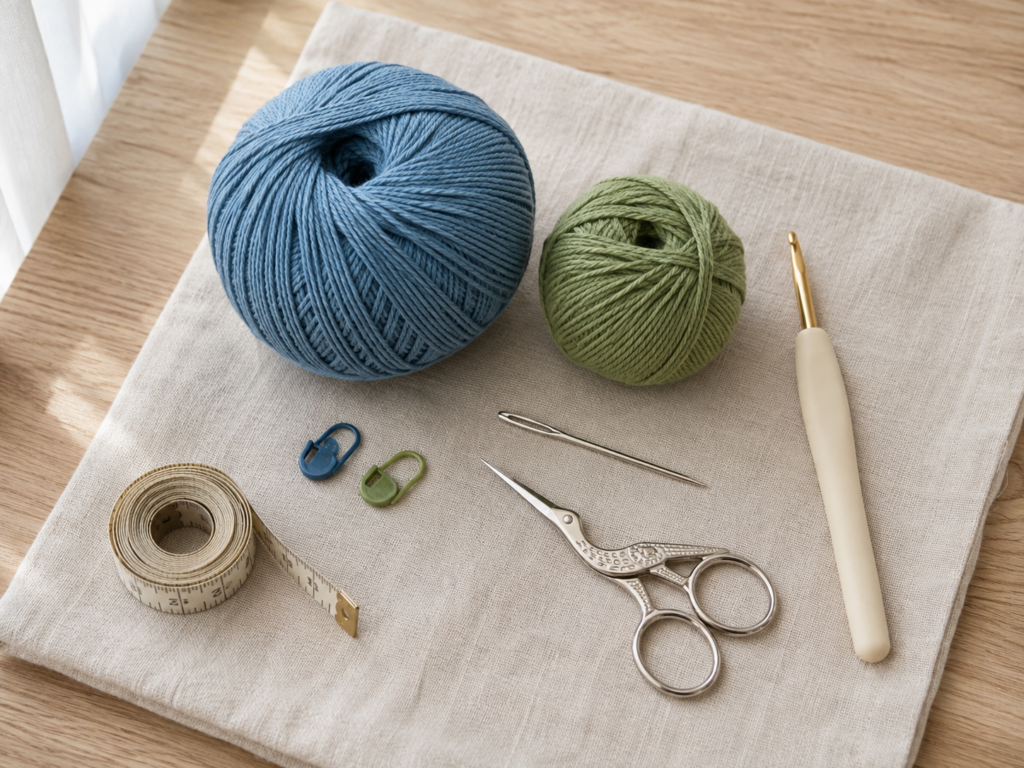
- DK/light worsted cotton yarn in ocean blue
- DK/light worsted cotton yarn in fern or leafy green
- 3.5 mm crochet hook
- Scissors
- Blunt tapestry/yarn needle
- One stitch marker
- Measuring tape, optional
- Blocking pins, optional
- Blocking mat or folded towel, optional
Cotton is my first choice because the stitches remain well defined and the applique blocks neatly. Smooth acrylic yarn also works if that is what you already have.
For a small motif like this, leftover yarn is perfect. You need considerably more blue than green.
The Craft Yarn Council classifies DK/light worsted within the lighter yarn-weight categories and recommends using metric hook size as the more dependable measurement because letter sizing can vary between manufacturers.
Crochet Abbreviations Used
This tutorial uses US crochet terminology.
- ch = chain
- sc = single crochet
- hdc = half double crochet
- dc = double crochet
- sl st = slip stitch
- st/sts = stitch/stitches
- inc = increase; work 2 sc into the same stitch
- rep = repeat
- RS = right side
- WS = wrong side
The Craft Yarn Council’s standard abbreviation guide confirms these common abbreviations and also provides US/UK terminology comparisons.
US/UK terminology note
If you normally follow UK terminology:
- US single crochet = UK double crochet
- US half double crochet = UK half treble crochet
- US double crochet = UK treble crochet
Before You Start
Gauge and tension
Gauge is not critical for this applique.
What matters more is creating a firm fabric without large holes. Your green land pieces should also have approximately the same density as the blue background.
If your globe feels stiff and curls upward, try relaxing your tension slightly.
If the stitches look loose and the fabric feels floppy, move down by approximately 0.5 mm in hook size.
How to count the rounds
The blue base is worked in joined rounds.
Place a stitch marker in the first single crochet of each round.
Your chain 1 at the beginning of each round does not count as a stitch.
The numbers should progress:
6 → 12 → 18 → 24 → 30 → 36 → 42 → 48 stitches.
If the stitch count differs, correct the problem before moving on. One missed increase early in the circle becomes harder to locate several rounds later.
How to keep the circle flat
A flat single crochet circle requires regular increases.
Too few increases usually cause the circle to cup.
Too many increases usually create ripples or waves.
Do not add random stitches to correct the shape unless you’ve confirmed that your stitch count is correct. Sometimes a slightly wavy circle simply needs blocking.
Choosing your colors
Traditional Earth colors are blue and green, but they don’t have to be bright primary shades.
Muted colors often photograph beautifully:
- deep ocean blue + sage green
- dusty teal + olive green
- navy + moss
- turquoise + emerald
- pastel aqua + mint
You can also turn the same structure into another planet by changing colors.
Step-by-Step Crochet Globe Applique Tutorial
Step 1: Make the Center of the Globe
With ocean-blue yarn, make a magic ring.
Round 1
Ch 1.
Work 6 sc into the magic ring.
Pull the starting tail gently until the center closes.
Join with a sl st to the first sc.
Stitch count: 6
Do not count the joining slip stitch as part of your stitch count.
Beginner tip
If the magic ring feels difficult, chain 2 and work 6 sc into the second chain from your hook instead. The center may be slightly more visible, but the globe will still work.
Common mistake to avoid
Do not pull the magic-ring tail so aggressively that the stitches overlap one another. Close the center firmly but keep the six stitches easy to identify.
Step 2: Expand the Blue Globe Base
Continue using ocean-blue yarn.
Round 2
Ch 1.
Work 2 sc into every stitch around.
Join with sl st.
12 sts
Round 3
Ch 1.
Repeat:
1 sc in next st, 2 sc in next st
around.
Join.
18 sts
Round 4
Ch 1.
Repeat:
1 sc in each of next 2 sts, 2 sc in next st
around.
Join.
24 sts
Round 5
Repeat:
1 sc in each of next 3 sts, 2 sc in next st
around.
30 sts
Round 6
Repeat:
1 sc in each of next 4 sts, 2 sc in next st
around.
36 sts
Round 7
Repeat:
1 sc in each of next 5 sts, 2 sc in next st
around.
42 sts
Round 8
Repeat:
1 sc in each of next 6 sts, 2 sc in next st
around.
48 sts
Fasten off, leaving an ordinary weaving tail.
Your blue base should now look like a small flat coaster.
Beginner tip
Move your stitch marker at the beginning of every round even though the rounds are joined. It makes counting much faster.
Common mistake to avoid
If your circle looks like a bowl, check whether you accidentally skipped an increase.
If it resembles a ruffle, recount the round before frogging several rows.
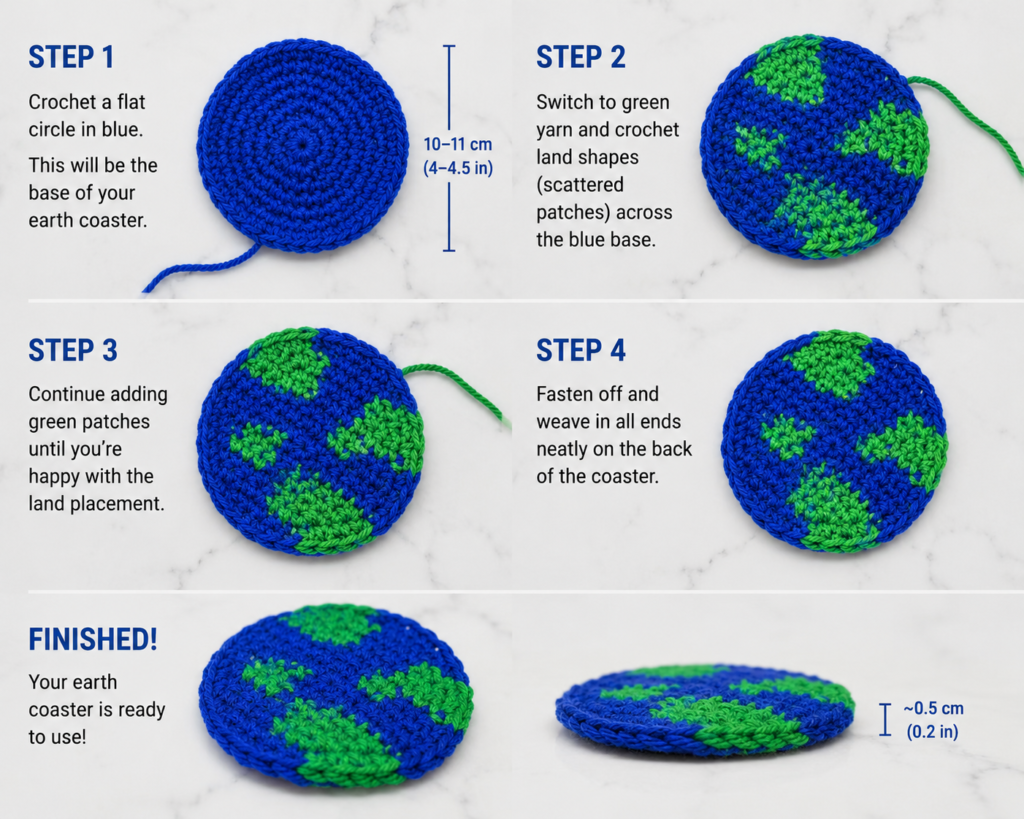
Step 3: Crochet the Large Green Land Shape
Switch to fern-green yarn.
The land shapes are deliberately stylized. They are not meant to reproduce an exact geographical map. Slight irregularity actually helps the finished applique look more organic.
Large Land Piece
Ch 7.
Row 1
Starting in the second chain from the hook:
- sc in first chain
- hdc in next chain
- dc in each of next 2 chains
- hdc in next chain
- sc in final chain
You should have 6 sts.
Ch 1 and turn.
Row 2
- sl st in first st
- sc in each of next 2 sts
- hdc in each of next 2 sts
- sl st in final st
Fasten off, leaving a 10–12 inch sewing tail.
The difference in stitch height causes the piece to curve slightly and creates the irregular outline we want.
Beginner tip
Do not worry if your piece is not perfectly symmetrical. Continents aren’t symmetrical either.
Common mistake to avoid
Do not cut the finishing tail short. Using the original crochet tail to sew the piece onto the globe saves time and reduces the number of ends later.
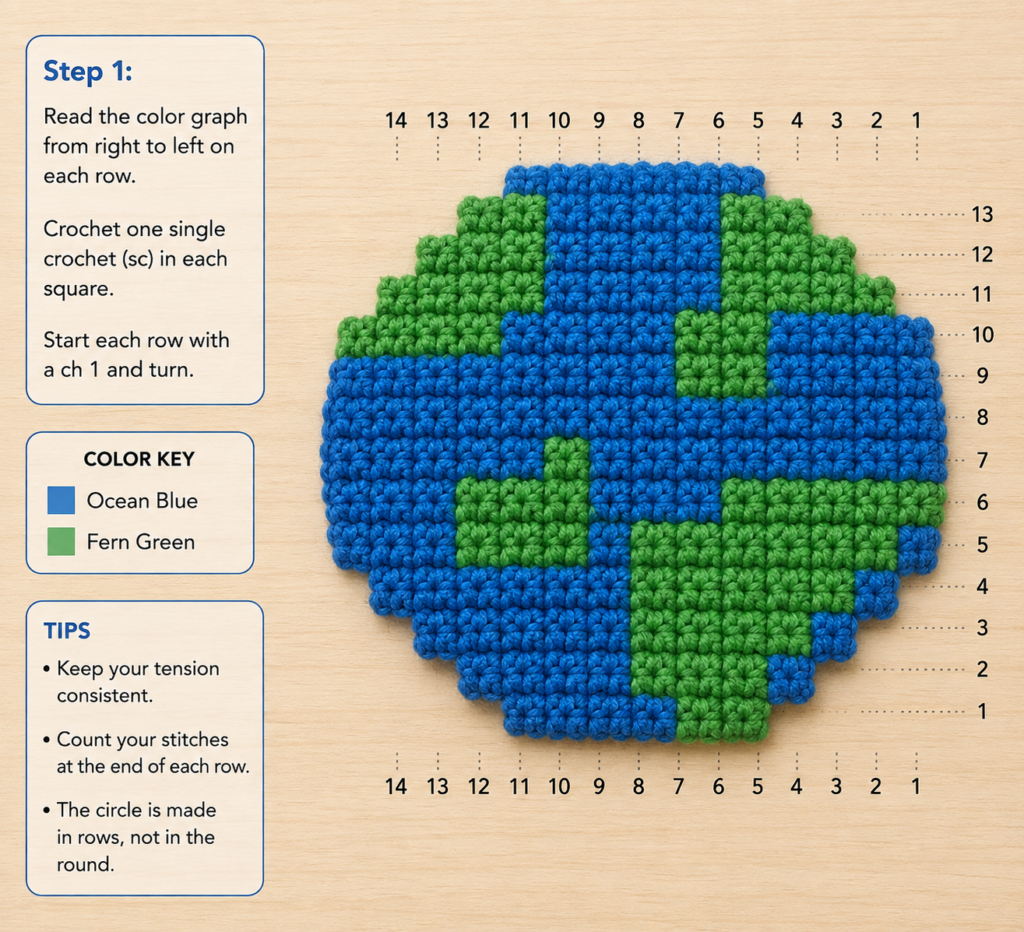
Step 4: Make the Medium Land Piece and Small Island
Medium Land Piece
With green yarn:
Ch 5.
Starting in second ch from hook:
- sc
- hdc
- hdc
- sc
Ch 1, turn.
Work:
- sl st
- sc
- sc
- sl st
Fasten off with a long sewing tail.
Small Island
Ch 3.
Work 1 sc in the second chain from your hook and 1 sc in the final chain.
Fasten off with a sewing tail.
You now have three land shapes:
- one large
- one medium
- one tiny
Beginner tip
Before making additional islands, arrange these three pieces on the globe. Too many small shapes can make a tiny applique look crowded.
Optional variation
For a more detailed Earth, make one additional tiny island using only:
Ch 2, sc in second ch from hook, fasten off.
Step 5: Arrange the Continents Before Sewing
Lay the blue circle flat with its right side facing up.
Do not sew immediately.
Place your large green piece slightly above and left of the center.
Place the medium green shape diagonally toward the lower-right side.
Position the tiny island somewhere between or above the larger pieces.
Rotate the pieces until the composition feels balanced.
Leave some blue visible around every green shape. This is important. If the land pieces touch the outer border everywhere, the motif loses its clear globe silhouette.
Beginner tip
Take a quick phone photo once you like the arrangement. If the pieces move while sewing, the photo becomes your placement guide.
Common mistake to avoid
Avoid trying to imitate an exact world map at this scale. The motif reads as Earth because of its overall circular blue-and-green combination, not because every coastline is geographically accurate.
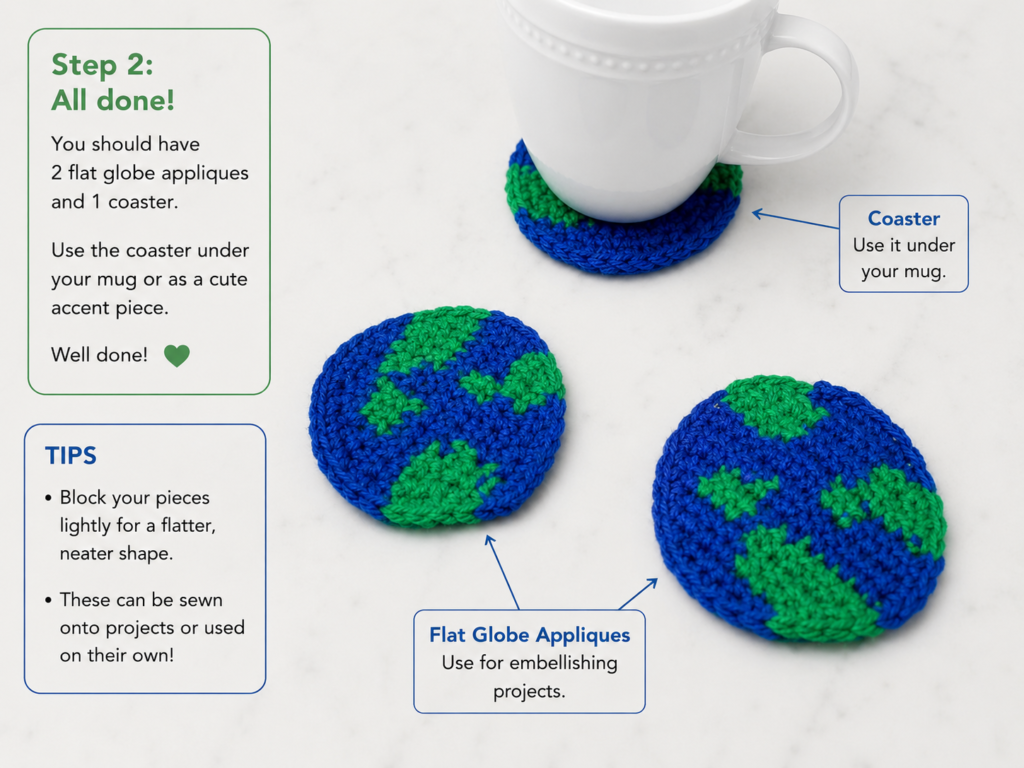
Step 6: Sew the Green Land Shapes in Place
Thread the long green tail from your first land piece onto a tapestry needle.
Hold the piece in position with one hand.
Insert the needle down through an edge loop of the green applique.
Catch only a small portion of the blue stitch directly beneath it.
Bring the needle back through the next green edge loop.
Continue around the perimeter.
Your goal is to secure the land shape without creating large visible green stitches on the back.
Repeat for the medium piece and island.
Beginner tip
Make smaller sewing stitches around curves. Small stitches allow the edge to follow the blue base more naturally.
Common mistake to avoid
Do not pull the sewing yarn extremely tight.
If you pull too firmly, the green land pieces will gather and the blue circle may buckle beneath them.
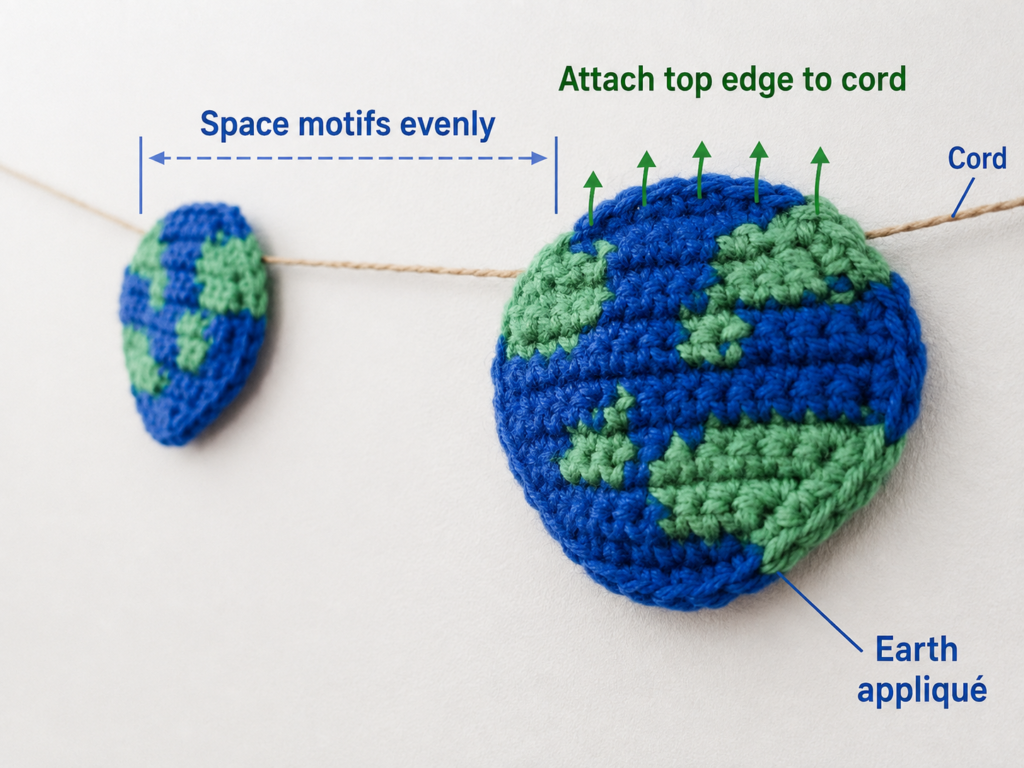
Step 7: Check the Shape and Add Optional Detail
Place the globe on a flat surface and look at it from a short distance.
Ask yourself:
- Does the blue circle still read clearly?
- Are the green areas balanced?
- Are any land pieces lifting?
- Is one side visually heavier than the other?
If a corner lifts, add one or two tiny securing stitches.
You can also embroider one or two extremely small green accent stitches directly onto the blue area to suggest distant islands.
Keep these details restrained.
For a classroom-style applique, a simple graphic Earth often reads better than a very detailed one.
Step 8: Weave In the Ends and Block
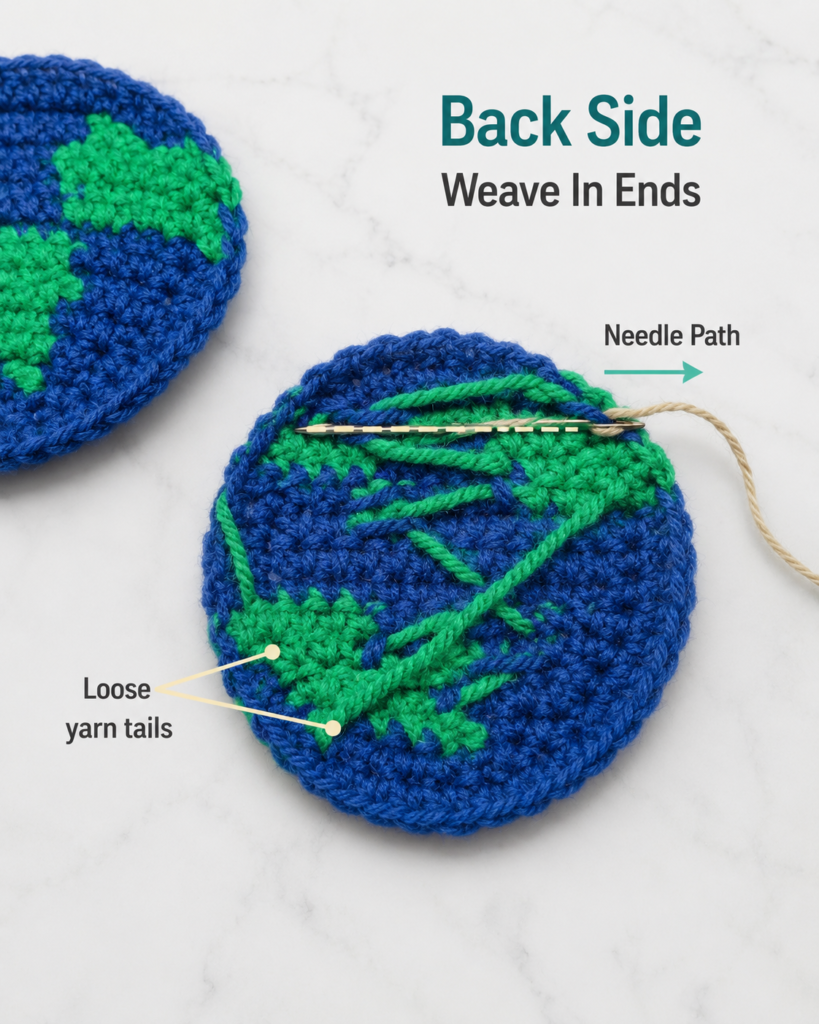
Turn the globe over.
Thread each remaining tail through a tapestry needle.
Weave the yarn through the backs of stitches of the same color whenever possible.
Change direction once or twice before trimming the tail.
This makes it harder for the yarn to work loose.
Do not create large knots on the back if the applique will be sewn onto a thin fabric or garment. A bulky knot can create a visible bump.
Blocking the Crochet Globe
Cotton appliques respond particularly well to light blocking.
Lay the finished globe on a blocking mat or folded towel.
Gently shape the outer edge into a circle.
If necessary, pin around the edge without overstretching it.
Lightly mist the applique with clean water.
Allow it to dry completely before removing the pins.
If using acrylic yarn, steam can sometimes help relax the stitches, but keep the hot appliance away from the yarn itself. Excess heat can damage synthetic fibers.
How to Attach the Globe Applique to Another Project
Once the globe is dry, place it on the item you want to decorate.
Good choices include:
- tote bags
- backpacks
- crochet blankets
- cardigans
- classroom banners
- geography projects
- pencil cases
- wall hangings
- cushion covers
- teacher gifts
- children’s hats
Thread blue yarn onto your needle.
Sew around the outer edge of the globe with small stitches.
If the background fabric is blue, cream or another compatible color, choose whichever sewing yarn hides most effectively.
For a removable decoration, you can instead attach a suitable backing to convert the motif into a patch, ornament or hanging decoration.
Pattern Notes and Stitch Notes
Turning chain rules
The ch 1 at the beginning of the blue rounds does not count as a stitch.
The ch 1 used when turning the green land pieces also does not count as a stitch.
Stitch count
Blue circle:
- Round 1: 6
- Round 2: 12
- Round 3: 18
- Round 4: 24
- Round 5: 30
- Round 6: 36
- Round 7: 42
- Round 8: 48
You add 6 stitches per round.
Repeat pattern
Each blue round adds one additional plain sc between increases.
For example:
- Round 3: 1 sc, increase
- Round 4: 2 sc, increase
- Round 5: 3 sc, increase
- Round 6: 4 sc, increase
This makes the size progression easy to remember.
Right side and wrong side
For the blue circle, choose the side that looks neater as the right side before arranging the green pieces.
The land pieces are small enough that either side may work, but try to keep the same visible stitch side facing upward on all pieces.
Size adjustment
Want a larger globe?
Continue the same increase formula.
Round 9
Repeat:
7 sc, inc.
Round 10
Repeat:
8 sc, inc.
Continue adding one extra sc between increases per round.
Remember that a larger globe will also need proportionally larger green land pieces.
Common Beginner Mistakes
1. The globe forms a bowl
Cause: Too few increases or excessively tight tension.
Fix: Check your stitch count first. If the count is correct, try relaxing your tension or moving up 0.5 mm in hook size.
2. The edge becomes wavy
Cause: Too many increases or unusually loose tension.
Fix: Count the stitches. If your count is correct, light blocking may solve the problem.
3. A hole remains in the middle
Cause: The magic ring wasn’t fully closed.
Fix: Pull the starting tail gradually while holding the first round so the stitches do not twist.
4. The green pieces look too rectangular
Cause: Using the same stitch height across every row.
Fix: The mix of sl st, sc, hdc and dc creates irregular height. You can also rotate the pieces before sewing instead of assuming there is one correct orientation.
5. The continents overpower the globe
Cause: Green pieces are too large or too numerous.
Fix: Remove one small piece or crochet a replacement with a shorter starting chain. Preserve visible blue space around the outer perimeter.
6. The applique puckers after sewing
Cause: Sewing yarn was pulled too tightly.
Fix: Carefully loosen or redo the tightest stitches. Sewing tension should secure the piece without compressing it.
7. Green stitches show heavily on the back
Cause: The sewing needle is traveling through too much of the blue base.
Fix: Catch only a small portion of each blue stitch rather than pushing the needle through a large section of fabric.
8. The finished circle is slightly uneven
Cause: Small differences in tension between rounds.
Fix: Wet block the finished applique instead of repeatedly frogging an otherwise correct circle.
How to Customize This Crochet Globe Applique
Change the yarn
Fingering-weight yarn
Use a smaller hook for a tiny globe suitable for:
- keychains
- bookmarks
- zipper pulls
- small patches
Worsted-weight yarn
Use a larger hook for:
- children’s blankets
- wall decor
- oversized bag appliques
Bulky yarn
This can turn the motif into a large statement patch, although the small green land pieces will need redesigning at the larger scale.
Change the colors
Try:
Classic: royal blue + grass green
Modern: dusty blue + olive
Pastel: pale aqua + mint
Deep: navy + forest green
Playful: lavender ocean + pastel pink land
Monochrome: cream globe + beige land details
The object only needs to suggest a globe; it does not have to use literal Earth colors.
Add a border
For more definition, surface slip stitch around the perimeter in:
- navy
- cream
- white
- dark teal
Keep your slip stitches loose so the border doesn’t pull the circle inward.
Add texture
The easiest design is smooth single crochet, but experienced beginners can experiment with:
- back-loop-only sections
- embroidered chain-stitch coastlines
- surface crochet
- tiny French-knot-style embroidered islands
- a contrasting slip-stitch border
Keep bulky texture away from an applique meant to lie completely flat.
Turn It Into a Classroom Project
A crochet globe is particularly suited to educational themes.
You could attach one to:
- a teacher tote
- a geography banner
- a classroom door sign
- a pencil pouch
- a library bag
- a school backpack
- an Earth Day wall hanging
Make several globes in different sizes and combine them with crochet stars, clouds, suns or hearts.
Finishing Instructions
Once every piece is secure:
- Inspect the front for raised edges.
- Add tiny sewing stitches wherever necessary.
- Turn to the wrong side.
- Weave in all remaining yarn tails.
- Trim tails only after weaving them in several directions.
- Shape the outer circle gently.
- Lightly wet block if using cotton.
- Allow the applique to dry completely.
- Attach it to your chosen project or leave it as a standalone motif.
Quick Printable-Style Summary
Project: Crochet Globe Applique
Skill level: Beginner/Easy
Finished size: Approximately 3.5–4 inches / 9–10 cm
Yarn: DK cotton in blue and green
Hook: 3.5 mm
Main stitches: ch, sl st, sc, hdc, dc, inc
Starting method
Make a magic ring with blue yarn.
Blue globe base
- R1: 6 sc
- R2: inc around — 12
- R3: (1 sc, inc) around — 18
- R4: (2 sc, inc) around — 24
- R5: (3 sc, inc) around — 30
- R6: (4 sc, inc) around — 36
- R7: (5 sc, inc) around — 42
- R8: (6 sc, inc) around — 48
Land
Crochet:
- 1 large irregular green piece
- 1 medium irregular green piece
- 1 tiny green island
Arrange on the blue circle and sew securely.
Finishing
Weave in all ends and lightly block flat.
FAQ
Is this crochet globe applique suitable for beginners?
Yes. This version was intentionally designed to avoid complicated multi-color tapestry work. You crochet the blue circle first and make the green land pieces separately.
The most important beginner skill is counting the increases accurately.
Can I crochet the globe entirely in tapestry crochet instead?
Yes.
Tapestry crochet or intarsia crochet can integrate the green land directly into the blue background. That produces a flatter one-piece design but requires considerably more frequent color changes and chart reading.
For a first globe, separate appliqued continents are easier to control.
What yarn is best for a crochet Earth applique?
Smooth cotton is particularly good because the stitches remain visible and the finished motif blocks well.
A smooth acrylic yarn can also work.
Avoid very fuzzy yarn for your first attempt because it makes the small land shapes and individual stitches harder to see.
Why is my crochet circle curling?
First check your stitch count.
A correct single crochet circle should increase regularly. If you have the correct number of stitches but the work still curls, your tension may be very tight.
Blocking can correct minor curling.
How do I make the globe bigger?
Continue adding increase rounds.
Add one more regular sc between increases in each new round.
If Round 8 uses:
6 sc, inc
then Round 9 uses:
7 sc, inc.
Round 10 uses:
8 sc, inc.
Enlarge the green pieces proportionally.
Can I sew this globe onto fabric instead of crochet?
Yes.
The applique can be sewn onto sturdy fabric, crochet, knitting or another textile surface.
Use a needle appropriate for the background fabric and small stitches around the perimeter.
Can I use this crochet globe for Earth Day?
Absolutely.
It works especially well for Earth Day decorations, reusable tote bags, classroom projects, teacher gifts and environmental-themed banners.
Conclusion
This crochet globe applique proves that colorwork does not have to be complicated.
By separating the project into a blue circle and several small green land pieces, you can concentrate on the basic crochet skills one at a time: increasing, shaping, arranging, sewing and finishing.
Once you’ve made one globe, the same method can be adapted into tiny patches, classroom decorations, bag appliques or larger wall motifs.
The most important thing is not to make every coastline perfect. Keep the circle flat, preserve enough blue space around the green pieces, and let the irregular shapes give the little Earth its handmade character.
Save the tutorial for your next scrap-yarn project, or pair your globe with crochet clouds, stars, suns, moons or hearts for a complete sky-and-Earth collection.