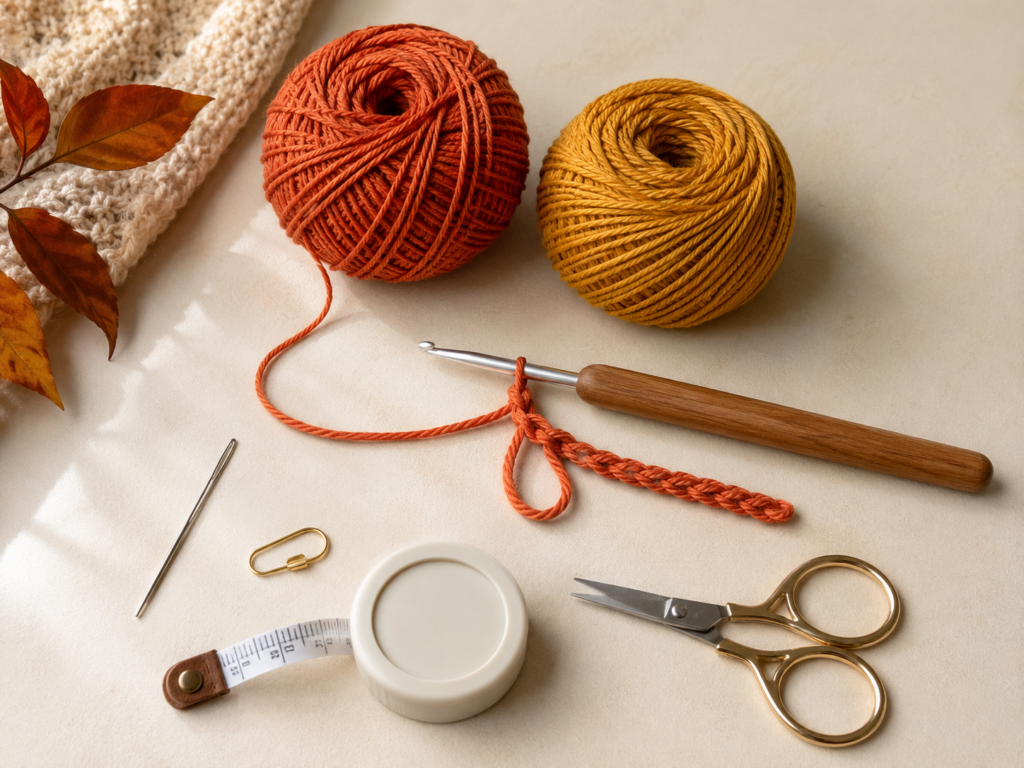
Crochet fall leaves are one of the easiest ways to bring autumn color into your handmade projects without starting a large blanket, sweater, or home decor piece. A single leaf takes only a small amount of yarn, works up quickly, and can be used in many different ways: garlands, wreaths, table settings, classroom boards, gift tags, bookmarks, appliqués, Thanksgiving place cards, or cozy fall flat lays.
This tutorial teaches a beginner-friendly maple-style crochet fall leaf pattern. The shape has a small center, five pointed lobes, picot tips, and a short stem. It looks detailed, but the construction is manageable once you understand the order: make the center, expand the base, build the side points, create a taller center point, finish the opposite side, and add the stem.
The selected visual reference for this article is a step-by-step maple leaf tutorial from Single Girl’s DIY. That tutorial includes a long photo sequence showing the motif from starting chain through final finishing, which makes it useful as a visual planning source. This article is original and uses its own wording, structure, stitch notes, teaching flow, image prompts, and fall styling ideas.
This project uses U.S. crochet terms. For beginners, it helps to know that the Craft Yarn Council standardizes common crochet abbreviations such as ch, sc, hdc, dc, tr, and sl st.
What You’ll Learn
In this tutorial, you will learn how to:
- Start a small crochet leaf from a chain loop.
- Build a compact center.
- Use stitch height to shape a leaf.
- Make pointed leaf tips with picot stitches.
- Crochet a taller center lobe.
- Balance left and right leaf points.
- Add a short stem.
- Weave in ends neatly.
- Lightly block the leaf so it lies flat.
- Customize the size, color, and use of the finished leaf.
Materials You’ll Need
For one crochet fall leaf:
- DK or light worsted cotton/cotton-blend yarn.
- 3.5 mm / E-4 crochet hook.
- Scissors.
- Tapestry needle.
- Stitch marker, optional.
- Measuring tape, optional.
- Blocking mat or towel, optional.
- Rustproof pins, optional.
For fall colors, choose yarn in:
- Burnt orange.
- Mustard yellow.
- Cinnamon brown.
- Rust red.
- Olive green.
- Warm beige.
Cotton or cotton-blend yarn is ideal because it gives the leaf points more definition. Acrylic also works, especially if you want a softer leaf for garlands or classroom decor. The Craft Yarn Council’s yarn-weight system places DK and light worsted under the light yarn category, though yarn labels and exact gauge can vary by brand.
Finished Size
Using DK cotton yarn and a 3.5 mm hook, one finished leaf measures approximately:
3.5–4.25 inches wide
3.75–4.75 inches tall including the stem
Your finished size may vary depending on yarn thickness, hook size, and personal tension.
Crochet Abbreviations Used
This pattern uses U.S. crochet terms:
- ch = chain
- sl st = slip stitch
- sc = single crochet
- hdc = half double crochet
- dc = double crochet
- tr = treble crochet
- st/sts = stitch/stitches
- rep = repeat
A picot in this tutorial means: ch 3, then sl st into the first chain made. This creates a tiny point.
The Craft Yarn Council notes that U.S. and U.K. crochet terminology differs; for example, U.S. single crochet corresponds to U.K. double crochet terminology.
Before You Start
Gauge and tension
Gauge is not strict for a small fall leaf. The important part is that your stitches are consistent and the leaf points are not overly tight.
If your leaf curls into a cup, your tension may be too tight or your stitches may be too crowded.
If your leaf looks floppy and shapeless, your hook may be too large for your yarn.
How to count stitches
Count the main base stitches before you make each lobe. A small leaf is easy to correct early but annoying to repair after all five points are finished.
How to keep the leaf balanced
Think of the leaf in three sections:
- Left side points.
- Tall center point.
- Right side points.
The center point should be the tallest. The side points should gradually step down.
How to choose colors
For a realistic fall look, choose one main leaf color per motif. Make several leaves in different autumn shades instead of changing colors inside one tiny leaf.
Good combinations:
- Burnt orange + rust + mustard.
- Olive + golden brown + copper.
- Cinnamon + pumpkin + beige.
- Deep red + terracotta + mustard.
Step-by-Step Crochet Tutorial
Step 1: Make the Starting Chain Loop
Start with burnt-orange yarn.
Make a slip knot.
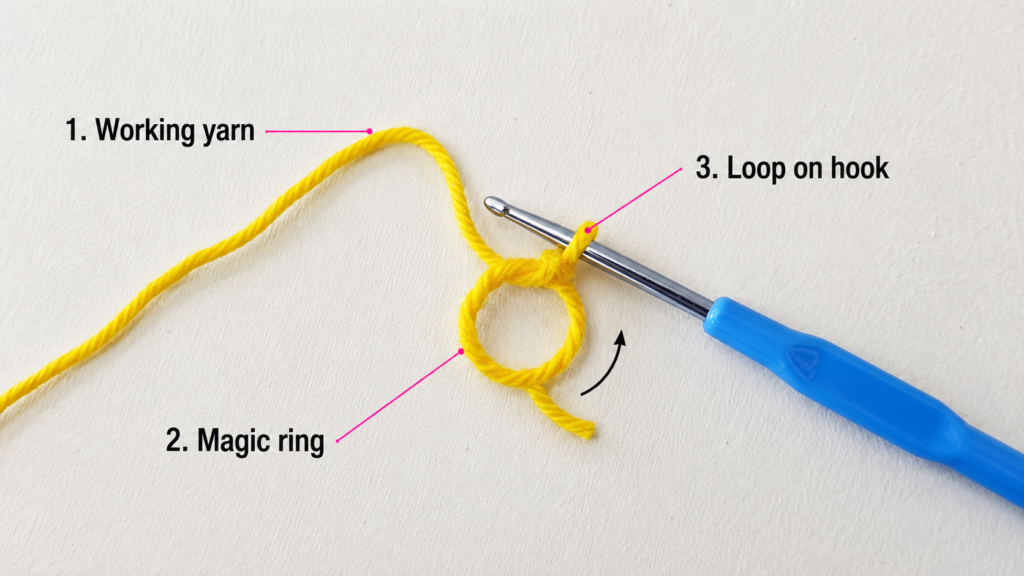
Ch 6.
Join with a sl st into the first chain to form a small loop.
Do not pull the loop too tight. You need enough space to work the first round of stitches into the center.
Beginner tip:
Hold the chain loop between your thumb and middle finger while making the slip stitch. This keeps it from twisting.
Common mistake to avoid:
Do not accidentally join into the second chain. Joining into the wrong chain makes the center too small and uneven.
Step 2: Work the Center Round
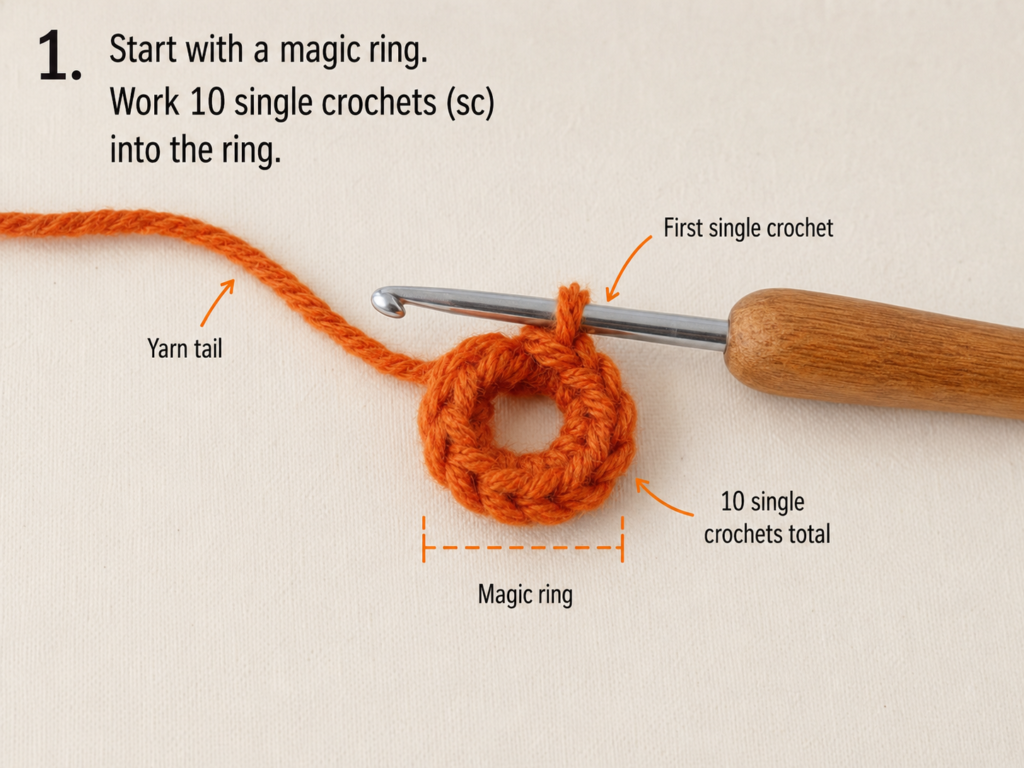
Ch 1.
Work 10 sc into the center loop.
Join with a sl st to the first sc.
You now have a small, firm center.
This center does not need to be perfectly round, but the stitches should be evenly distributed around the loop.
Beginner tip:
After every few stitches, slide the stitches gently around the loop so they do not pile up in one spot.
Common mistake to avoid:
Do not work into the individual chains of the loop for this round. Work into the open center space.
Step 3: Build the Base Round
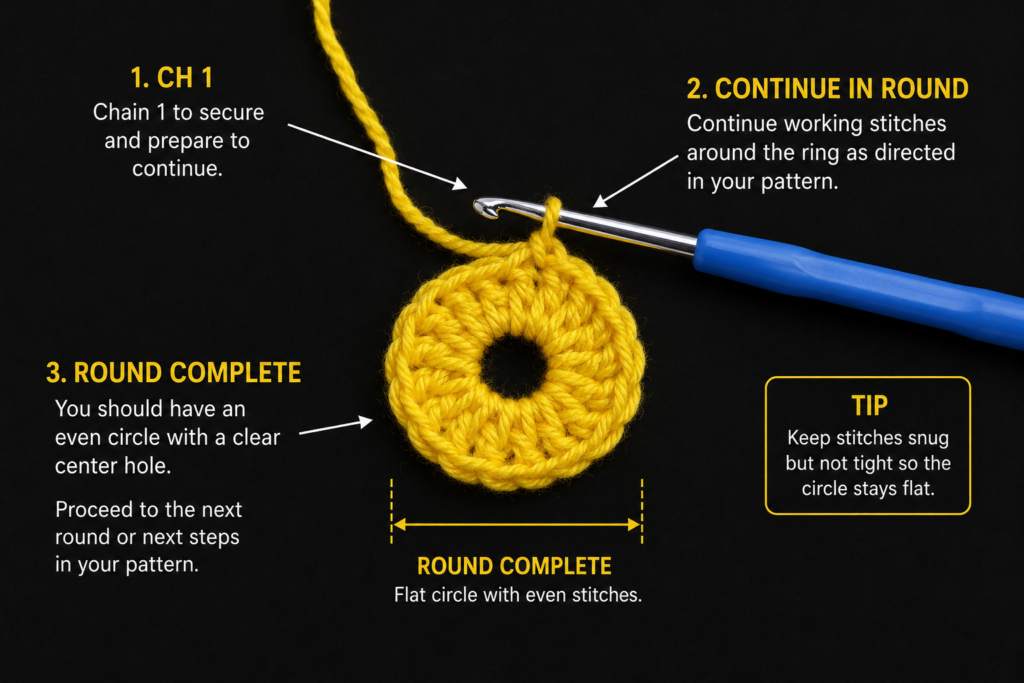
Ch 2.
Work 2 dc in each stitch around.
Join with a sl st to the first dc.
You should now have 20 dc stitches around the center.
This round gives the leaf enough width for the five points.
Beginner tip:
Use a stitch marker after every 5 stitches if you lose count easily.
Common mistake to avoid:
Do not count the beginning chain as a double crochet in this version. The 20 stitches should be actual double crochets.
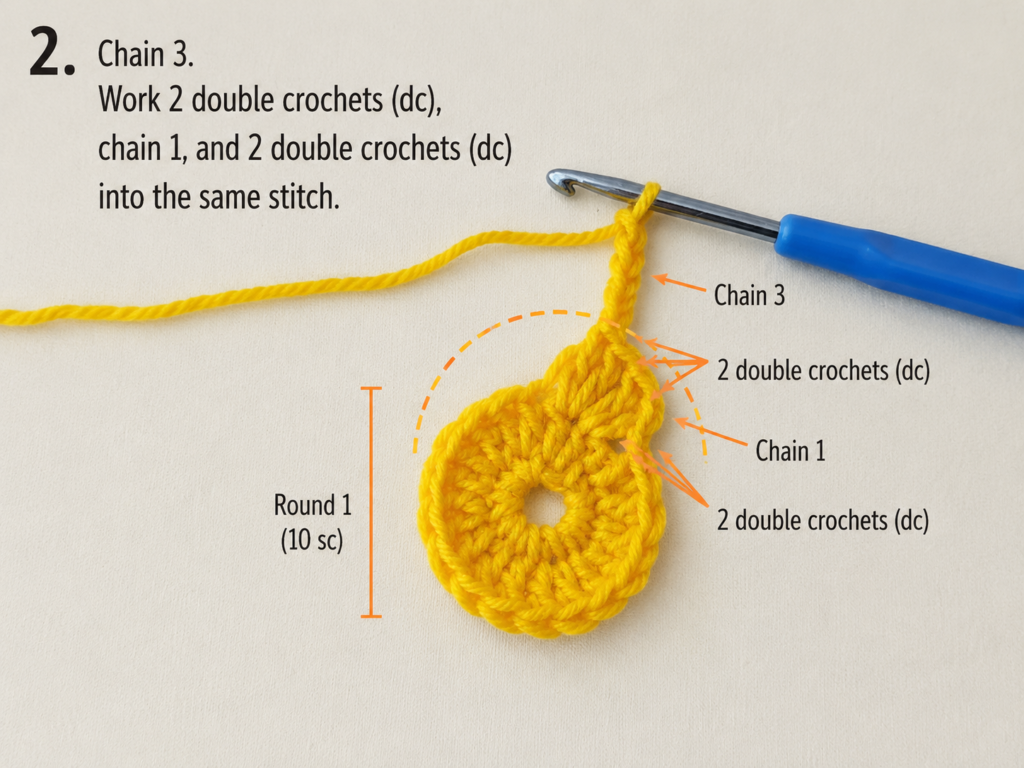
Step 4: Make the First Small Side Point
Ch 1.
In the next stitch, work:
1 sc.
In the next stitch, work:
1 hdc, 1 dc.
In the next stitch, work:
1 dc, 1 tr, picot, 1 tr, 1 dc.
In the next stitch, work:
1 dc, 1 hdc.
Sl st in the next stitch.
The first small point is complete.
This creates a gradual rise and fall: short stitch, medium stitches, tall point, medium stitches, slip stitch.
Beginner tip:
The tallest part of each point happens in the middle stitch of that lobe.
Common mistake to avoid:
Do not make the picot too loose. A loose picot can look like a loop instead of a point.
Step 5: Make the Second Side Point
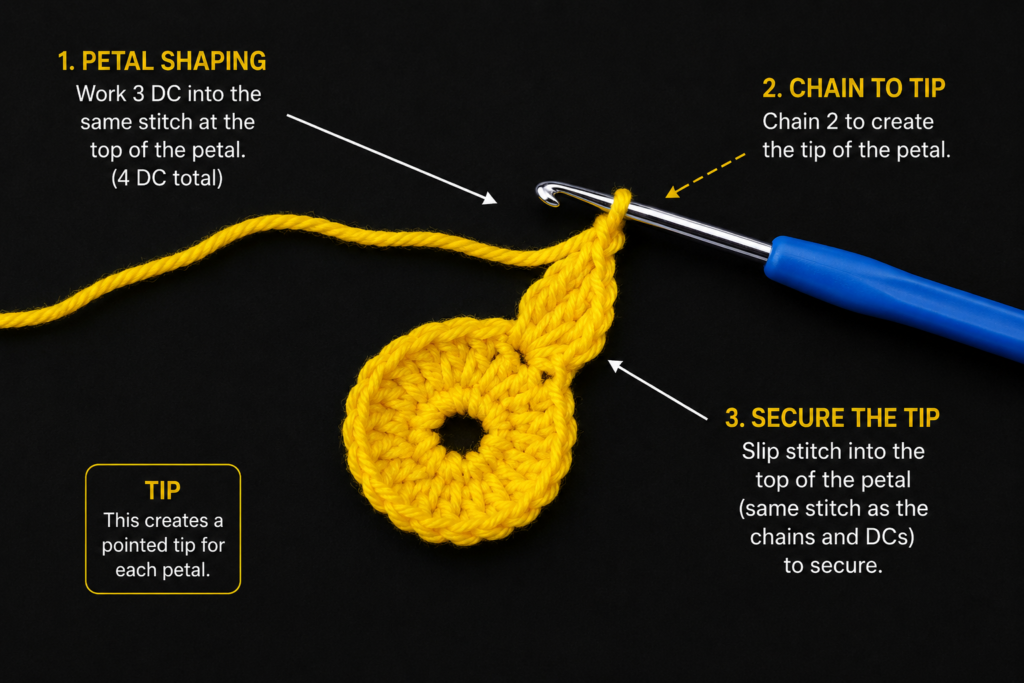
Repeat the same shaping idea for the second side point.
In the next stitch, work:
1 hdc, 1 dc.
In the next stitch, work:
1 dc, 1 tr, picot, 1 tr, 1 dc.
In the next stitch, work:
1 dc, 1 hdc.
Sl st in the next stitch.
You should now have two points on one side of the leaf.
Beginner tip:
Flatten the motif gently after each point. This helps you see whether the leaf is developing evenly.
Common mistake to avoid:
Do not skip the slip stitch between points. It pulls the valley down and makes the points look separate.
Step 6: Make the Tall Center Point
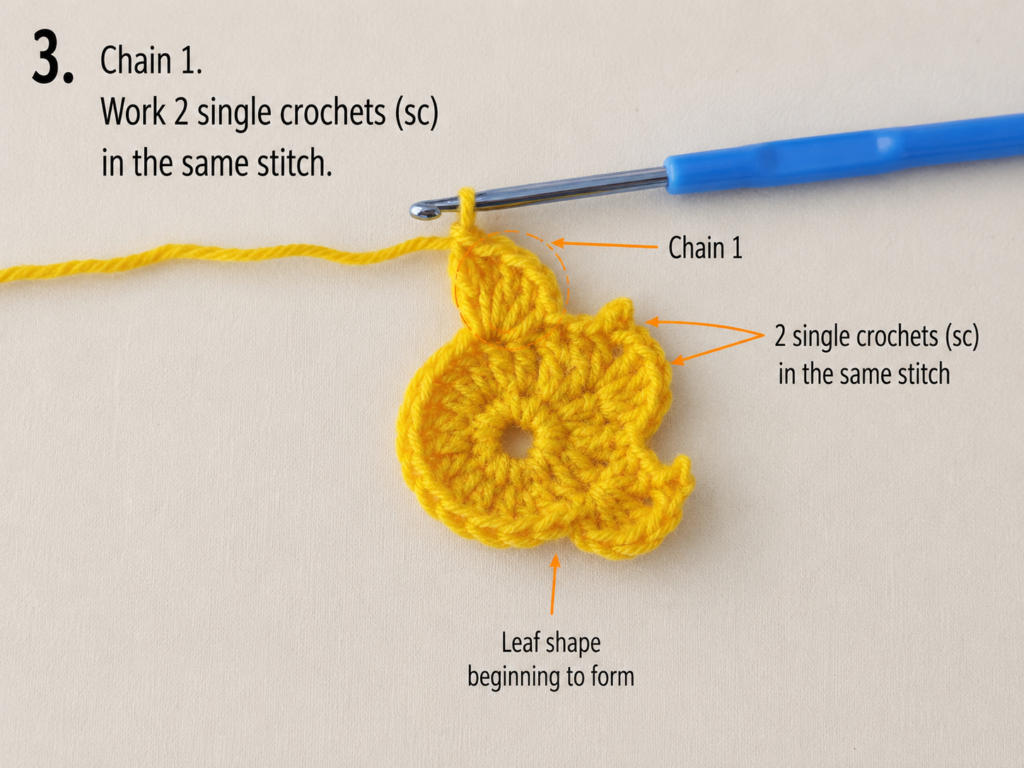
The center point should be taller than the side points.
In the next stitch, work:
1 dc, 1 tr.
In the next stitch, work:
2 tr, picot, 2 tr.
In the next stitch, work:
1 tr, 1 dc.
Sl st in the next stitch.
Now the leaf should clearly begin to resemble a maple-style fall leaf.
Beginner tip:
If the center point looks crowded, pause and gently spread the stitches with your fingers before continuing.
Common mistake to avoid:
Do not place the entire center point into one stitch unless your yarn is very thin. Splitting the center point across three base stitches helps the motif lie flatter.
Step 7: Make the Last Two Points
Now mirror the first side.
For the fourth point:
In the next stitch, work:
1 hdc, 1 dc.
In the next stitch, work:
1 dc, 1 tr, picot, 1 tr, 1 dc.
In the next stitch, work:
1 dc, 1 hdc.
Sl st in the next stitch.
For the fifth point:
In the next stitch, work:
1 sc.
In the next stitch, work:
1 hdc, 1 dc.
In the next stitch, work:
1 dc, 1 tr, picot, 1 tr, 1 dc.
In the next stitch, work:
1 dc, 1 hdc.
Sl st near the lower edge of the leaf.
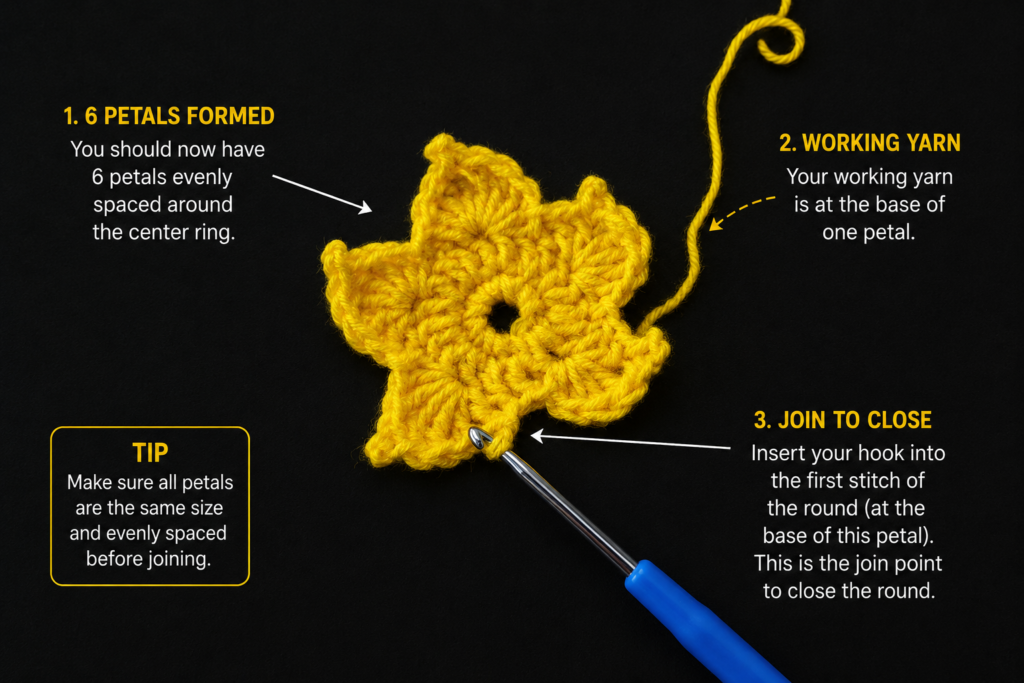
You now have five points.
Beginner tip:
The left and right sides do not need to be mathematically perfect. Real fall leaves are not perfectly symmetrical either.
Common mistake to avoid:
Do not keep adding extra points if the shape looks slightly uneven. Finish the leaf first, then use light blocking to refine it.
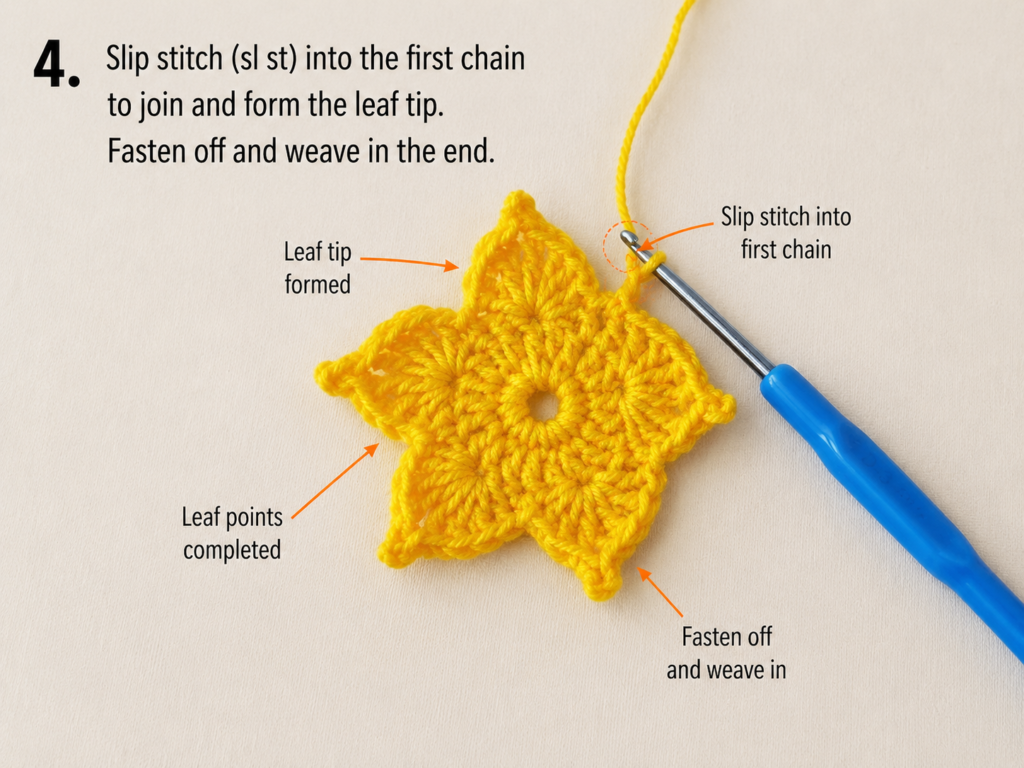
Step 8: Add the Stem
At the lower center of the leaf, ch 7.
Starting in the second chain from the hook, sl st in each chain back toward the leaf.
Sl st into the base of the leaf to secure the stem.
Fasten off, leaving a 6-inch tail.
Beginner tip:
For a firmer stem, use single crochet instead of slip stitch along the chain.
Common mistake to avoid:
Do not pull the stem chain too tightly. A very tight chain will twist.
Pattern Notes or Stitch Notes
Turning chain rules
The beginning chains in this pattern do not count as stitches unless stated otherwise.
Stitch count
Because this pattern forms points using grouped stitches, the final stitch count is less important than the overall shape.
However, the base should begin with:
- 10 sc in the center loop.
- 20 dc in the base round.
Repeat pattern
The leaf points use the same general rise-and-fall structure:
Short stitch → medium stitch → tall stitch → picot → tall stitch → medium stitch → valley.
Right side and wrong side
The side with the cleanest stitch texture should face forward.
The yarn tails should be woven into the wrong side.
Size adjustment notes
To make a smaller leaf:
- Use sport-weight yarn.
- Use a 3 mm hook.
- Use hdc instead of some dc stitches.
- Use dc instead of some tr stitches.
To make a larger leaf:
- Use worsted yarn.
- Use a 4 mm or 4.5 mm hook.
- Add one extra stitch before and after the taller points.
Common Beginner Mistakes
1. The center loop is too tight
Problem: You cannot fit the first round comfortably into the loop.
Fix: Make the starting chain loop slightly larger, or use a magic ring if you prefer.
2. The leaf points look rounded
Problem: The picots are too loose or missing.
Fix: Keep each picot small and firm. Chain 3, then slip stitch into the first of those three chains.
3. The center point is not taller than the side points
Problem: The stitch heights are too similar.
Fix: Use treble crochets in the center point and keep the side points slightly shorter.
4. The leaf curls badly
Problem: Tension is too tight or the stitches are too crowded.
Fix: Try a larger hook and block the finished leaf lightly.
5. The stem twists
Problem: The chain is too tight.
Fix: Chain loosely, or work single crochet back along the stem for more structure.
6. The two sides look uneven
Problem: The points were not mirrored.
Fix: Lay the leaf flat before fastening off. Small differences are acceptable, but major imbalance means you may need to redo the final side.
How to Customize This Crochet Project
Yarn changes
Cotton gives crisp points. Acrylic gives a softer, more flexible leaf. Wool gives a cozy rustic look.
Color changes
Make a full autumn set using:
- Rust.
- Mustard.
- Pumpkin orange.
- Cinnamon brown.
- Olive green.
- Burgundy.
- Warm beige.
Size changes
For gift tags or small appliqués, use finer yarn.
For garlands, wreaths, or table decor, use DK or worsted yarn.
For oversized wall decor, try bulky yarn and a larger hook.
Border options
You can add a contrast-color slip stitch around the edge, but keep it subtle. A thick border can hide the pointed shape.
Texture options
Try back-loop-only slip stitches for the stem, surface crochet veins, or embroidered vein lines with a darker yarn.
Gift ideas or use cases
Use finished leaves as:
- Fall garland motifs.
- Thanksgiving table scatter.
- Wreath accents.
- Classroom bulletin-board decor.
- Crochet bookmark toppers.
- Gift wrap decorations.
- Pumpkin appliqués.
- Autumn market display props.
- Handmade cards.
Finishing Instructions
Fasten off by cutting the yarn and pulling the tail completely through the final loop.
Use a tapestry needle to weave in the tail on the wrong side.
For a clean finish:
- Weave through several stitches.
- Change direction.
- Weave through several more stitches.
- Trim close to the fabric.
To block the leaf:
- Lay it flat on a towel or blocking mat.
- Gently shape each point.
- Pin the center point and side points.
- Mist lightly with water.
- Allow to dry completely.
Always follow the care instructions for your yarn fiber.
Quick Printable-Style Summary
Skill level: Easy / Advanced Beginner
Finished size: About 3.5–4.25 inches wide, depending on yarn and hook.
Materials: DK cotton yarn, 3.5 mm hook, scissors, tapestry needle.
Stitches: Ch, sl st, sc, hdc, dc, tr, picot.
Starting method: Ch 6 and join into a loop.
Center: Work 10 sc into the loop.
Base round: Work 2 dc in each stitch around for 20 dc.
Leaf points: Build five points using short, medium, and tall stitches with picots.
Stem: Ch 7, sl st back along the chain, sl st into the base.
Finishing: Fasten off, weave in ends, shape, and block lightly.
FAQ
Is this crochet fall leaf pattern beginner-friendly?
Yes, but it is best for beginners who already know how to chain, single crochet, double crochet, and slip stitch. The treble crochet and picot stitches may be new, but they are explained in the tutorial.
What yarn is best for crochet fall leaves?
Cotton or cotton-blend yarn is best when you want crisp points and visible stitch definition. Acrylic works too, especially for soft garlands or lightweight decorations.
Can I make this leaf without treble crochet?
Yes, but the center point will be shorter. Replace treble crochet with double crochet for a smaller, rounder leaf.
Why is my leaf curling?
Curling usually happens from tight tension, too many tall stitches in a small space, or insufficient blocking. Try a slightly larger hook and block the finished leaf gently.
Can I use this pattern for a garland?
Yes. Make several leaves in different fall colors, then sew or tie them onto a long crochet chain.
Can I turn this into a coaster?
This specific version is more decorative than functional because the points and stem may not sit perfectly flat under a cup. For coasters, use cotton yarn and block firmly.
How do I make the leaf look more realistic?
Use autumn colors, make the center point slightly taller than the side points, block each point sharply, and embroider a few subtle vein lines with darker yarn.
Conclusion
This crochet fall leaf pattern is small, seasonal, and practical. It gives beginners a chance to practice stitch height, picot points, shaping, joining, and finishing without committing to a large autumn project.
Make one leaf first as a practice motif. Once you understand the structure, crochet a handful in different fall shades and use them for garlands, wreaths, table decor, classroom displays, gift tags, or cozy autumn photo styling.





