A crochet notebook cover is one of the most useful small projects you can make when you want something practical, giftable, and beginner-friendly. It protects a plain notebook, adds texture to your desk, and turns a simple journal into something that feels handmade and personal.
This tutorial shows you how to make a removable crochet cover for an A5-style notebook using three flat crochet pieces: one large outer rectangle and two smaller inside flaps. The notebook’s front and back covers slide into the flaps, while a single crochet border holds everything together.
The construction is simple, but the finished result looks polished. You do not need advanced shaping, complicated lace, or sewing-machine skills. You only need to crochet flat rows, count your stitches, keep your edges straight, and work a neat border.
This is a project tutorial / pattern-style tutorial because the keyword “crochet notebook cover pattern” clearly points to a finished practical project rather than a stitch lesson or motif roundup.
What You’ll Learn
In this tutorial, you will learn how to:
- Measure your notebook correctly before starting.
- Crochet a flat outer panel.
- Make two inner flap panels.
- Keep single crochet edges straight.
- Check the fit before seaming.
- Join the pieces with a single crochet border.
- Add an optional bookmark cord.
- Weave in ends neatly.
- Customize the cover for different notebook sizes.
- Fix common fit and tension problems.
Materials You’ll Need
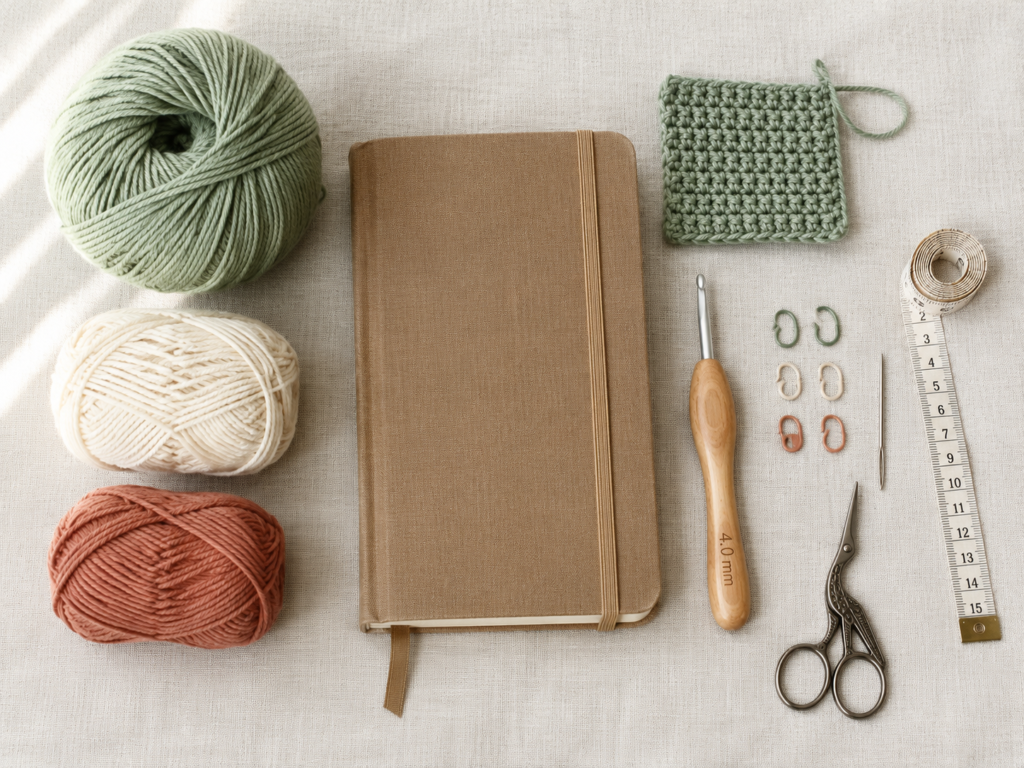
For one removable crochet notebook cover:
- DK or light worsted cotton yarn in main color.
- Small amount of contrast yarn for the border.
- Small amount of yarn for the optional bookmark cord.
- 4.0 mm / G-6 crochet hook.
- Notebook to cover.
- Stitch markers or sewing clips.
- Measuring tape.
- Tapestry needle.
- Scissors.
- Blocking mat or towel, optional.
Cotton or cotton-blend yarn is recommended because it creates a firmer fabric than very stretchy acrylic. A notebook cover should hold its shape, grip the notebook, and avoid stretching out too quickly.
The Craft Yarn Council lists ch, sc, and sl st as standard crochet abbreviations for chain, single crochet, and slip stitch, which are the main stitches used in this pattern.
Crochet Abbreviations Used
This pattern uses U.S. crochet terminology.
- ch = chain
- sc = single crochet
- sl st = slip stitch
- st/sts = stitch/stitches
- rep = repeat
- RS = right side
- WS = wrong side
A standard crochet hook chart lists 4.0 mm as a G-6 crochet hook.
Before You Start
Measure your notebook first
Do not guess the size. Open your notebook flat and measure:
- Full width from left cover edge across the spine to right cover edge.
- Height from top to bottom.
- Closed cover width.
- Spine thickness.
For the sample project in this article, the target notebook is approximately:
- Closed notebook size: 5.8 in wide × 8.3 in tall.
- Spine thickness: around 0.5 in.
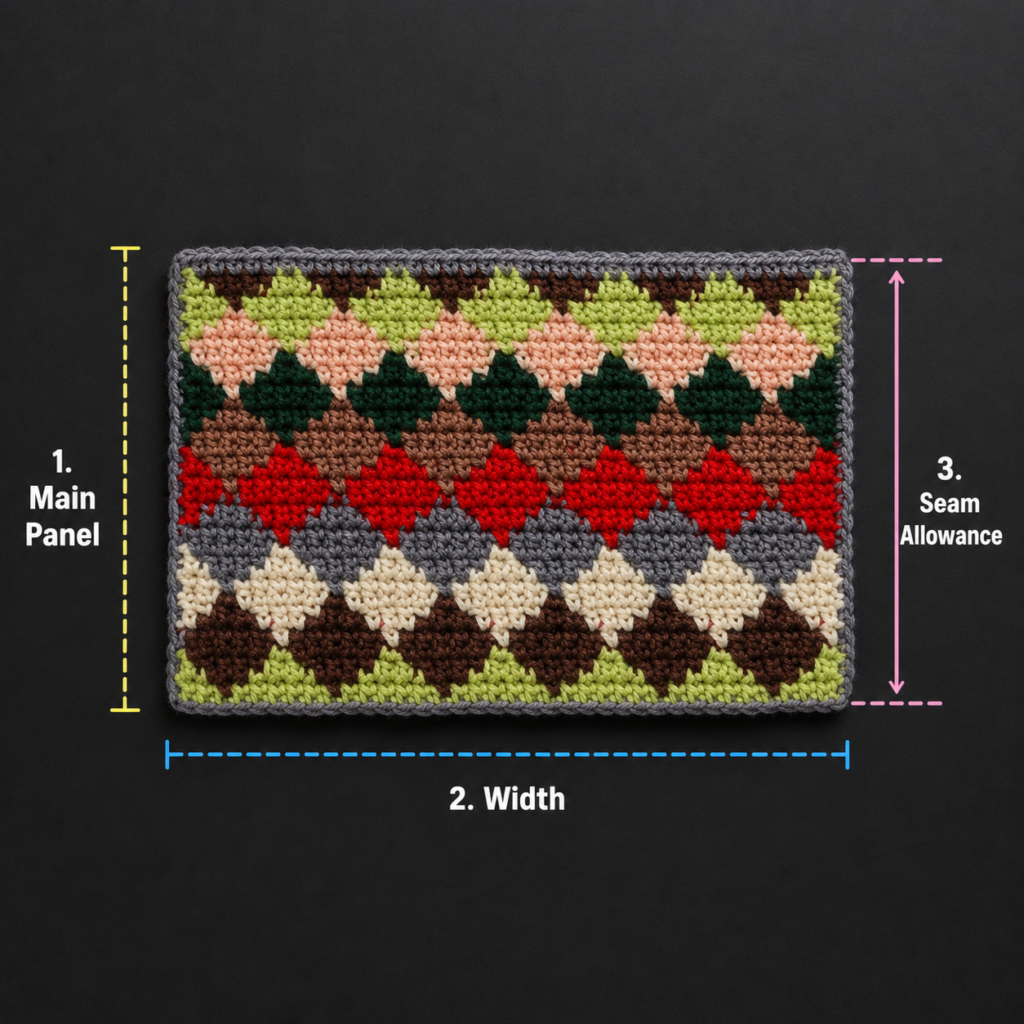
- Outer panel target size: about 12.75 in wide × 8.75 in tall.
- Each flap target size: about 4 in wide × 8.5 in tall.
The De Estraperlo reference source uses the same general construction idea: one large outer piece and two smaller inner pieces.
Gauge note
For the sample:
- 18 sc = 4 inches
- 20 rows = 4 inches
Gauge does not need to be perfect, but the finished pieces must fit your notebook. Crochet a small swatch first if you are using a different yarn or hook.
Beginner note
The most common beginner mistake is making the cover too tight. Crochet fabric has some flexibility, but a notebook cover still needs enough room to slide over the front and back covers.
US/UK term note
This tutorial is written in U.S. terms. A U.S. single crochet is called double crochet in U.K. terminology.
Step-by-Step Crochet Tutorial
Step 1: Crochet the Foundation Chain for the Outer Panel
With your main color, make a slip knot.
For the sample A5 notebook cover:
Ch 60.
Row 1: Sc in the second chain from the hook and in each chain across.
You should have 59 sc.
Ch 1 and turn.
This first row creates the width of the notebook cover when the notebook is opened flat.
Beginner tip:
Lay the first row across the open notebook. It should cover the full open width with a little extra room at both sides.
Common mistake to avoid:
Do not count the loop on your hook as a chain. Count the actual chain stitches below the hook.
Step 2: Crochet the Outer Rectangle
Continue in single crochet.
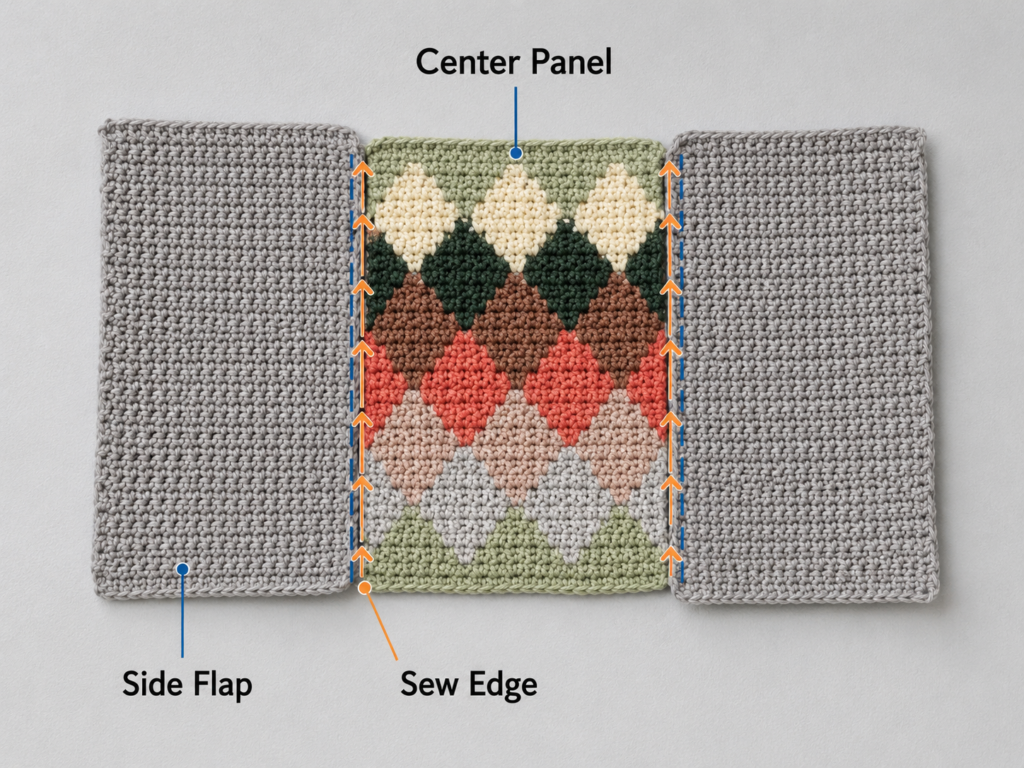
Rows 2–44: Ch 1, turn, sc in each stitch across.
Each row should have 59 sc.
After Row 44, your rectangle should measure approximately 12.75 in wide × 8.75 in tall.
Place it behind your open notebook to check the fit.
The rectangle should extend slightly beyond the notebook at the top, bottom, left edge, and right edge. This small extra space allows for the border and prevents the finished cover from pulling too tightly.
Fasten off and weave in the beginning tail only. You may leave the final tail temporarily until after blocking and fit checking.
Beginner tip:
Count the stitches every few rows. If one row has 58 stitches and the next has 59, the edge will slowly slant.
Common mistake to avoid:
Do not skip the last stitch of each row. It can hide beside the turning chain, especially when your tension is tight.
Step 3: Crochet Two Inner Flap Panels
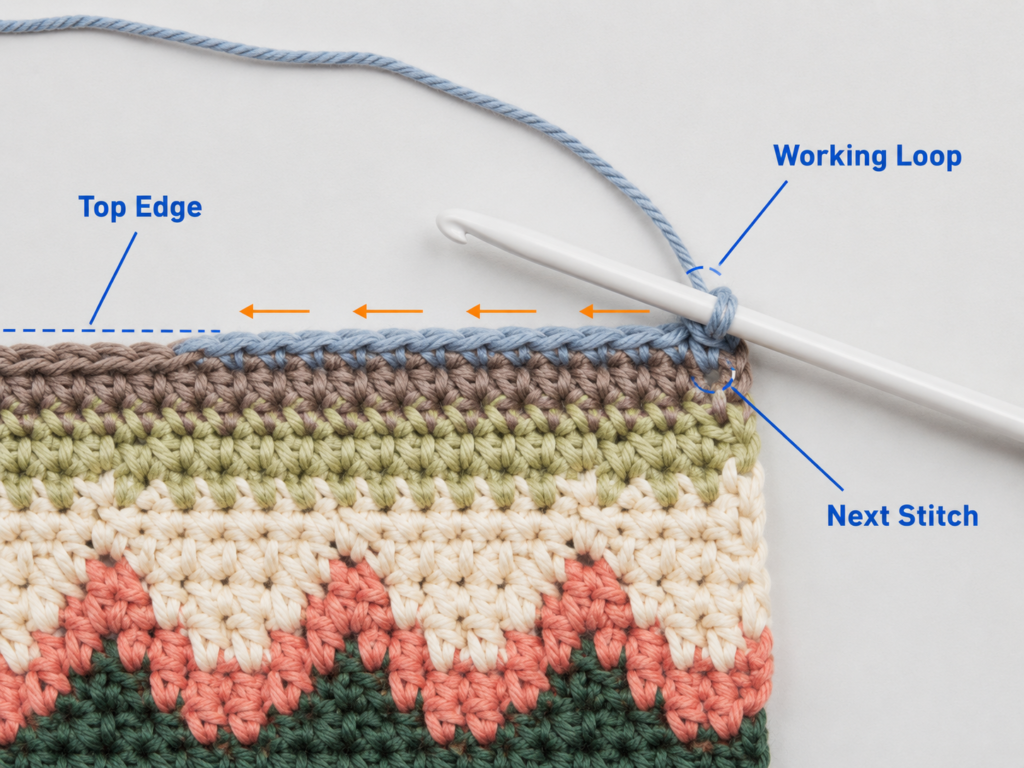
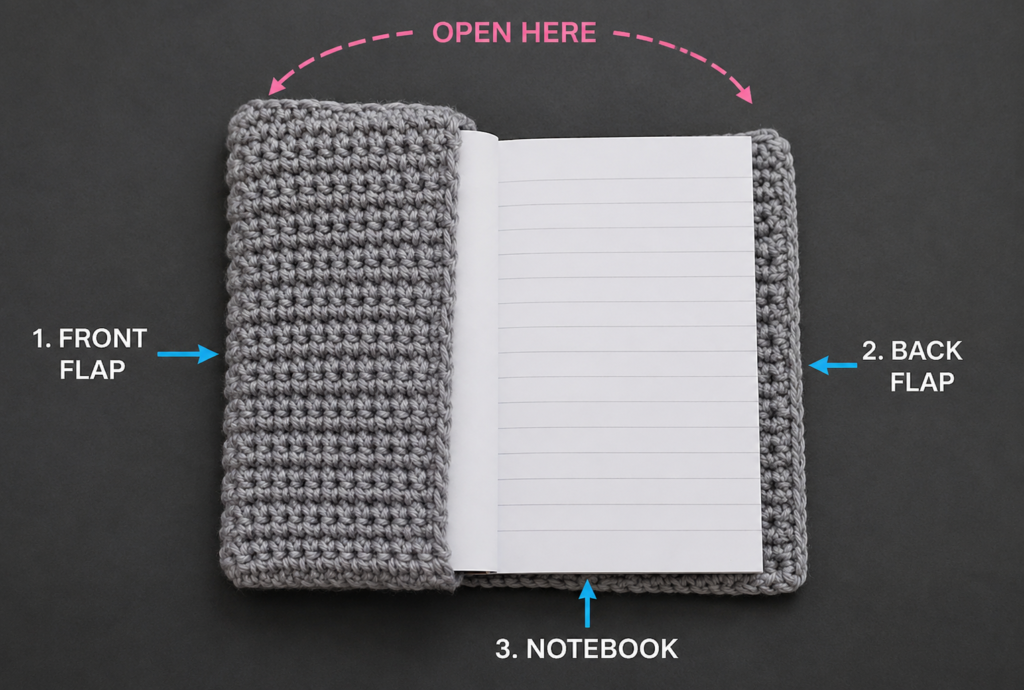
The inner flaps hold the notebook cover in place. They are smaller rectangles that sit inside the front and back covers.
Make two identical pieces.
With main color:
Ch 20.
Row 1: Sc in the second chain from the hook and in each chain across.
You should have 19 sc.
Rows 2–42: Ch 1, turn, sc in each stitch across.
Each flap should measure approximately 4 in wide × 8.5 in tall.
Fasten off each flap, leaving a long tail for later weaving.
Beginner tip:
The flaps should be slightly shorter than the outer panel height. This prevents bulky corners when the border is added.
Common mistake to avoid:
Do not make the flaps too narrow. If they are too shallow, the notebook covers may slip out during use.
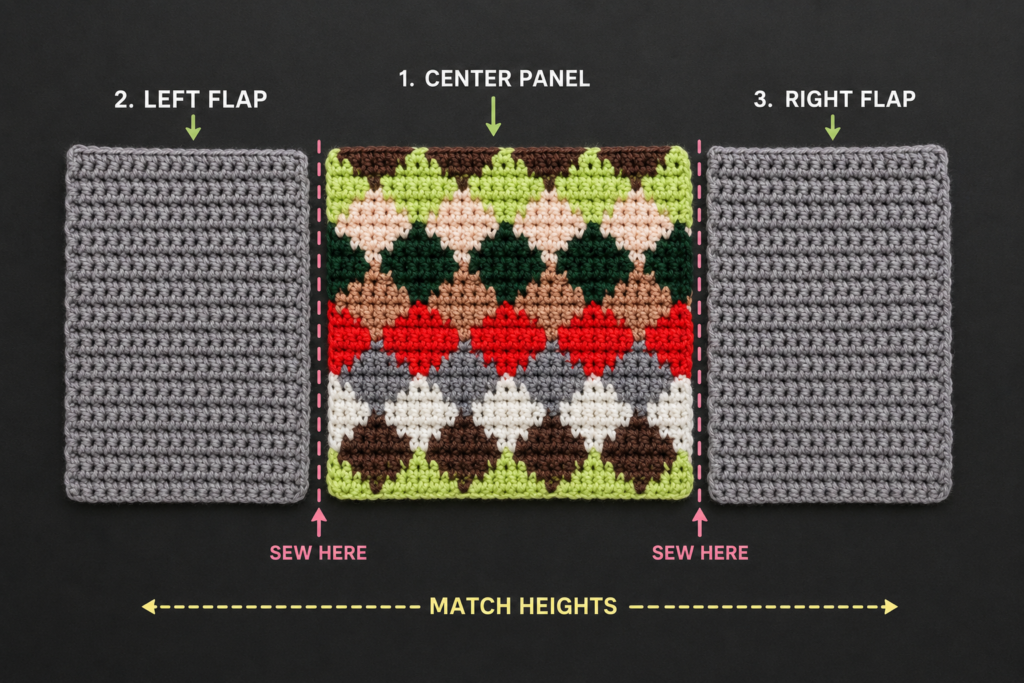
Step 4: Position the Flaps
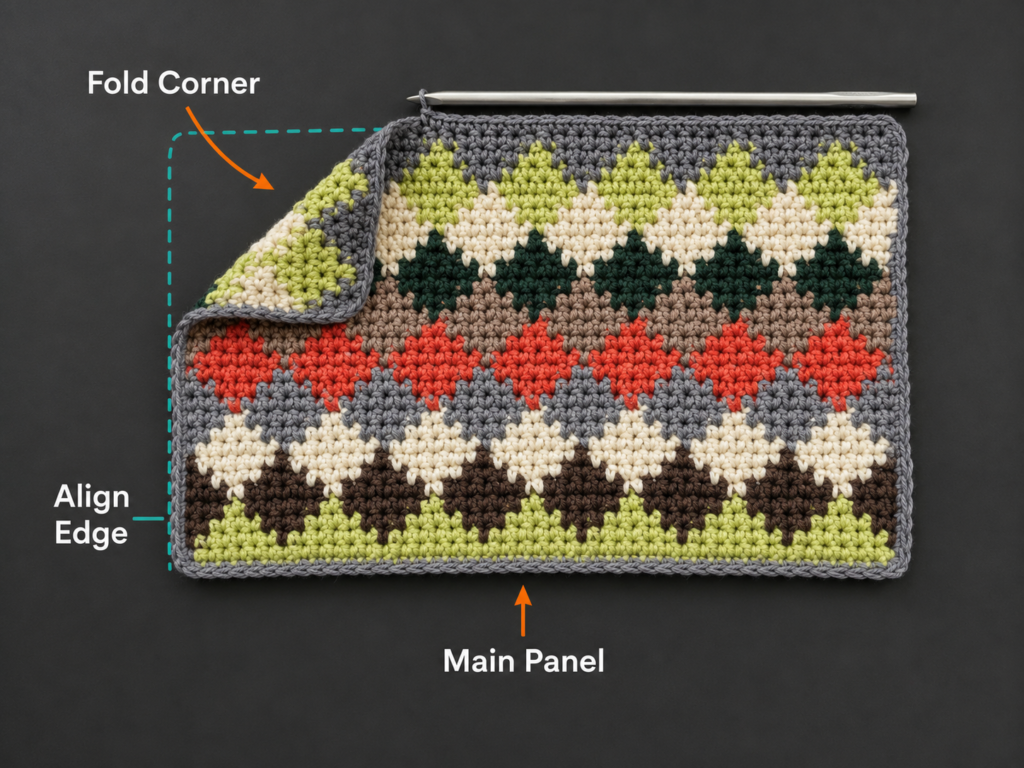
Lay the large outer panel flat with the wrong side facing up.
Place one flap on the left end and one flap on the right end.
Align:
- Top edges.
- Bottom edges.
- Outer side edges.
The flaps should sit on the wrong side of the cover because the notebook covers will slide behind them.
Use stitch markers or clips to hold the pieces in place.
Now test the fit before joining anything permanently.
Slide the front cover of the notebook under one flap and the back cover under the other. Close the notebook gently.
If the crochet feels too tight, reduce flap depth slightly by moving the flap inward less. If the notebook slips out easily, increase flap depth.
The selected source also uses the logic of placing the smaller pieces on the inside and then working a border to attach them.
Beginner tip:
Do a full test fit before starting the border. It is easier to move a stitch marker than to undo a finished seam.
Common mistake to avoid:
Do not place the flaps on the right side of the cover. They must sit inside the finished cover.
Step 5: Join the Cover with a Single Crochet Border
Join contrast yarn at the top left corner.
Work single crochet evenly around the entire rectangle.
When you reach areas where the flap sits behind the outer panel, insert the hook through both layers.
This border does two jobs:
- It finishes the edge.
- It joins the flaps to the outer panel.
Work:
- 1 sc in each stitch across the top edge.
- 3 sc in each corner.
- Evenly spaced sc down each side edge.
- 1 sc in each stitch across the bottom edge.
- Join with a sl st to the first sc.
Fasten off and weave in the tail.
Beginner tip:
When working down the side edges, aim for about one single crochet every row-end or every other row-end, depending on your row height. The edge should lie flat, not ruffle.
Common mistake to avoid:
Do not crochet through both layers around the side fold itself if it blocks the notebook cover from sliding in. The flap must remain open on the inside.
Step 6: Add an Optional Bookmark Cord
With terracotta or another accent color:
Ch 65.
For a firmer cord, sl st in the second chain from the hook and in each chain back across.
Fasten off, leaving a sewing tail.
Open the notebook cover and find the top center of the spine area.
Sew one end of the cord securely to the inside top edge.
The free end can hang down inside the notebook as a bookmark.
Optional: Add a tiny tassel to the lower end of the cord.
Beginner tip:
Do not make the bookmark too thick. A bulky cord can make the notebook hard to close.
Common mistake to avoid:
Do not attach the bookmark to the outside top edge. It should sit inside the spine area.
Step 7: Insert the Notebook
Open the crochet cover.
Slide the front notebook cover under the left flap.
Slide the back notebook cover under the right flap.
Close the notebook gently and smooth the crochet fabric with your hands.
Check that:
- The spine sits centered.
- The front cover does not pull.
- The back cover does not slip out.
- The corners are not bulky.
- The bookmark cord falls between the pages.
If the fit is snug but not strained, the cover is correct.
Pattern Notes or Stitch Notes
Turning chain rules
The ch 1 at the beginning of each row does not count as a stitch.
Stitch count
Outer panel:
- Foundation chain: 60
- Row stitch count: 59 sc
Each flap:
- Foundation chain: 20
- Row stitch count: 19 sc
Repeat pattern
For the main texture:
Ch 1, turn, sc in each stitch across.
Row notes
Work all panels flat in rows.
Do not join rows into rounds.
Right side and wrong side
Choose the neater side of the large rectangle as the right side.
The flap panels are placed against the wrong side before the border is added.
Size adjustment notes
For a smaller notebook:
- Chain fewer stitches for the outer panel.
- Crochet fewer rows for height.
- Make shallower flaps.
For a larger notebook:
- Chain until the first row covers the full open notebook width plus ease.
- Crochet until the panel is slightly taller than the notebook.
- Make the flaps at least one-third of the closed notebook width.
Common Beginner Mistakes
1. The cover is too tight
Cause: The outer panel was made exactly the same size as the notebook with no ease.
Fix: Add 0.25–0.5 inch extra width and height before assembly.
2. The flaps are too shallow
Cause: The flap panels do not cover enough of the notebook covers.
Fix: Make each flap about one-third to one-half of the closed cover width.
3. The side edges slant
Cause: The first or last stitch of some rows was skipped.
Fix: Count every row and place a stitch marker in the first and last stitch while learning.
4. The border ruffles
Cause: Too many single crochet stitches were added along the side edges.
Fix: Use fewer stitches along row ends and smooth the edge frequently.
5. The border pulls inward
Cause: Too few stitches were added along the side edges.
Fix: Add more evenly spaced stitches along the vertical sides.
6. The notebook will not close smoothly
Cause: The flaps, border, or bookmark cord are too bulky near the spine.
Fix: Use a thinner bookmark cord and avoid heavy seams close to the center spine.
How to Customize This Crochet Project
Yarn changes
Cotton creates a crisp notebook cover. Acrylic creates a softer cover. Wool blends can work, but they may stretch or felt depending on care.
Color changes
Try:
- Sage with cream border.
- Navy with mustard border.
- Terracotta with ivory border.
- Black with white border.
- Pastel rainbow stripes.
- School colors for students or teachers.
Size changes
This same method works for:
- A5 notebooks.
- Small journals.
- Composition books.
- Sketchbooks.
- Planners.
- Prayer journals.
- Reading journals.
Always measure the actual notebook before starting.
Border options
For beginners, use plain single crochet.
For a more decorative version, try:
- Reverse single crochet.
- Slip stitch border.
- Picot details.
- Contrast-color edging.
- Two-round border.
Texture options
Once you understand the construction, replace plain single crochet with:
- Moss stitch.
- Half double crochet.
- Linen stitch stripes.
- Back-loop-only ribbing.
- Simple tapestry colorwork.
Gift ideas
A crochet notebook cover makes a strong handmade gift for:
- Teachers.
- Students.
- Journal lovers.
- Readers.
- Writers.
- Bible-study groups.
- Back-to-school baskets.
- Handmade stationery sets.
Add a pen, pencil pouch, bookmark, or small handmade tag for a complete gift.
Finishing Instructions
Fasten off all yarn ends.
Use a tapestry needle to weave each tail into the wrong side of the crochet fabric.
Do not cut tails immediately. Weave in one direction, turn, and weave back through several stitches before trimming.
Lightly block the cover if needed.
To block:
- Dampen the crochet fabric slightly.
- Lay it flat around the notebook shape without soaking the notebook.
- Shape the corners gently.
- Allow the crochet fabric to dry fully before use.
For washing, remove the crochet cover from the notebook first. Wash according to the yarn label, reshape, and dry flat.
Quick Printable-Style Summary
Skill level: Beginner to Easy
Finished size: Custom fit for A5-style notebook
Materials: DK cotton yarn, 4.0 mm hook, notebook, stitch markers, tapestry needle, scissors, measuring tape
Stitches: Chain, single crochet, slip stitch
Outer panel: Ch 60. Sc in second chain from hook and across. Work 44 rows total with 59 sc per row.
Flaps: Make 2. Ch 20. Sc in second chain from hook and across. Work 42 rows total with 19 sc per row.
Assembly: Place flaps on wrong side of outer panel. Join with single crochet border through both layers where flaps overlap.
Optional bookmark: Ch 65, sl st back across, sew to inside top spine area.
Finishing: Weave in ends, block lightly, insert notebook.
FAQ
Is a crochet notebook cover good for beginners?
Yes. This version uses only chain, single crochet, slip stitch, flat rows, and a simple border. The main challenge is measuring correctly.
What yarn is best for a crochet notebook cover?
Cotton or cotton-blend yarn is best because it holds shape and creates a sturdy fabric. Very stretchy acrylic can work, but the cover may loosen with use.
Can I make this for any notebook size?
Yes. Measure the notebook open flat, then crochet the outer panel slightly larger than that measurement. Make the flaps deep enough to grip the front and back covers.
How deep should the notebook cover flaps be?
A good beginner rule is to make each flap about one-third to one-half of the closed notebook width.
Why is my cover too loose?
The outer panel may be too wide, the flaps may be too shallow, or your yarn may stretch too much. Try deeper flaps or a smaller hook.
Can I add a button closure?
Yes. Sew a button to the front and crochet a chain loop from the back edge. Make sure the loop is not too tight.
Can I sell finished notebook covers from this tutorial?
The article provides an original tutorial you can use for finished handmade items. Do not republish the tutorial text, image plan, or pattern as your own.
Conclusion
This crochet notebook cover pattern is simple, practical, and easy to customize. Once you understand the basic construction, you can adapt it to almost any notebook by changing the panel size and flap depth.
Start with a plain single crochet version first. It will teach you how the cover fits, how the flaps behave, and how much ease your yarn needs. After that, you can experiment with stripes, colorwork, textured stitches, decorative borders, bookmark cords, button closures, or matching pencil pouches.
The finished cover turns an ordinary notebook into a reusable handmade item that works beautifully for journaling, school notes, planning, reading logs, teacher gifts, and desk styling.





