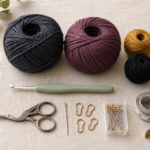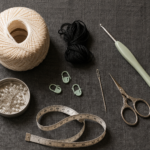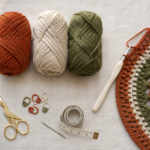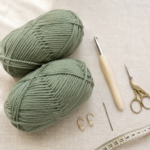
A string of tiny crochet “lights” is one of those projects that looks much more detailed than it actually is.
For this crochet fairy light garland pattern, each little bulb is worked flat using simple rows of single crochet. There is no stuffing, no complicated amigurumi shaping, and no need to crochet around real electrical lights. Once you understand how to increase at the edges and then decrease again, you can make the bulbs almost on autopilot.
The project is especially useful for scrap yarn because each bulb requires only a small amount of color. Make your garland bright and festive, soften it with muted cottagecore shades, or choose two or three colors that coordinate with a nursery, craft room, dorm room, mantel, or seasonal display.
This tutorial uses US crochet terminology and includes clear stitch counts, beginner tips, customization notes, assembly instructions, and step-by-step image placements.
The finished design is a decorative crochet imitation of fairy lights rather than an electrical product. That keeps the construction straightforward and makes it easy to hang almost anywhere indoors.
What You’ll Learn
By the end of this tutorial, you will know how to:
- Crochet a small flat light-bulb motif.
- Work increases at both ends of a row.
- Use decreases to create a tapered bulb point.
- Change from the cap color to the bulb color cleanly.
- Count short crochet rows accurately.
- Keep the two sides of a small motif symmetrical.
- Weave in small yarn tails without creating bulky spots.
- Crochet a customizable garland cord.
- Attach each bulb securely while crocheting the cord.
- Change the number and spacing of bulbs to make almost any garland length.
Materials You’ll Need
For a sample garland with approximately 10 bulbs:
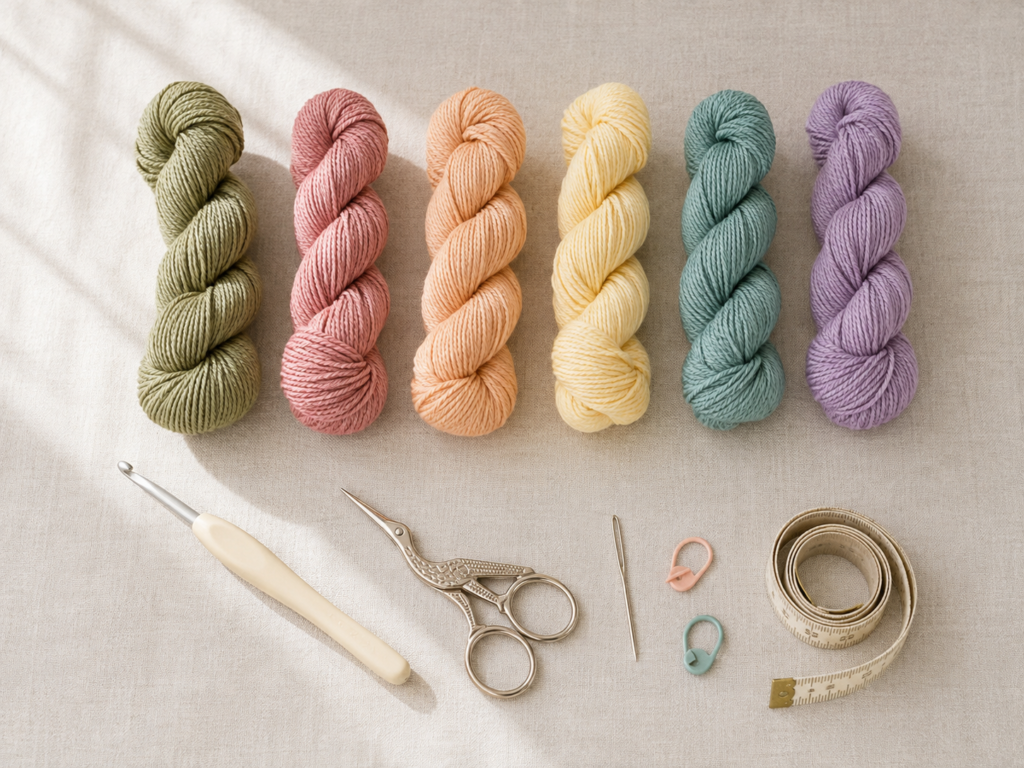
- DK/light worsted yarn in eucalyptus or forest green for the cord and bulb caps.
- Small amounts of DK yarn in five bulb colors. This tutorial uses:
- dusty rose
- warm apricot
- butter yellow
- muted teal
- soft lavender
- 3.5 mm crochet hook
- Scissors
- Blunt yarn or tapestry needle
- Stitch marker, optional
- Measuring tape, optional
A smooth cotton, cotton-acrylic blend, or regular acrylic works best because you want the individual single crochet stitches to remain visible.
Avoid very fuzzy yarn for your first garland. Mohair-style fibers can make short rows and decreases surprisingly difficult to see.
The Craft Yarn Council categorizes DK/light worsted yarn within its light yarn-weight system and also notes that yarn-weight hook recommendations are guidelines rather than absolute rules. For this project, the slightly firm fabric produced by a 3.5 mm hook helps the little bulbs keep their shape.
Crochet Abbreviations Used
This pattern is written in US crochet terms.
- ch = chain
- sc = single crochet
- sl st = slip stitch
- st / sts = stitch / stitches
- inc = increase; work 2 sc into the same stitch
- dec / sc2tog = single crochet two stitches together
- rep = repeat
- RS = right side
- WS = wrong side
The Craft Yarn Council’s standard abbreviation list also confirms the terminology difference worth remembering when comparing this tutorial with UK patterns: US single crochet equals UK double crochet.
Finished Size
With DK yarn and a 3.5 mm hook:
- Each bulb is approximately 2–2.5 inches / 5–6.5 cm tall.
- Each bulb is approximately 1.5–2 inches / 4–5 cm wide.
- A 10-bulb garland is roughly 55–65 inches / 140–165 cm long, depending on your chain tension and spacing.
Exact dimensions are not critical.
Gauge and Tension
Gauge is not essential for this decorative project.
A useful target is approximately:
20 sc × 22 rows = 4 inches / 10 cm
The more important goal is a neat, moderately firm fabric.
If your bulb feels floppy and the stitches are very open, try a smaller hook.
If the motif curls tightly or your hook struggles to enter each stitch, loosen your tension or try a 4 mm hook.
Before You Start
Count Every Row
Small crochet motifs can become uneven very quickly because missing only one stitch changes the shape noticeably.
After every row, count your stitches.
Your bulb will progress through these widths:
4 → 4 → 6 → 8 → 8 → 8 → 6 → 4 → 2
That sequence is your quickest way to check the shaping.
Turning Chains Do Not Count as Stitches
At the beginning of each row, chain 1 and turn.
The chain 1 gives you enough height to begin the next row, but it does not count as your first single crochet.
Work the first sc directly into the first actual stitch.
Keep the Edges Relaxed
Do not pull the turning chain tight.
A very tight turning chain can make the edges curve inward even if your stitch count is correct.
Choose Colors Before Assembly
Lay all your yarn colors next to each other before crocheting ten bulbs.
For a balanced five-color garland, make two bulbs in each color.
A simple sequence is:
dusty rose → apricot → butter yellow → teal → lavender
Then repeat once.
Step-by-Step Crochet Tutorial
Step 1: Crochet the Bulb Cap
Start with your eucalyptus-green yarn.
Ch 5.
Row 1
Sc in the second chain from the hook and in each remaining chain.
4 sc.
Ch 1 and turn.
Row 2
Sc in each stitch across.
4 sc.
Ch 1 and turn.
These two short green rows form the small cap at the top of the light bulb.
Do not fasten off yet.
Beginner tip:
Place a stitch marker into the first stitch of Row 2 if you find short rows difficult to count.
Common mistake to avoid:
Do not crochet into the turning chain when you come back across the row. Doing so creates an accidental fifth stitch.
Step 2: Change to the Bulb Color
Choose your first bulb color. For the sample, begin with dusty rose.
You can make the color change at the end of Row 2.
On the final single crochet of the green row:
- Insert your hook into the last stitch.
- Yarn over with green and pull up a loop.
- Drop the green yarn.
- Yarn over with dusty rose.
- Pull the new color through both loops.
The dusty-rose yarn is now ready for Row 3.
Leave tails about 4–5 inches long so they are easy to weave in later.
Beginner tip:
Keep both color-change tails on the same side of the motif. That side can become your wrong side.
Common mistake to avoid:
Do not knot the two colors together tightly at the edge. A bulky knot can distort a motif this small.
Step 3: Increase to Form the Rounded Bulb
Now you will widen the piece.
Row 3
Ch 1 and turn.
Work:
- 2 sc in first stitch
- sc in each of next 2 stitches
- 2 sc in last stitch
6 sts.
Ch 1 and turn.
Row 4
Work:
- 2 sc in first stitch
- sc in each of next 4 stitches
- 2 sc in last stitch
8 sts.
The bulb should now widen evenly beneath the green cap.
Beginner tip:
An increase simply means working two single crochet stitches into one stitch.
Look carefully before you move on: both sides should have widened by the same amount.
Common mistake to avoid:
If you have only seven stitches after Row 4, you probably forgot the increase at one edge.
Undo the row rather than trying to add the missing stitch later.
Step 4: Crochet the Fullest Part of the Bulb
The next two rows keep the bulb at its widest point.
Row 5
Ch 1 and turn.
Sc in all 8 stitches.
8 sts.
Row 6
Ch 1 and turn.
Sc in all 8 stitches.
8 sts.
This short straight section gives the motif enough body before you begin tapering it.
Check that the first and last stitches are easy to identify.
Beginner tip:
At the beginning of each row, find the first V-shaped stitch immediately beneath the hook. That is where your first sc belongs.
Common mistake to avoid:
A common beginner problem is accidentally skipping the final stitch because it leans toward the side.
Count eight before turning.
Step 5: Decrease to Shape the Point
Now the bulb begins tapering.
Row 7
Ch 1 and turn.
Work:
- sc2tog over the first 2 stitches
- sc in next 4 stitches
- sc2tog over the final 2 stitches
6 sts.
Row 8
Ch 1 and turn.
Work:
- sc2tog
- sc in next 2 stitches
- sc2tog
4 sts.
Row 9
Ch 1 and turn.
Sc2tog twice.
2 sts.
Fasten off.
You should now have a recognizable miniature bulb: narrow green cap, rounded upper body, and tapered lower point.
How to work sc2tog
Insert the hook into the first stitch and pull up a loop.
Insert the hook into the next stitch and pull up another loop.
You now have three loops on the hook.
Yarn over and pull through all three loops.
Two stitches have become one.
Beginner tip:
Keep decreases relaxed. You want the row to become narrower without turning into a hard ridge.
Common mistake to avoid:
Do not decrease by simply skipping a stitch. Skipping can create a visible hole. Use a real sc2tog instead.
Step 6: Weave In the Ends
Thread the dusty-rose tail through your yarn needle.
Turn the bulb to the wrong side.
Pass the needle beneath three or four nearby stitch backs.
Reverse direction once and pass beneath several neighboring stitches again.
Trim the excess.
Repeat with the green starting tail and color-change tail.
Try not to drag the tail all the way across the motif. That can make the front surface look puckered.
When all tails have been hidden, lightly smooth the motif with your fingers.
Beginner tip:
Because this is decorative rather than wearable, there is no need to bury an extremely long tail. Two secure direction changes are normally enough to keep the end from slipping immediately back out.
Step 7: Make the Remaining Crochet Bulbs
Repeat Steps 1–6 until you have the number of bulbs you want.
For the sample garland, make 10 total bulbs:
- 2 dusty rose
- 2 apricot
- 2 butter yellow
- 2 muted teal
- 2 soft lavender
Use eucalyptus green for every cap.
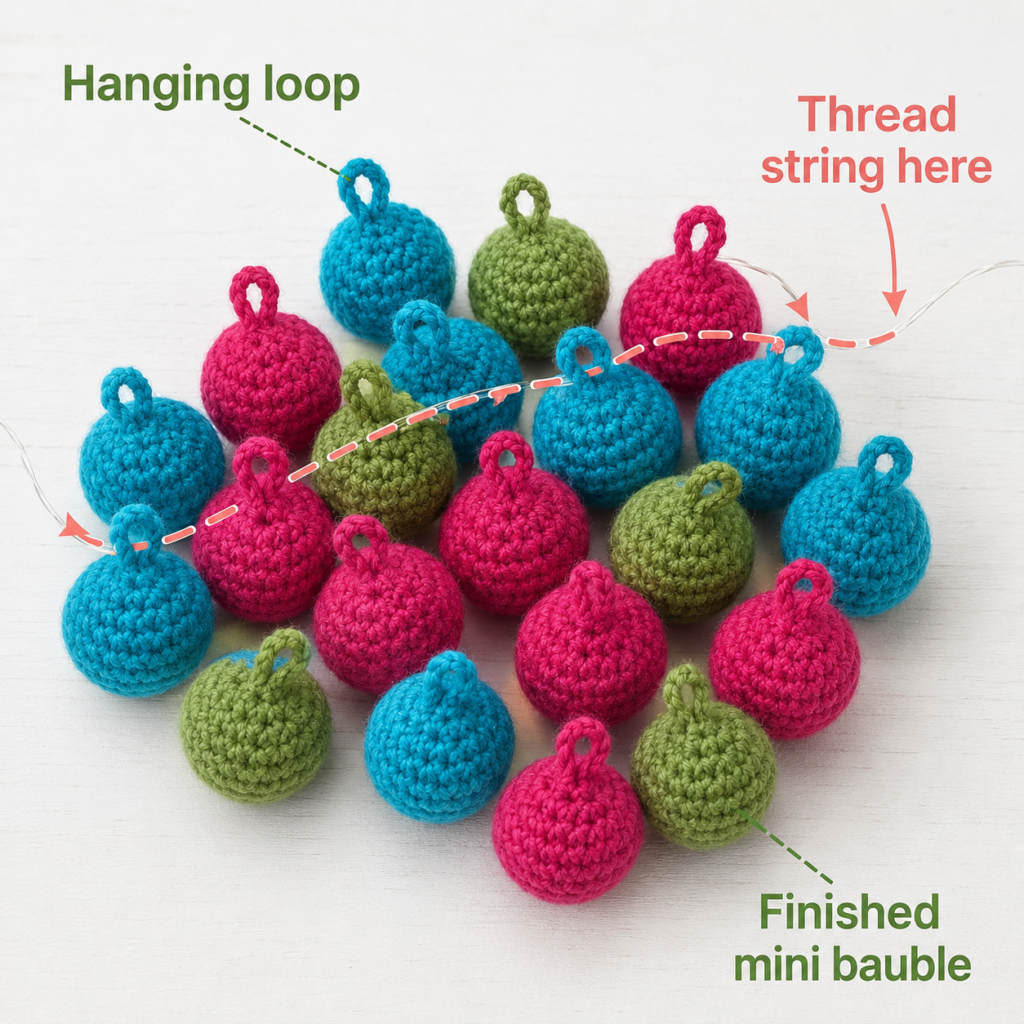
Before continuing, arrange all the bulbs on a table in the order you plan to attach them.
Alternating the colors before assembly prevents two identical shades from accidentally ending up side by side.
Size check
Place several finished bulbs on top of one another.
A small amount of variation is completely normal.
If one bulb is dramatically larger, compare its rows with another motif. It probably contains an extra stitch somewhere.
Step 8: Crochet the Garland Cord
Switch back to eucalyptus-green yarn.
Make a slip knot.
Ch 30.
This creates the first hanging section before your first bulb.
Do not worry if your chain curves slightly. It will relax once the motifs are attached.
You can increase the starting chain if you want longer free ends for tying the garland onto hooks or furniture.
Beginner tip:
Chain loosely.
A tight chain can twist the finished garland.
Step 9: Attach the First Bulb
Keep your active loop on the hook.
Place the first bulb beneath the cord with its right side facing you.
Insert the hook through the upper-left corner stitch of the green cap.
Yarn over with the cord yarn and pull through both the cap and the active loop.
You have created a slip stitch attachment.
Now:
Ch 4.
This short chain travels across the top of the green cap.
Insert the hook through the upper-right corner stitch of the cap.
Work another slip stitch attachment.
Your bulb is now secured at two points instead of dangling from a single stitch.
Next:
Ch 18.
That creates the space between the first and second bulbs.
Repeat the attachment process for the next bulb:
- Sl st into the first top corner of the cap.
- Ch 4.
- Sl st into the opposite top corner.
- Ch 18 before the next bulb.
Continue until every bulb is attached.
After attaching the last bulb:
Ch 30.
Fasten off.
Beginner tip:
Count the chains between each bulb rather than judging the spacing by eye.
Equal chain counts create a much neater finished garland.
Common mistake to avoid:
Do not accidentally twist a bulb before making the second attachment.
Before the second slip stitch, check that the front of the motif faces the same direction as the previous bulbs.
Step 10: Check the Garland and Adjust the Shape
Lay the entire garland flat.
Check three things:
- Are all the bulbs facing forward?
- Is the space between each bulb approximately equal?
- Are the two free cord ends similar in length?
If one bulb has rotated, gently turn the two anchoring chain sections until it settles forward.
If your cord curves slightly, do not immediately assume it needs to be remade. Crochet chains often relax after resting or light blocking.
Your crochet fairy light garland is now complete.
Pattern Notes or Stitch Notes
Turning Chain
The ch 1 at the beginning of each bulb row does not count as a stitch.
Bulb Stitch Counts
The bulb widths should be:
- Row 1: 4
- Row 2: 4
- Row 3: 6
- Row 4: 8
- Row 5: 8
- Row 6: 8
- Row 7: 6
- Row 8: 4
- Row 9: 2
If the numbers remain correct, the shape should stay symmetrical.
Repeat Pattern
Make as many bulbs as needed, then repeat the cord attachment sequence for each motif.
For a 10-bulb sample:
- 30-chain beginning
- first bulb attachment
- 18 chains
- next bulb
- repeat
- 30-chain ending
The spacing is customizable.
Right Side and Wrong Side
Because the bulbs are worked back and forth in rows, both surfaces are usable.
Choose the side with the cleanest color change as your right side.
Weave all visible tails toward the opposite side.
Common Beginner Mistakes
1. Accidentally Adding a Stitch at the Edge
If your bulb grows wider when it should stay at eight stitches, you may be crocheting into the turning chain.
Fix: Count the V-shaped stitch tops and ignore the turning chain.
2. Missing the Final Stitch
The last stitch can pull toward the side and become difficult to see.
Fix: Count before turning. If the row should contain eight stitches, do not proceed with seven.
3. Making the Color Change Bulky
A knot or several tightly crossed strands can create a lump beneath the bulb cap.
Fix: Change yarn during the final pull-through and weave the tails separately afterward.
4. Pulling Decreases Too Tight
Very tight sc2tog stitches make the lower point curl.
Fix: Keep the three loops on the hook relaxed before completing the decrease.
5. Attaching the Bulbs at Uneven Distances
Guessing where the next bulb belongs can make one section crowded and another section empty.
Fix: Use the same number of chains between every bulb.
6. Letting Some Bulbs Face Backward
This usually happens when a motif rotates while you make the second attachment.
Fix: Check orientation immediately before the second slip stitch.
7. Using Very Loose Fabric
Loose stitches can make tiny motifs lose their recognizable bulb silhouette.
Fix: Try dropping your hook size by 0.5 mm.
How to Customize This Crochet Project
One of the best features of a crochet light garland is how easily the idea can change without changing the basic construction.
Change the Yarn Colors
For a spring garland, try:
- blush pink
- pale peach
- mint
- lilac
- cream
For autumn:
- rust
- mustard
- burgundy
- olive
- warm cream
For Christmas:
- ruby red
- emerald
- gold
- ivory
For a modern neutral nursery:
- oatmeal
- clay
- sage
- dusty blue
- mushroom beige
Make a Longer Garland
Simply make more bulbs.
The easiest approach is to crochet all the motifs first and then lay them along the area where the finished garland will hang.
This helps you estimate how many lights you need.
Change the Bulb Spacing
For closer lights, use approximately 12–15 chains between bulbs.
For airy spacing, use 20–25 chains.
There is no required distance.
Create Larger Bulbs
To enlarge the motifs, use thicker worsted yarn and a 4.5–5 mm hook.
Alternatively, add another increase row after reaching eight stitches, then work additional straight rows before decreasing symmetrically.
Add a Decorative Border
A loose slip-stitch border around the colored part of each bulb can produce a slightly more polished outline.
Do not work it too tightly or the motifs may curl.
Add Texture
For confident beginners, work the straight middle rows in BLO single crochet to create subtle horizontal ridges.
Keep the shaping rows in ordinary single crochet.
Gift Ideas and Uses
A finished garland can be used for:
- craft-room decor
- mantel decoration
- children’s-room wall decor
- dorm-room decor
- party backdrops
- handmade holiday decorations
- baby-shower decor
- classroom displays
- handmade housewarming gifts
- yarn-stash gifts
Finishing Instructions
Once the final cord has been fastened off, weave the two cord ends through nearby chain stitches.
Trim all remaining tails.
Lay the garland flat and smooth each bulb into shape with your fingers.
Blocking
Blocking is optional.
If your yarn responds well to wet blocking, lightly dampen the motifs and arrange them flat on a towel.
Gently shape each bulb so that:
- the green cap remains rectangular
- the upper body is rounded
- the lower point sits centrally
Allow the garland to dry completely before hanging.
For acrylic yarn, follow the yarn manufacturer’s care directions. Avoid aggressive heat because synthetic fibers can be permanently altered.
Washing and Care
Because this is decorative crochet, spot cleaning is normally sufficient.
If washing becomes necessary, follow the yarn label instructions and place the garland flat to dry.
Do not hang it while soaking wet because the weight of the water can stretch the chain cord.
Important Safety Note
This tutorial creates a non-electric imitation fairy-light garland.
If you separately style crochet near real decorative lights, do not assume every electrical light string is suitable for contact with yarn. Follow the light manufacturer’s instructions, inspect the set for damaged wiring or sockets, use lighting tested for its intended application, and turn decorative lights off when leaving the area or going to sleep. Those precautions align with U.S. Consumer Product Safety Commission holiday-light guidance.
Quick Printable-Style Summary
Skill level: Beginner / Easy
Yarn: DK cotton, cotton blend, or acrylic scraps
Hook: 3.5 mm
Stitches: ch, sc, sl st, inc, sc2tog
Bulb starting method: Ch 5 and begin with 4 sc.
Bulb stitch-count sequence:
4 → 4 → 6 → 8 → 8 → 8 → 6 → 4 → 2
Bulb cap: First 2 rows in eucalyptus green.
Bulb body: Rows 3–9 in chosen bulb color.
Quantity: Make 10 bulbs for the sample garland.
Cord: Ch 30 before first bulb.
Attach: Slip stitch through one upper cap corner, ch 4, slip stitch through opposite cap corner.
Spacing: Ch 18 between bulbs.
Ending: Ch 30 after last bulb and fasten off.
Finishing: Weave in all ends and lightly block if needed.
FAQ
Is this crochet fairy light garland pattern suitable for beginners?
Yes. The project primarily uses single crochet, chains, simple increases and sc2tog decreases.
The small size also means you can practice each technique without committing to a large project.
Are these real working fairy lights?
No.
This tutorial creates decorative crochet bulbs that resemble fairy lights. There is no electrical component in the pattern.
That makes the project easier to customize and removes the need to crochet directly around wires or bulbs.
Can I use real LED fairy lights instead?
It is better to treat that as a separate project rather than automatically modifying this pattern.
Any yarn covering or attachment should comply with the light manufacturer’s instructions. Do not obstruct electrical components or use damaged lighting.
What yarn works best for crochet light bulbs?
Smooth DK cotton or acrylic is ideal.
Cotton produces especially crisp stitch definition, while acrylic is inexpensive and comes in a wide range of colors.
Scrap yarn is perfect because every motif uses very little.
How many bulbs should a crochet garland have?
There is no required number.
Five or six bulbs can make a small shelf decoration, while 10–15 work well for a wall or mantel.
For a long window garland, simply make additional motifs.
Why is my crochet bulb curling?
The most common causes are:
- tension that is too tight
- a hook that is too small
- very tight decreases
- accidentally missing edge stitches
Light blocking normally corrects minor curling.
Can I make the garland without changing colors?
Absolutely.
A monochrome version using cream bulbs with sage-green caps creates a subtle Scandinavian-style decoration.
You could also use one bulb color and keep only the cord and caps contrasting.
Conclusion
This crochet fairy light garland is a useful beginner project because it combines several foundational skills without requiring complicated construction.
One small motif gives you practice with chaining, single crochet, turning rows, increasing, decreasing, changing colors, and weaving in ends. Repeating the same motif helps those skills become familiar, and the final joining stage turns your practice pieces into something you can actually display.
Once you have made the basic version, the pattern is easy to personalize. Change the palette for the season, make the cord longer, add extra bulbs, or use leftover yarn from other projects.
Save the tutorial so you can return to the stitch counts when you are ready to make another colorway.