A jewelry tray is one of those small projects that proves crochet can be just as practical as it is decorative. You don’t need complicated shaping, dozens of stitch techniques, or a large amount of yarn. With a small square of dense crochet fabric and four carefully secured corners, you can make a tidy catchall for the rings, earrings, bracelets, hair clips, stitch markers, or other tiny things that normally disappear across a dresser.
This crochet jewelry tray pattern is designed specifically with beginners in mind.
Instead of asking you to learn a complex textured stitch, the main fabric is made almost entirely with single crochet. The square is worked back and forth in straight rows, a small contrast border reinforces the outside edge, and the four corners are pinched and sewn to transform the flat square into a shallow tray.
The most important part is not speed. It is making a dense, even piece of fabric and shaping all four corners to the same depth.
Once you understand the construction, you can easily make larger catchall trays, tiny ring dishes, desk organizers, gift trays, or coordinating sets.
What You’ll Learn
By the end of this tutorial, you’ll know how to:
- crochet a dense square with straight edges;
- count single crochet stitches correctly;
- maintain even tension with cotton yarn;
- work a simple border around all four sides;
- crochet through the back loop only;
- measure matching corner folds;
- turn a flat crochet square into a shallow tray;
- sew the corners without bulky seams;
- adjust the finished tray size;
- choose yarn that gives a small container enough structure.
Materials You’ll Need
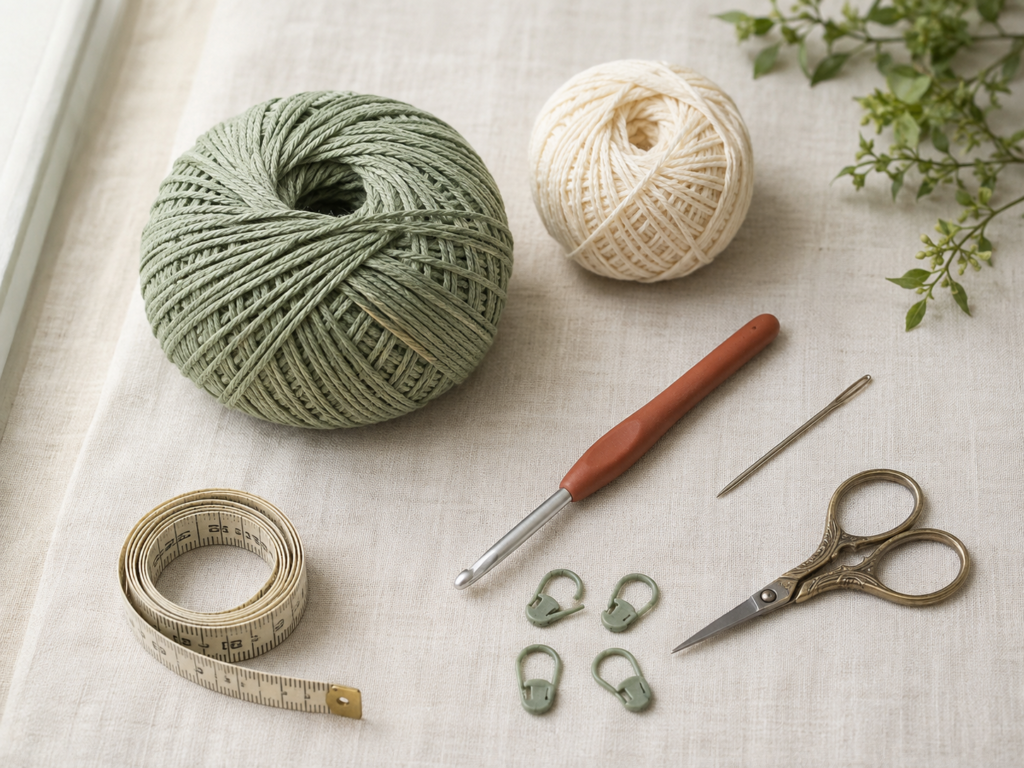
For one small jewelry tray, gather:
- approximately 70–90 yards of medium #4 cotton yarn in your main color;
- approximately 15–20 yards of contrasting cotton yarn for the edge;
- 4.0 mm crochet hook;
- scissors;
- blunt tapestry or yarn needle;
- 4 locking stitch markers;
- measuring tape or ruler.
Suggested Tutorial Colors
For the photographed version imagined throughout this tutorial:
Main color: dusty sage
Border: warm ivory
A matte cotton yarn is especially useful here because the goal is a fairly dense fabric rather than a loose, draping one.
Crochet Abbreviations Used
This pattern is written in US crochet terminology.
- ch = chain
- sc = single crochet
- sl st = slip stitch
- st / sts = stitch / stitches
- BLO = back loop only
- rep = repeat
These abbreviations follow commonly used crochet terminology listed by the Craft Yarn Council.
US/UK Crochet Note
The main stitch called single crochet (sc) in US terminology is called double crochet in UK terminology.
Before You Start
Gauge
Aim for approximately:
17 single crochet stitches × 19 rows = 4 inches / 10 cm
The exact gauge is not as critical as it would be for a sweater, but it does influence both size and stiffness.
More importantly, your fabric should feel:
- firm;
- dense;
- relatively flat;
- difficult to see through when held up to light.
If your fabric is loose and floppy, try a smaller hook.
If it is so tight that inserting the hook is uncomfortable, increase the hook size slightly.
Metric hook measurements are useful because letter sizing can vary between manufacturers. The Craft Yarn Council recommends referring to the millimeter measurement when comparing hook sizes.
How to Count Your Stitches
Every row in the main square has 32 single crochet stitches.
The turning chain does not count as a stitch.
After finishing a row, count the small V shapes across the top before turning. If you have 31 or 33 instead of 32, correct the row immediately rather than hoping the edge will straighten later.
How to Keep the Edges Straight
The most common reason a beginner’s crochet square becomes triangular is accidentally losing or adding stitches at the row ends.
Place a stitch marker into:
- the first stitch of the row;
- the last stitch of the row.
Move the markers upward as you work.
This makes the two edge stitches much easier to recognize.
How to Avoid Curling
A small amount of curling during the first several rows is normal.
Severe curling usually means your starting chain is much tighter than your later stitches.
When making the foundation chain, allow each chain to slide comfortably along the hook shaft rather than pulling it tightly around the hook.
Choosing Colors
One-color trays have a minimalist appearance.
For more contrast, use:
- sage + cream;
- terracotta + beige;
- charcoal + ivory;
- dusty rose + oatmeal;
- navy + natural cotton.
Keeping the border lighter than the center also makes the tray shape easier to see.
Step-by-Step Crochet Tutorial
Step 1: Make the Foundation Chain and First Row
Using the dusty sage yarn and 4.0 mm hook:
Ch 33.
Do not make the chain excessively tight.
Insert the hook into the second chain from the hook.
Work 1 sc.
Continue with 1 sc in every remaining chain.
At the end of the row you should have:
32 sc
The unused turning chain is not counted.
Before continuing, run a finger along the foundation edge. It should be flexible but not loose and wavy.
Beginner Tip
Turn the chain slightly toward you so you can clearly see each chain before inserting the hook. Beginners often accidentally work into the same chain twice when the chains are very tight.
Common Mistake to Avoid
Problem: You finish with 31 stitches.
Fix: Check the beginning of the row. The most likely cause is skipping the final foundation chain.
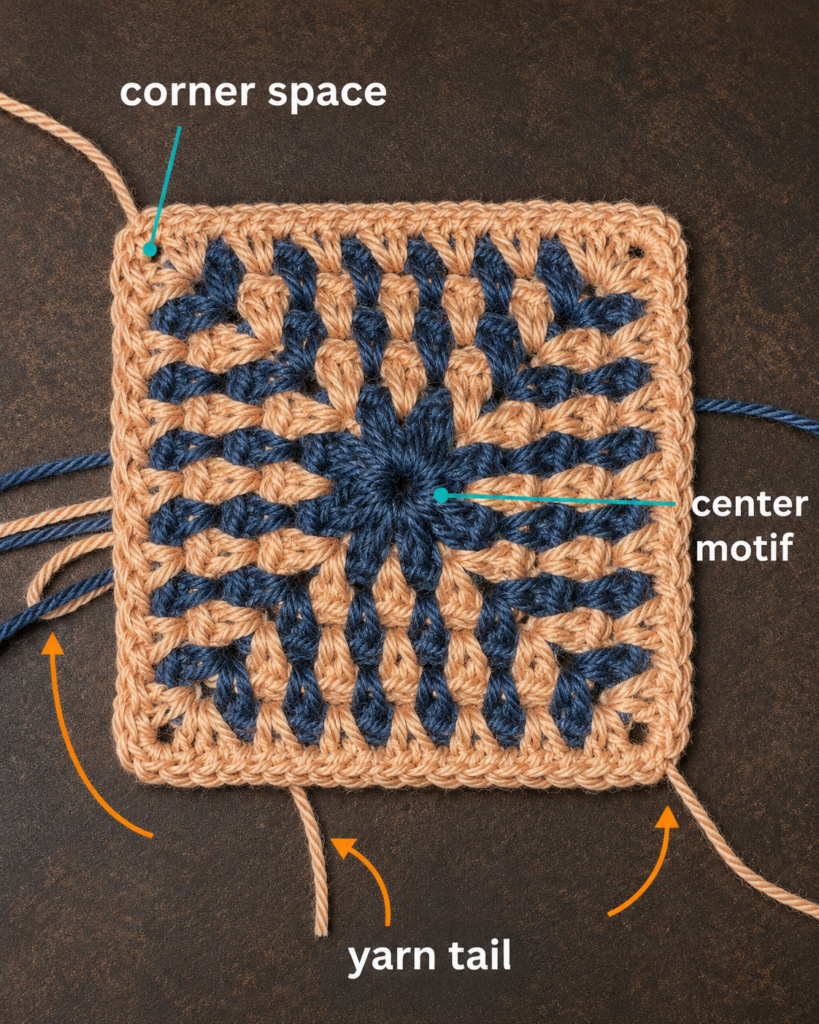
Step 2: Crochet the Main Square
For Row 2:
Ch 1 and turn.
Work 1 sc in the first stitch.
Continue with 1 sc in every stitch across.
You should again have:
32 sc
Repeat the same instruction until you have completed 36 rows total.
So:
Rows 2–36: Ch 1, turn, sc in every st across. (32 sts)
Your fabric should gradually develop into a dense square.
Check Your Work Every Few Rows
Instead of waiting until Row 36, stop after approximately every five rows and check:
- Do you still have 32 stitches?
- Are the side edges straight?
- Does the fabric lie reasonably flat?
- Is your tension staying consistent?
Small problems are much easier to correct early.
Beginner Tip
Try not to pull the first and last stitch of each row tighter than the middle stitches.
If your square begins narrowing at the top even though your stitch count remains correct, overly tight edge stitches may be the problem.
Common Mistake to Avoid
Do not crochet into the turning chain.
The ch 1 simply gives you enough height to turn. Your first single crochet goes directly into the first true stitch.
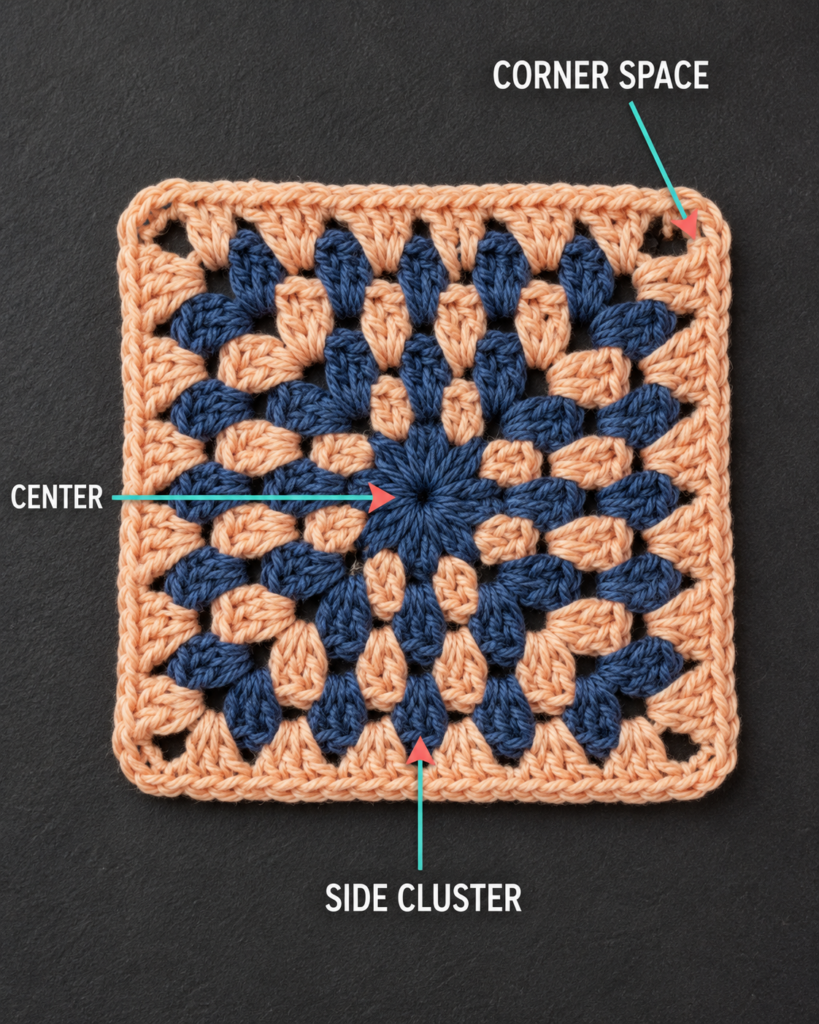
Step 3: Check the Shape of the Finished Square
After Row 36, lay the project flat without stretching it.
With the suggested gauge, it should measure approximately 7½ inches square, although a small difference is perfectly acceptable.
What matters most is that it is approximately square.
Measure:
- across the top;
- across the bottom;
- along the left side;
- along the right side.
If one edge differs by a quarter inch or so, the border will usually disguise it.
A much larger difference suggests your tension changed while crocheting.
Beginner Tip
Do not aggressively stretch the square to force it to measure correctly.
A jewelry tray benefits from dense fabric, and overstretching can make it softer.
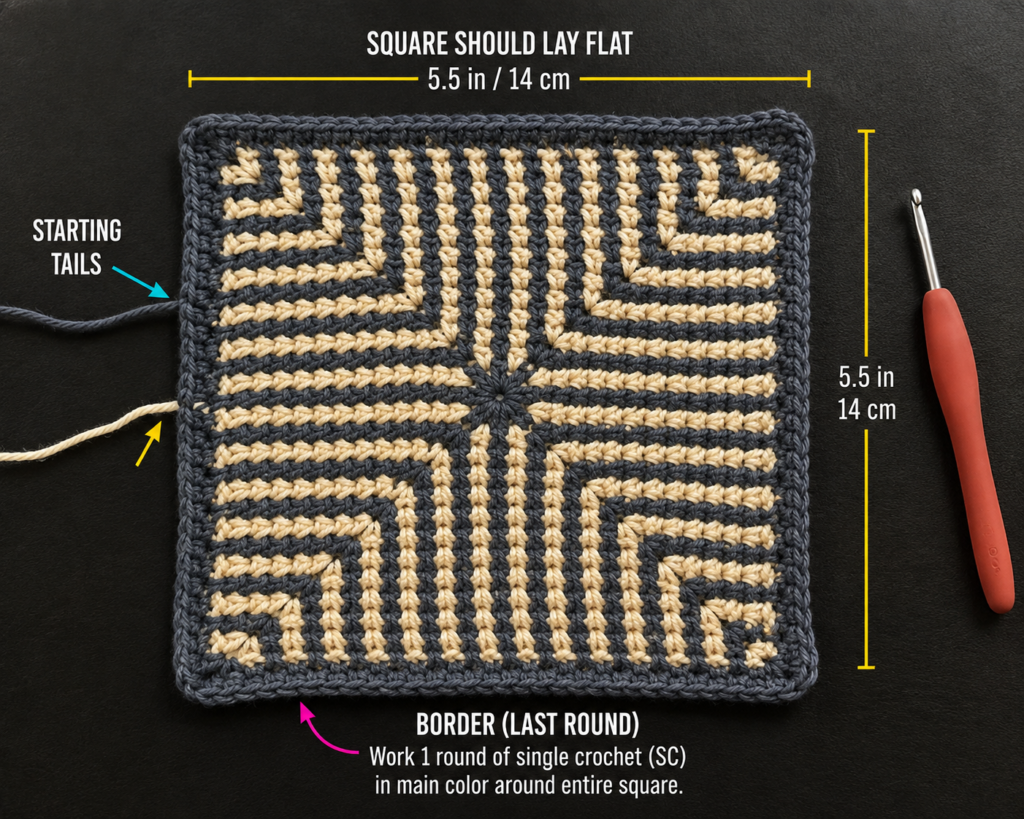
Step 4: Crochet the First Border Round
Keep the dusty sage yarn attached.
You will now work around all four edges of the square.
Ch 1.
Work single crochet evenly around the entire outside edge.
Along the top and foundation edges, work into the actual stitches.
Along the two row-end edges, distribute your single crochets evenly.
At each corner, work:
3 sc into the corner point
Continue until you return to your starting point.
Join with a slip stitch.
Do I Need an Exact Border Stitch Count?
No.
For this project, the border stitch count is not used for later pattern repeats.
The important thing is that the border:
- lies flat;
- does not ruffle;
- does not pull the square inward.
If the Border Ruffles
You probably have too many stitches along the row ends.
Undo that section and space them slightly farther apart.
If the Border Pulls
You probably have too few stitches.
Add an occasional extra single crochet where needed.
Step 5: Add the Reinforced Ivory Border
Join warm ivory yarn.
Ch 1.
For this round, work through the back loop only.
The back loop is the loop farther away from you when looking at the top V of the stitch.
Work:
1 BLO sc in each stitch around.
At each corner, locate the center stitch from the previous round’s 3-sc corner.
Work:
3 BLO sc in that center corner stitch.
Continue around and join with a slip stitch.
Fasten off.
This leaves a subtle raised line along the edge while adding another layer of structure.
Beginner Tip
Before inserting your hook, look directly down at the top of the stitch.
You should see two loops forming a V.
Use only the loop farther from you.
Common Mistake to Avoid
Do not accidentally alternate between one loop and two loops. That will make the border texture inconsistent.
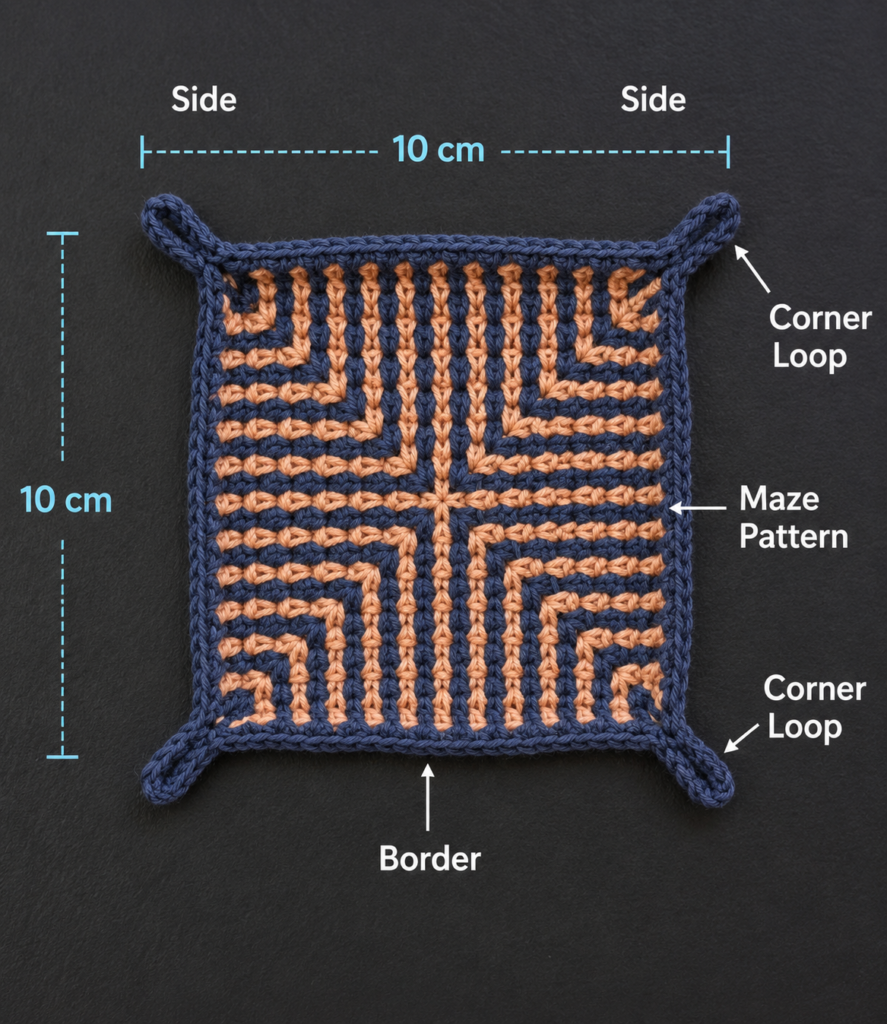
Step 6: Measure and Pinch the First Corner
The square is finished. Now comes the step that transforms it into a tray.
Lay the square flat.
Choose one corner.
Measure approximately 1¼ inches down one side from the corner and place a stitch marker.
Measure the same distance down the adjacent side and place another marker.
Lift the two adjacent edges upward and bring the two marked points together.
The pointed corner will project slightly beyond the joined section.
Clip the two marked points together with one locking stitch marker.
Look at the tray from the front.
You should now see the beginning of a shallow wall.
Beginner Tip
Measure each corner rather than judging by eye.
Even a difference of half an inch can make one side visibly taller than the others.
Want Different Tray Depth?
For shallower walls, mark approximately:
¾–1 inch
For deeper walls, try:
1½ inches
Increasing the fold depth gives you taller walls but reduces the usable interior base.
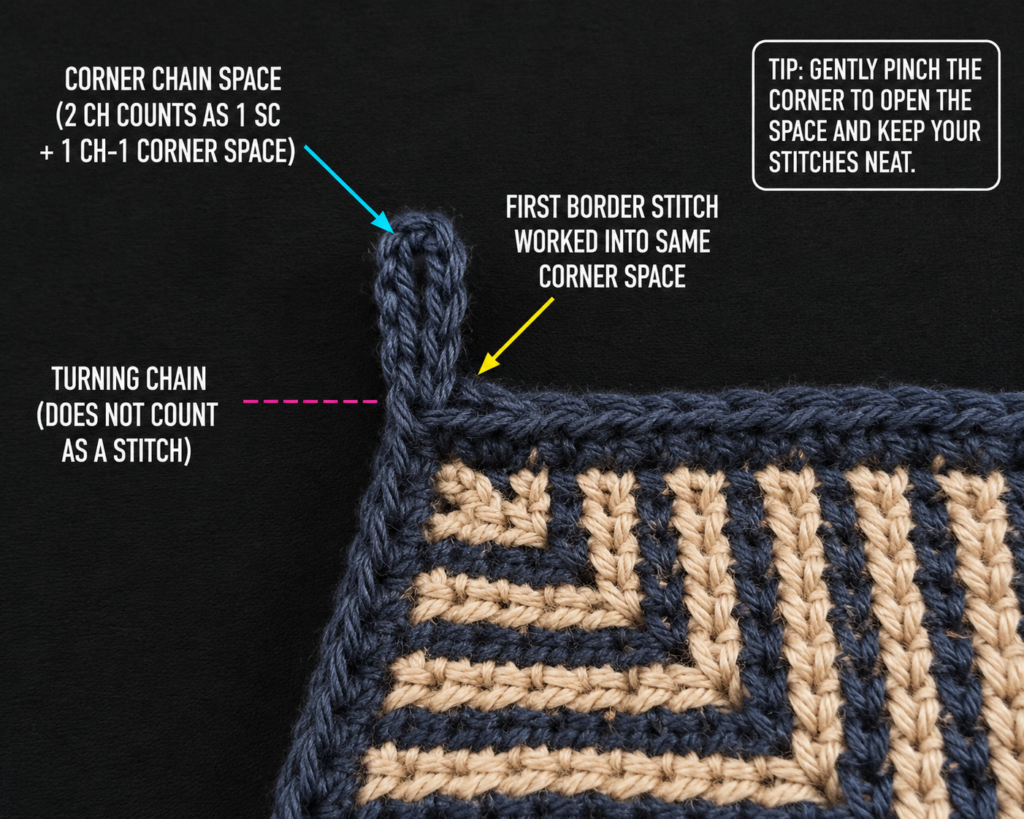
Step 7: Sew the Pinched Corner
Cut approximately 12 inches of warm ivory yarn.
Thread your tapestry needle.
Pass the needle through both crochet layers where your two marked points meet.
Pull the yarn through, leaving a short tail.
Whipstitch around the two layers several times.
The goal is to bind the two edges together without making a large knot.
After five or six firm passes, insert the needle through the nearby crochet fabric and secure the yarn.
Weave the tail into the dense stitches.
Trim the excess.
How Tight Should the Seam Be?
Firm enough that the corner does not open, but not so tight that the cotton edge puckers dramatically.
Beginner Tip
Check the outside of the seam after every few stitches.
It is easier to correct a crooked corner before the yarn has been secured.
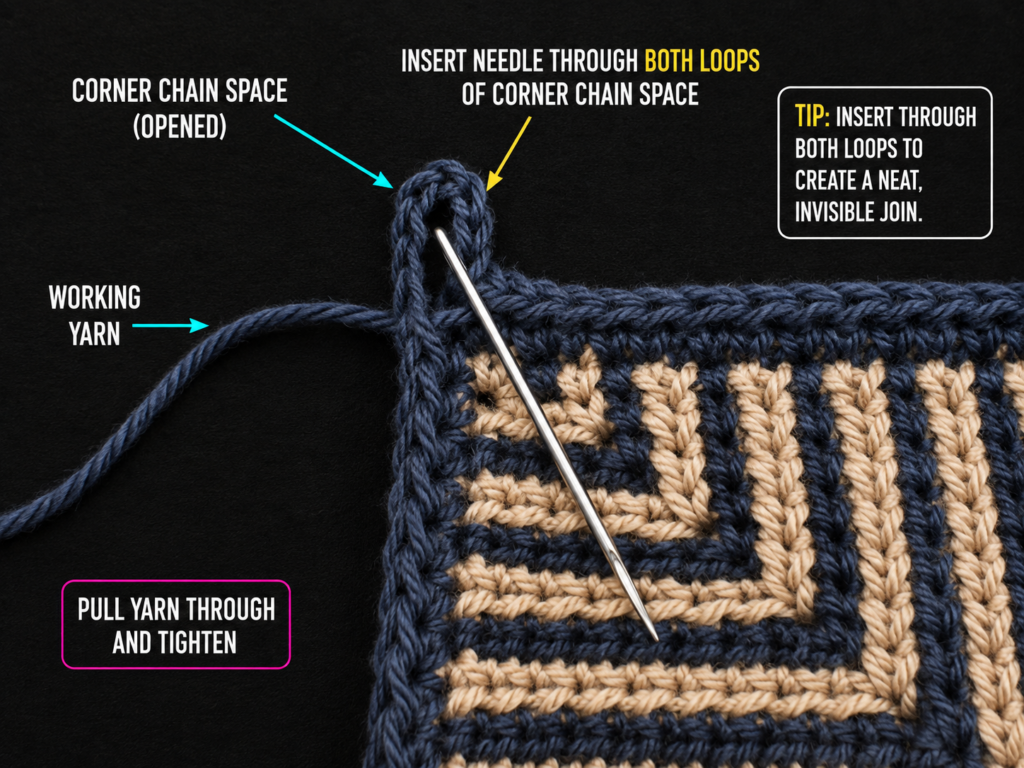
Step 8: Repeat on the Remaining Three Corners
Repeat Steps 6 and 7 for all remaining corners.
Before permanently sewing each one, temporarily clip all four corners.
Place the tray on the table.
Look at it from:
- directly overhead;
- eye level;
- each side.
Make sure all walls appear approximately equal.
This temporary check can save a surprising amount of unpicking.
Once you are happy with the proportions, sew each corner securely.
Common Mistake to Avoid
Do not measure one corner at 1¼ inches and then simply copy the number of stitches for the other corners.
Crochet row gauge and stitch gauge are different, so a given number of stitches may not measure the same distance vertically and horizontally.
Use the measuring tape.
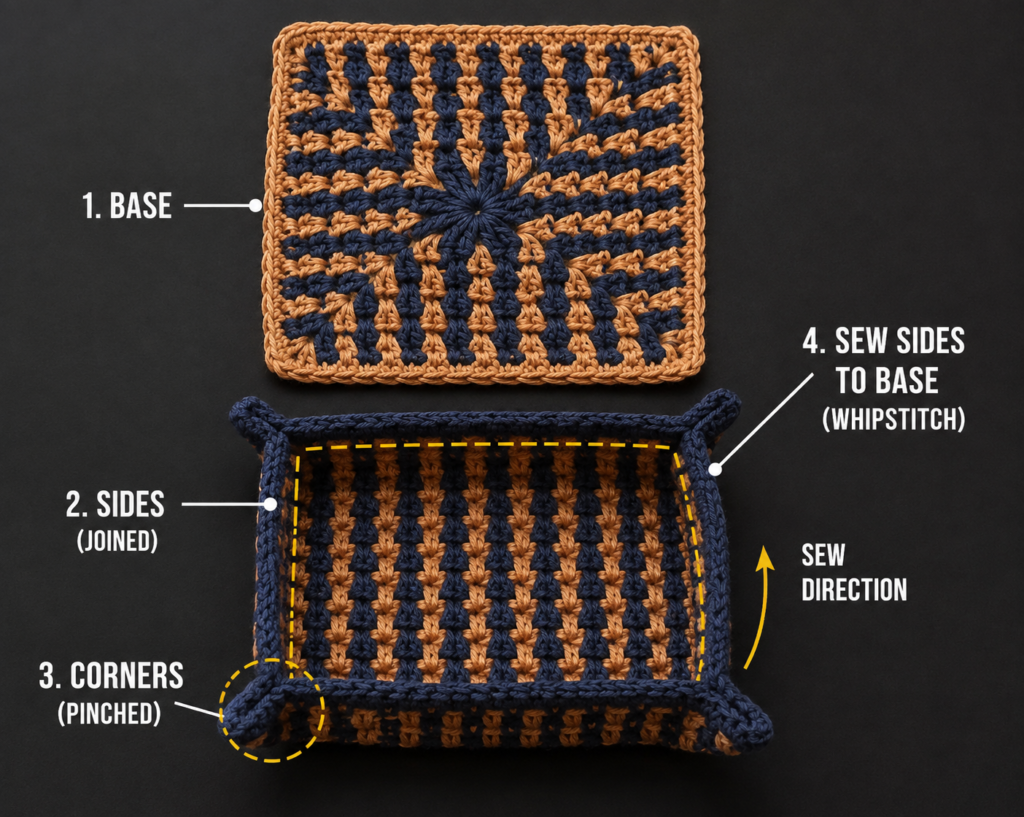
Step 9: Shape the Tray by Hand
Once all four seams are finished, gently press the center of the tray flat against your work surface.
Run your fingers along each wall.
Straighten the four sides.
Then adjust the four pointed corners until they sit at matching angles.
Do not pull aggressively.
A small handmade tray does not need rigid, manufactured-looking geometry. Slight softness is part of the crochet texture.
Your jewelry tray is now complete.
Pattern Notes and Stitch Notes
Turning Chain Rule
The ch 1 at the beginning of each row does not count as a stitch.
Always work your first sc directly into the first actual stitch.
Main Stitch Count
Each main square row contains:
32 sc
Check this count periodically.
Main Repeat
After the foundation row:
Ch 1, turn, sc across.
Repeat until 36 rows have been completed.
Border Count
The exact border stitch count is intentionally flexible.
Work enough single crochet stitches around the row ends for the fabric to remain flat.
Right Side and Wrong Side
Basic single crochet looks attractive on both sides.
Before shaping, choose the side you prefer and make that the inside of the tray.
Keep that orientation consistent while pinching all four corners.
Finished Size
With the suggested gauge and 1¼-inch corner folds, expect approximately:
- exterior width: around 7½–8 inches from point to point;
- useful interior base: approximately 5 inches;
- wall height: approximately 1–1¼ inches.
Exact measurements will vary with gauge and how tightly the corners are pinched.
Common Beginner Mistakes
1. Accidentally Adding Stitches
Problem: The square becomes wider with every few rows.
Cause: You are working into the turning chain or adding an extra stitch at the edge.
Fix: Keep markers in the first and last actual stitches and maintain 32 stitches.
2. Losing Edge Stitches
Problem: The top becomes narrower than the foundation edge.
Cause: The final stitch in some rows is being skipped.
Fix: Count every row until recognizing the edge stitches becomes automatic.
3. Making the Fabric Too Loose
Problem: The tray collapses when jewelry is added.
Cause: Hook size or tension is too loose for the yarn.
Fix: Try a 3.5–3.75 mm hook or intentionally tighten your tension slightly.
4. Creating a Ruffled Border
Problem: The border waves around the square.
Cause: Too many single crochet stitches were added along the row ends.
Fix: Undo the affected edge and distribute fewer stitches.
5. Creating a Border That Pulls Inward
Problem: The square cups before the corners are even shaped.
Cause: Too few border stitches.
Fix: Add slightly more stitches along the affected sides.
6. Making Uneven Corner Folds
Problem: One wall is noticeably taller.
Cause: The fold points were estimated rather than measured.
Fix: Measure the same 1¼-inch distance along both sides of every corner before sewing.
7. Leaving Loose Corner Seams
Problem: The tray slowly flattens after use.
Fix: Add several firm whipstitches through both layers and secure the yarn inside the dense crochet fabric.
How to Customize This Crochet Project
Change the Yarn
Cotton is a strong choice for this particular project because the fabric is intended to be dense and relatively structured.
You can experiment with:
- cotton;
- cotton-blend yarn;
- recycled cotton;
- tubular yarn;
- firm macramé-style cord.
Be cautious with very soft acrylic or fluffy chenille if your goal is crisp tray walls.
Make a Tiny Crochet Ring Tray
Instead of 32 stitches, create a smaller square approximately 5–6 inches wide.
Shape the corners ¾–1 inch deep.
This gives you a compact dish suitable for:
- wedding rings;
- stud earrings;
- cuff links;
- a few hairpins.
Make a Larger Catchall Tray
Increase both dimensions of your initial square.
The basic principle is simple:
- Make a square.
- Add the border.
- Pinch identical measurements at all four corners.
- Secure them.
For a larger tray, consider using a heavier cotton yarn or holding two strands together so the additional span does not become floppy.
Try Different Color Combinations
A contrast border is one of the easiest ways to change the look.
Try:
- ivory center + black border for modern decor;
- terracotta + cream for warm neutral decor;
- blush + burgundy for a jewelry gift;
- lavender + natural cotton for spring;
- forest green + oatmeal for autumn;
- monochrome black for minimalist dressing tables.
Add a Decorative Border
Once comfortable with the basic pattern, replace the final plain border with:
- reverse single crochet;
- simple slip-stitch edging;
- alternating-color edge stitches;
- a small picot at the four corner points.
Avoid very large scallops if the tray will hold earrings because delicate hooks can catch in open decorative stitches.
Add Texture
For a second version, the flat square could be made using:
- moss stitch;
- waistcoat stitch;
- thermal stitch;
- linked single crochet.
Use dense stitch patterns rather than very open lace.
Gift Ideas
A handmade crochet jewelry tray works well as:
- bridesmaid gift;
- Mother’s Day gift;
- teacher gift;
- housewarming gift;
- stocking stuffer;
- craft-fair item;
- travel-bedside catchall;
- handmade gift paired with earrings or a bracelet.
For gifting, tuck a small piece of tissue paper into the tray and place the jewelry on top.
Finishing Instructions
Fastening Off
After the border is complete:
- Cut the yarn leaving a 5–6-inch tail.
- Pull the tail through the final loop.
- Thread it onto a tapestry needle.
- Weave through several nearby stitches.
- Reverse direction once for extra security.
- Trim the excess yarn.
Repeat for all corner-seaming tails.
Weaving in Ends
Because both sides of a tray are visible, avoid leaving obvious long diagonal strands.
Weave the yarn through the body of the stitches rather than simply passing it across the surface.
Blocking
If the square needs adjustment before shaping, lightly dampen it and pat it into a square.
Avoid aggressive stretching.
After the corners have been sewn, hand-shaping is usually enough.
Washing and Care
Always follow the care instructions provided for the specific yarn you use. Yarn labels typically provide standardized care information, and the Craft Yarn Council maintains a guide to care symbols.
For a structured handmade tray, gentle cleaning and reshaping while damp are usually preferable to aggressively twisting or stretching the fabric.
Allow it to dry completely in the desired tray shape.
Quick Printable-Style Summary
Project: Pinched-Corner Crochet Jewelry Tray
Skill Level: Beginner / Easy
Yarn: Medium #4 cotton yarn
Hook: 4.0 mm
Main Stitches: Chain, single crochet, slip stitch, BLO single crochet
Approximate Yarn: 70–90 yards main color + 15–20 yards contrast
Starting Method:
Ch 33.
Main Square:
Row 1: Sc in second ch from hook and across. 32 sts.
Rows 2–36: Ch 1, turn, sc across. 32 sts.
Border:
Work one round of evenly spaced sc with 3 sc at each corner. Add one contrast BLO sc round.
Shaping:
Measure approximately 1¼ inches from each corner along both adjacent sides. Bring the two marks together and secure them.
Repeat:
Shape and sew all four corners identically.
Finishing:
Weave in all tails, flatten the center, straighten the sides, and gently shape the four corners.
FAQ
Is a crochet jewelry tray easy enough for a beginner?
Yes. This version uses mostly single crochet, making it appropriate for someone who already knows how to make a chain and basic single crochet.
The only additional techniques are working around a square, using the back loop, and sewing two crochet layers together.
What yarn is best for a crochet jewelry tray?
A fairly firm cotton yarn is a practical choice because the project benefits from stitch definition and structure.
Medium #4 cotton works particularly well for this pattern.
If substituting another yarn, make a small swatch first rather than assuming all yarns within one weight category will behave identically. The Craft Yarn Council notes that yarns within the same weight category are not necessarily interchangeable without checking gauge and other fabric characteristics.
Can I make the tray with acrylic yarn?
Yes, but the finished tray may feel softer depending on the acrylic.
Use a relatively small hook and firm tension.
If the square feels too floppy before shaping, the finished tray will probably also have softer walls.
Can I make this crochet tray bigger?
Yes.
Increase both the starting-chain length and number of rows until you have the square size you want.
For example, if you make a 10-inch square instead of a 7½-inch square, you could create deeper corner folds and use the finished piece for keys, cosmetics, desk accessories, or crochet notions.
How do I make the tray walls taller?
Pinch the corners farther from the corner point.
For example:
- ¾ inch = very shallow;
- 1¼ inches = standard jewelry tray;
- 1½ inches = deeper catchall.
Remember that increasing wall height reduces the usable interior base.
Why is my crochet tray floppy?
The most common causes are:
- loose tension;
- a hook that is too large;
- very soft yarn;
- fabric that is too thin for the tray size.
Try a smaller hook or firmer cotton yarn.
Do I need to block the finished jewelry tray?
Not necessarily.
If your crochet square is already flat and even, you can shape it by hand after sewing the corners.
Blocking is most useful if the square is slightly uneven before assembly.
Conclusion
A useful crochet project does not need to be complicated.
This easy crochet jewelry tray pattern turns one simple square into a practical piece of handmade storage using just a border and four pinched corners. It is a particularly good project for practicing consistent single crochet because every small improvement in your stitch tension becomes easy to see.
Once you’ve made the first tray, experiment with the dimensions.
Make a tiny ring dish for the nightstand, a coordinating pair for a dressing table, or a larger crochet catchall for keys and everyday accessories.
Changing only the yarn colors and corner depth can make the exact same construction feel completely different.
Save the tutorial so you can return to the measurements when you are ready to crochet a matching set.





