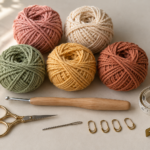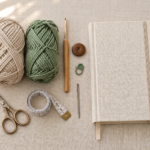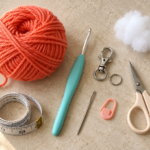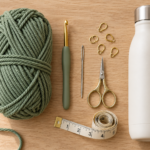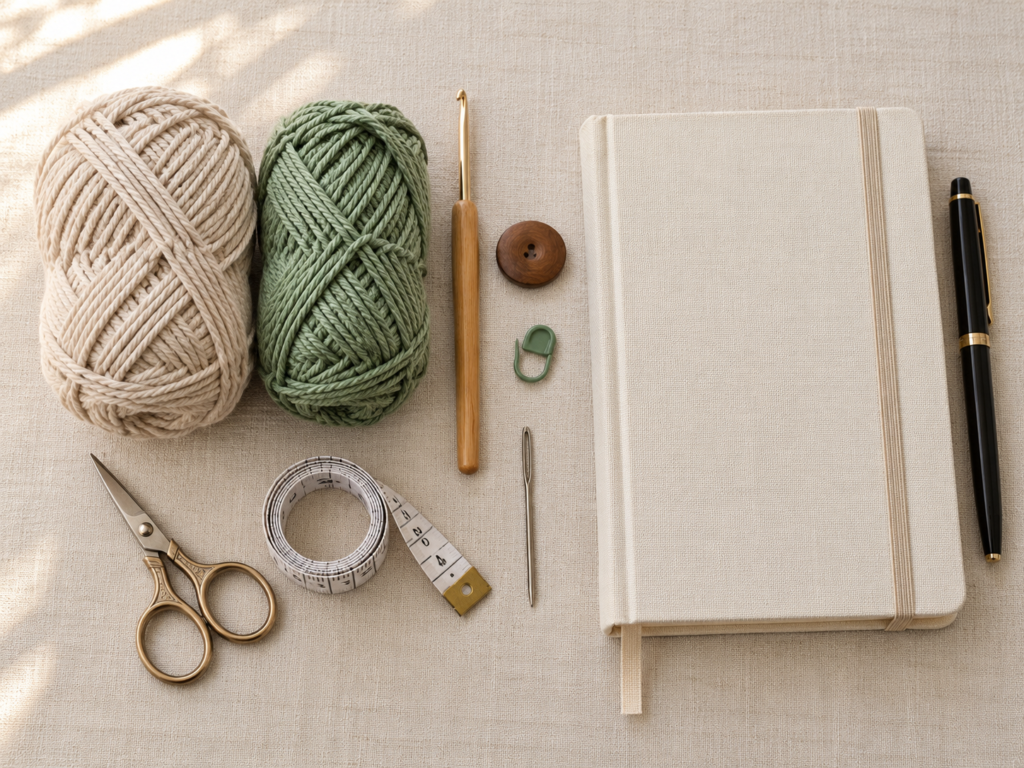
A favorite journal deserves a little handmade detail, especially one that makes it easier to carry, organize, and use every day.
This crochet journal strap pattern is a simple way to keep a notebook closed while adding a convenient place to store your pen. Instead of making a full crochet journal cover, you’ll create a narrow band that wraps around your notebook, fastens with a button, and can be adjusted to fit your own journal.
The project is especially approachable if you’ve recently learned to crochet. It uses ordinary single crochet stitches, easy straight rows, and a simple chain-loop closure. There are no complicated stitch repeats or difficult shaping techniques.
You’ll also learn how to make an optional small crocheted pen sleeve. The sleeve attaches to the front of the band so that a pen can slide into place without having to search through your bag.
Follow the step-by-step instructions and image placements below to make a practical accessory for a reading journal, bullet journal, daily planner, or notebook.
What You’ll Learn
By the end of this tutorial, you’ll know how to:
- Crochet a narrow strap using single crochet stitches.
- Keep a long crochet strip straight without accidentally increasing or decreasing.
- Measure the band to fit your journal instead of relying on a fixed row count.
- Create a small rectangular pen sleeve with basic crochet stitches.
- Securely attach the sleeve while leaving a usable opening for a pen.
- Make a simple chain loop and button closure.
- Finish your crochet neatly and adjust the pattern for different notebook sizes.
You can make the basic closure without the pen sleeve if you prefer a minimalist accessory.
Crochet Journal Strap Pattern at a Glance
| Project Detail | Information |
|---|---|
| Skill level | Easy beginner |
| Construction | Flat rows, sewn-on pen sleeve |
| Yarn | DK-weight cotton |
| Hook | 3.75 mm |
| Finished band width | Approximately 2 cm / 0.8 in |
| Finished band length | Adjustable to journal circumference |
| Example journal | A5 hardcover notebook |
| Pen sleeve | Approximately 4 cm long along the band |
| Main stitch | Single crochet |
| Fastening | Button and chain loop |
| Time needed | Approximately 1–2 hours |
Finished measurements depend on the yarn, hook, stitch tension, and notebook dimensions. Use the measurements as a starting point, not a guarantee.
Materials You’ll Need
One of the nicest things about this small crochet project is that it doesn’t require a large collection of supplies. You may already have everything you need.
Yarn: Choose approximately 20–35 yards of DK-weight cotton in warm oatmeal for the main band. You’ll also need around 5–10 yards of sage green cotton for the optional pen sleeve. These are generous planning estimates; actual consumption depends on your journal size and gauge.
Cotton is especially useful because it gives the strap a defined stitch texture and a reasonably firm structure. A smooth yarn also makes it easier to identify individual stitches as you work.
Crochet hook: Start with a 3.75 mm hook. If your stitches look too loose, try a smaller hook. If you struggle to insert the hook, try a slightly larger size.
Additional supplies:
- Scissors
- Blunt tapestry or yarn needle
- Measuring tape
- One small wooden or washable button, approximately 15–18 mm
- One removable stitch marker, optional
- Your chosen journal or notebook
- One pen for checking the sleeve fit
If you’re making a strap for a journal you carry every day, select a button with a smooth profile so that it doesn’t catch easily on other items in your bag.
Crochet Abbreviations Used
This tutorial uses US crochet terminology.
| Abbreviation | Meaning |
|---|---|
| ch | Chain |
| sc | Single crochet |
| sl st | Slip stitch |
| st | Stitch |
| sts | Stitches |
| rep | Repeat |
| RS | Right side |
| WS | Wrong side |
| YO | Yarn over |
US/UK terminology note: US single crochet is called double crochet in UK terminology. The stitch itself is the same, but the terminology differs. The Craft Yarn Council abbreviation guide provides a helpful reference.
Welcome to the Craft Yarn Council
Before You Start: Four Things to Know
1. Understand the strap construction
We’re making one long, narrow rectangular strip rather than crocheting around an elastic band.
The strip will follow the outside of your closed journal, traveling vertically over the front and back covers. Its ends will meet and fasten with a small button and a crocheted loop.
Because journals come in different thicknesses and heights, we’ll use a measurement-based length instead of specifying one universal row count.
2. Measure your journal correctly
Close your journal and use a flexible measuring tape to measure the entire path the strap will follow.
Place the measuring tape on the front cover near the middle. Follow it over the top edge, across the back cover, around the bottom edge, and back to the starting point.
This measurement is the circumference for your particular strap placement.
For example, an A5 journal approximately 21 cm tall and 2 cm thick might have a vertical circumference near 46 cm, before considering the exact cover shape and desired tension.
The actual measurement of your own closed journal is always more reliable than an estimate.
Plan for the crocheted strip to be approximately 1–2 cm shorter than your measured circumference, allowing the final button loop to bridge the gap. The precise allowance depends on your button-loop length and tension.
3. Understand gauge and tension
Gauge describes how many stitches and rows fit within a particular measurement.
For this design, the width is more important than achieving a specific number of rows per 10 cm. Your main band should ideally measure around 2 cm wide and feel firm enough to stay neatly in place.
Start with eight single crochet stitches across. Work several rows, then measure.
If the band is much wider than expected, try a smaller hook or slightly thinner yarn. If it is narrower than you’d like, consider adding one or two stitches to the foundation.
Keep the band comfortably firm, but don’t pull the working yarn so tightly that each stitch becomes difficult to enter.
4. Learn to count the edge stitches
Single crochet stitches have a small V shape along the top.
At the end of every row, count the V shapes across the strip. You should have eight completed single crochet stitches.
The turning chain does not count as a stitch in this pattern.
This one habit prevents the most common problem in beginner crochet straps: a rectangle that slowly becomes narrower or wider.
Step-by-Step Crochet Journal Strap Tutorial
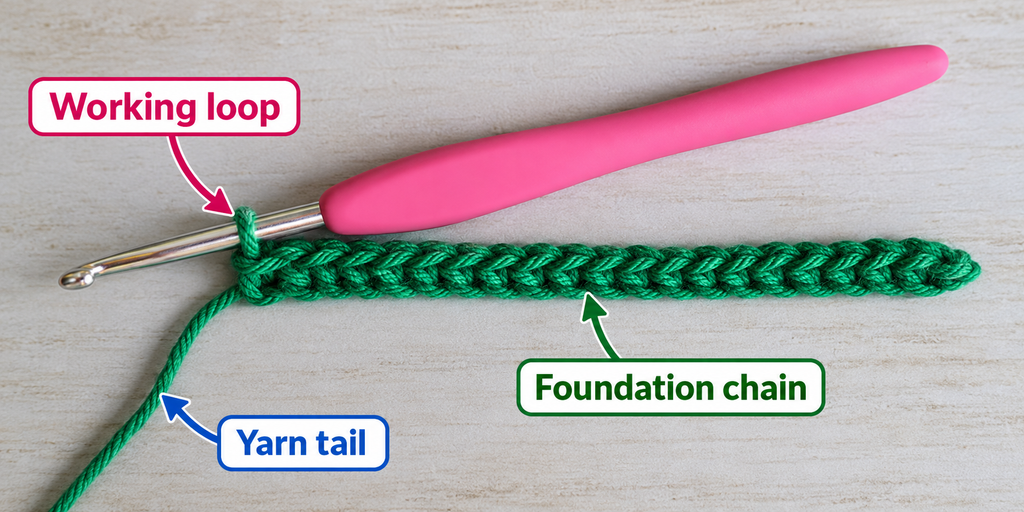
Step 1: Make the foundation chain
Begin with the oatmeal-colored yarn.
Create a slip knot and place it on your crochet hook. Hold the working yarn in your non-dominant hand, leaving enough room for the yarn to slide comfortably over your fingers.
Yarn over and pull the yarn through the loop on your hook. You’ve made your first chain.
Continue until you have nine chain stitches.
The foundation includes eight chains that will become working stitches, plus one chain that provides the starting position for the first row.
Try to make each chain approximately the same size. The stitches should look relaxed rather than tight and compressed.
Beginner tip: Count the completed V shapes in the chain. The loop currently on your crochet hook does not count.
Common mistake to avoid: Don’t count the slip knot as your first chain. Start counting with the first chain created after the slip knot.
Step 2: Crochet the first row
Now you’ll turn the foundation into a narrow strip of single crochet.
Locate the second chain from your hook.
Insert your hook into that chain, yarn over, and pull up a loop. There should now be two loops on your crochet hook.
Yarn over again and draw the yarn through both loops. This completes one single crochet.
Continue making one single crochet in each remaining chain across the foundation.
At the end of the row, you should have eight single crochet stitches.
Take a moment to look at your work. It may curve slightly because the foundation chain and new stitches have different tension. This is normal and should become less noticeable as you add rows.
Beginner tip: If you have trouble identifying the next chain, turn the foundation gently toward the light so that you can see each loop.
Common mistake to avoid: Don’t work into the very first chain next to your hook. Beginning there would change the intended stitch count.
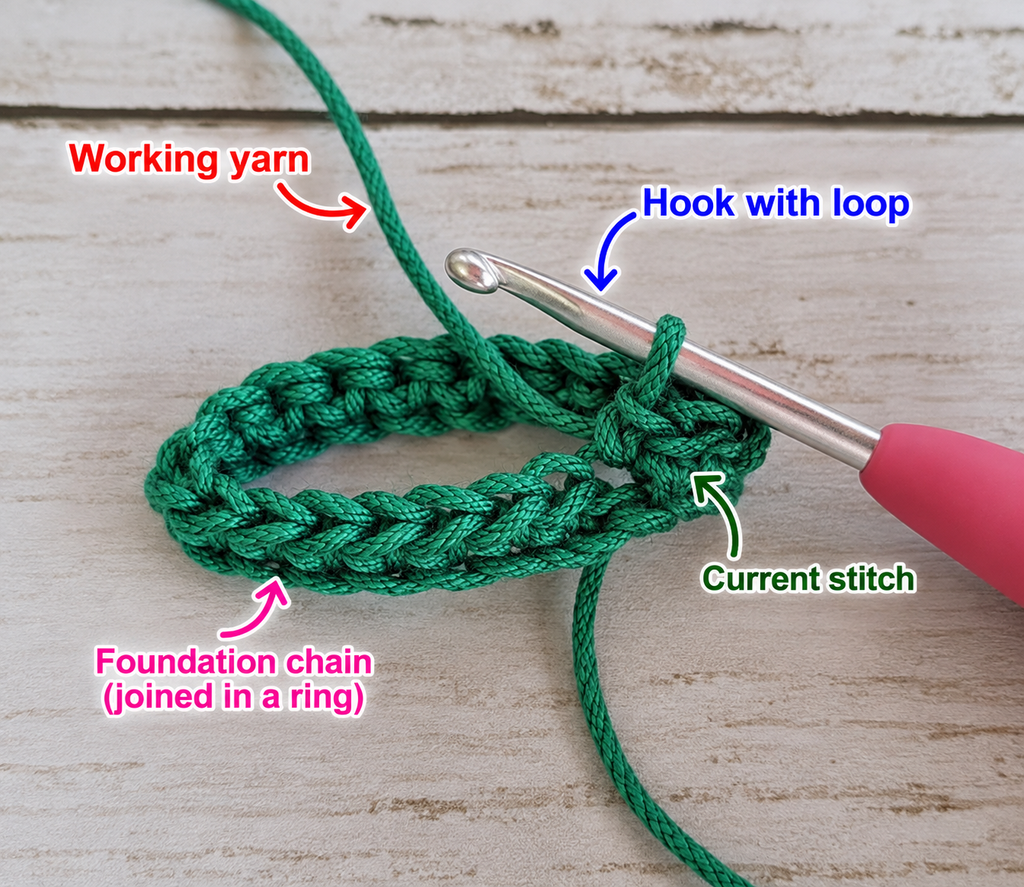
Step 3: Continue working straight rows
Turn your work so the opposite side faces you.
Chain one. This turning chain helps position your hook for the new row, but it does not count as a stitch.
Insert the hook under both top loops of the first single crochet stitch.
Work one single crochet in each stitch across the row.
You should finish with eight stitches.
Repeat this same row until your strip begins to look like a narrow ribbon.
The basic pattern is:
Row 1: Sc in the second ch from hook and each ch across. (8 sc)
Row 2: Ch 1, turn, sc in each st across. (8 sc)
Rows 3 onward: Repeat Row 2 until the band approaches the length needed to wrap around your journal.
Keep the edges straight by checking your stitch count every few rows.
When you finish a row, your final stitch should be worked into the last actual single crochet, not into the turning chain.
Beginner tip: Place a removable stitch marker in the first stitch of a row if you find it difficult to recognize the edges.
Common mistake to avoid: Working an extra stitch into the turning chain can make the band gradually wider. Skipping the last real stitch can make it narrower.
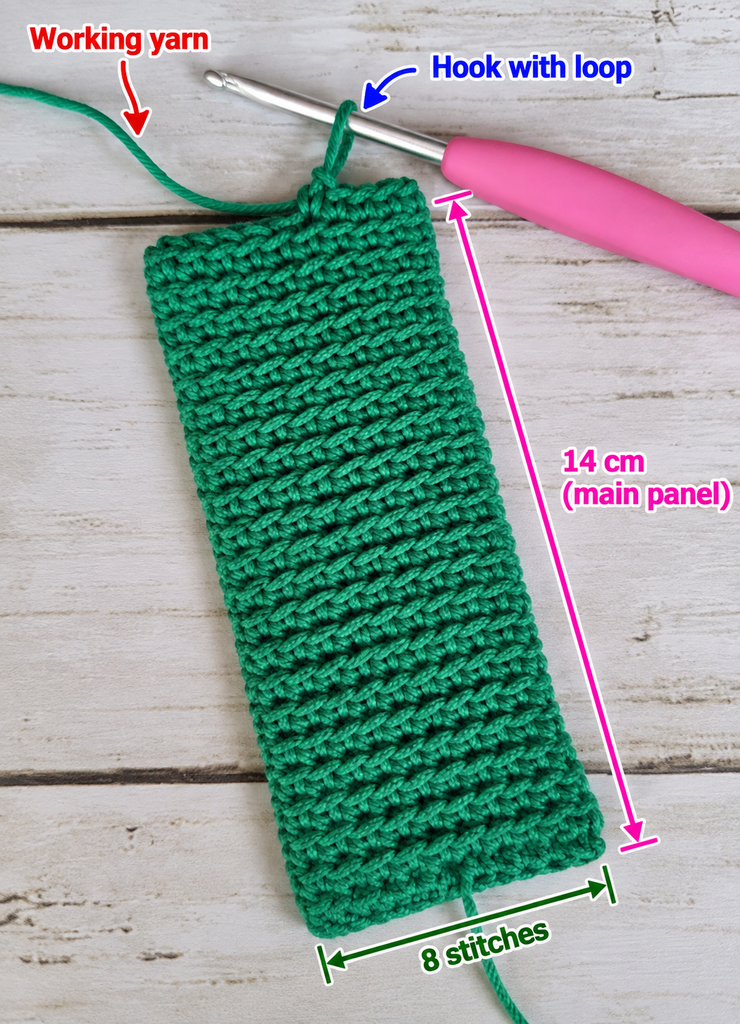
Step 4: Measure and finish the main band
When the strip is getting close to your journal’s measured circumference, stop and test the fit.
Place the closed journal on your work surface. Wrap the crochet band vertically around it, just as you intend to use it.
The strap should sit flat against the notebook without twisting or digging into the cover.
Remember that we’ll add a chain loop to one end and a button to the other. The main strip therefore doesn’t need to cover the full circumference on its own.
Aim for a comfortable small gap between the two short ends of the band.
Continue crocheting rows until the length feels appropriate.
If you’re unsure, leave the working loop secured with a stitch marker and test several possible positions before fastening off.
Once you’re satisfied, cut the yarn, leaving a tail around 15 cm long. Pull the tail through the final loop to fasten off.
Beginner tip: Test the strap with your notebook filled to its normal thickness. A new empty journal may be thinner than it will be after weeks of use.
Common mistake to avoid: Avoid making the strip tight enough to bend the journal covers. A journal closure should hold pages together gently, not compress them.
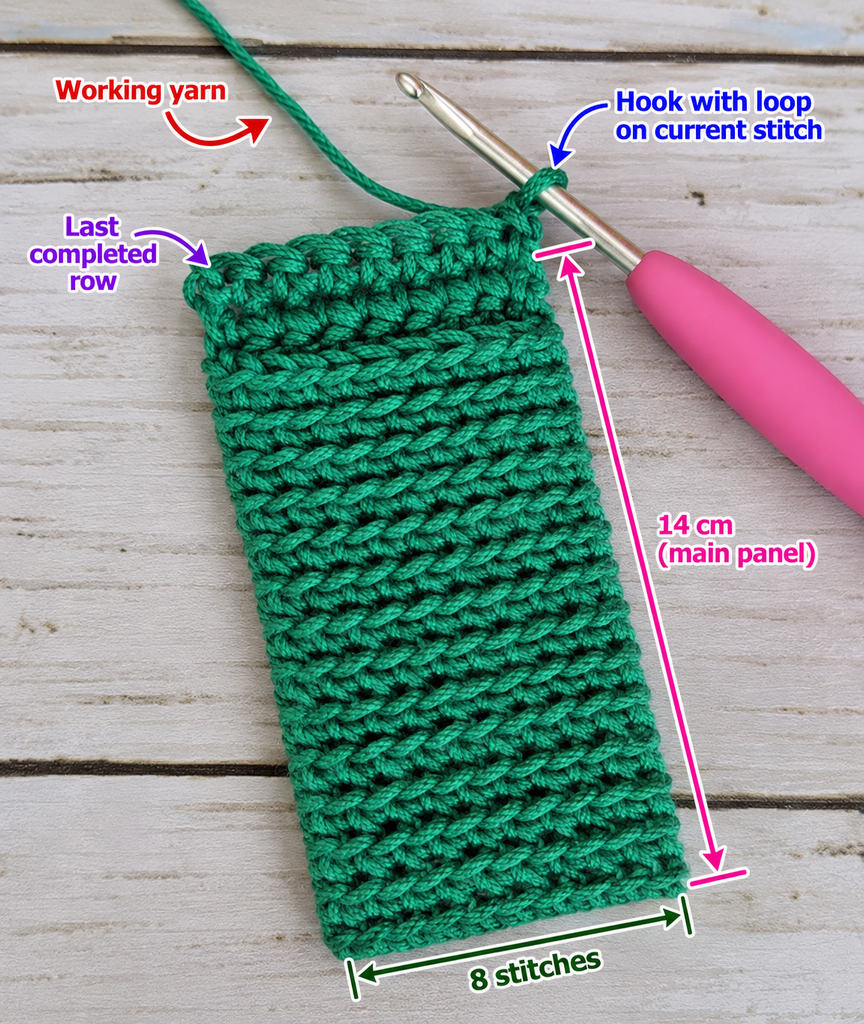
Step 5: Crochet the optional pen sleeve
For this part, switch to the muted sage green cotton yarn.
The sleeve will be a small rectangle attached to the front of the strap. It creates an open-ended tunnel so that a pen can slide through.
Start by chaining 13.
Work one single crochet in the second chain from the hook and in each remaining chain.
You should have 12 single crochet stitches.
Chain one and turn.
Continue working one single crochet in every stitch across for approximately eight rows total, or until the panel measures around 4 cm along its row direction.
The sleeve pattern is:
Row 1: Ch 13, sc in second ch from hook and across. (12 sc)
Rows 2–8: Ch 1, turn, sc in each st across. (12 sc)
Fasten off, leaving a tail at least 25 cm long for attaching the sleeve.
The rectangle’s 12-stitch width is intended to curve around the pen, while its eight-row length runs along the strap. Your actual dimensions will depend on your gauge.
This means the sleeve will form a small arch above the flatter oatmeal band rather than being sewn flat across its entire surface.
Beginner tip: Before sewing, gently curve the sage rectangle around your pen. Make sure it provides enough space for the pen to slide without forcing the stitches apart.
Common mistake to avoid: Don’t assume every pen has the same diameter. If your favorite pen is thick, add a few foundation stitches to the sleeve width.
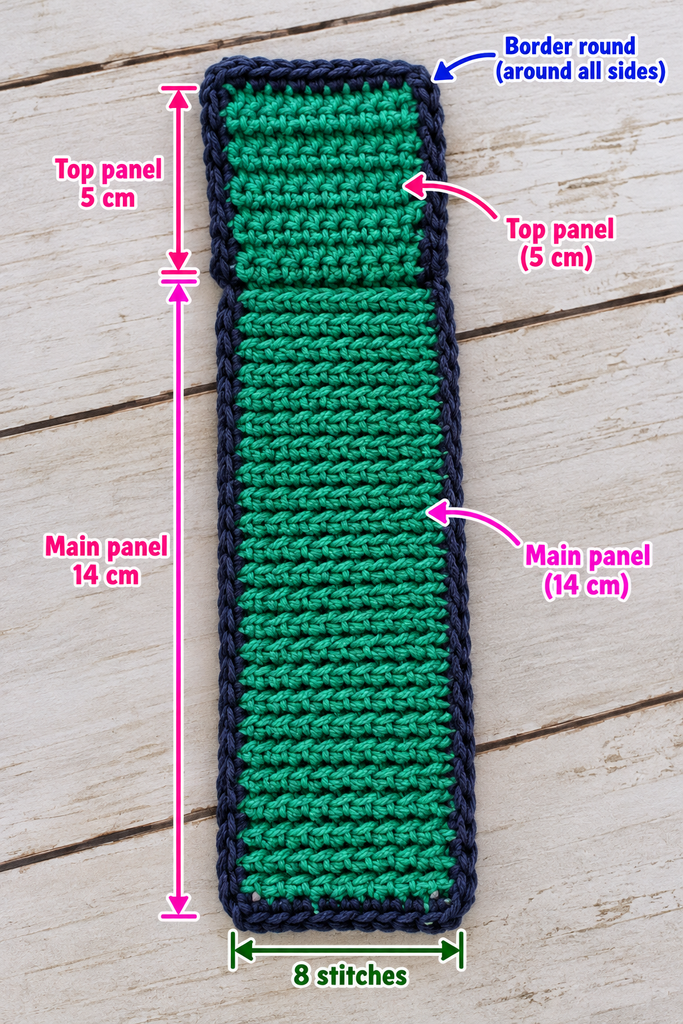
Step 6: Attach the pen sleeve
Lay the long oatmeal band flat with the side you want to face outward pointing up.
Position the sage green rectangle near the middle of the portion that will sit on the front cover.
Make sure the 12-stitch direction goes across the band, while the eight-row sides run lengthwise along it.
Take your tapestry needle and thread it with the long sage yarn tail.
Sew one eight-row side of the sage rectangle along one long edge of the oatmeal strap.
Next, gently curve the rectangle over the front of the band to create a raised tunnel.
Sew its opposite eight-row side along the other long edge of the oatmeal strap.
Leave the two ends of the sleeve open. These are the openings through which the pen will pass.
Before securing the final stitches, slide your pen into the tunnel and test the fit.
It should move easily but remain in place when the journal is held upright.
If the fabric feels too loose, move the attachment seam slightly inward. If it feels tight, leave more of the sleeve fabric available to arch around the pen.
Beginner tip: Use small sewing stitches that catch several yarn strands from both layers. This will help the sleeve withstand repeated use.
Common mistake to avoid: Don’t stitch the top and bottom openings closed. The sleeve must remain open at both ends.
Step 7: Crochet the button loop
Now we’ll make the small fastening loop.
Choose one short end of the oatmeal band.
Join the oatmeal yarn near the center of that end with a slip stitch.
Chain approximately 8–12 stitches as a starting point, depending on your button size and tension.
Make sure the chain forms a loop large enough to pass over your chosen button.
Slip stitch into the same attachment area or an adjacent secure stitch near the center of the short end to close the loop.
Fasten off, leaving a yarn tail for securing the join.
Use the tapestry needle to weave the tail through several stitches on the back of the band.
Try slipping the button through the loop before attaching the button permanently.
If the loop is much too large, undo it and crochet fewer chains. If it cannot pass comfortably around the button, increase the number of chains.
Beginner tip: The loop only needs to be large enough to slide over the widest part of the button.
Common mistake to avoid: Don’t make an enormous loop simply to compensate for an overly short main band. A large loop can stretch and loosen during use.
Step 8: Sew on the button
Wrap the strap around the journal again.
Position the loop end where it will naturally reach the other short end of the band.
Use a removable stitch marker to indicate the best button location.
The button should sit close enough to the short end to make fastening easy, but far enough from the edge that the stitches around it remain secure.
Thread your tapestry needle with a matching length of cotton yarn.
Sew the wooden button onto the band with several firm passes through the buttonholes and the underlying crochet fabric.
Keep the sewing tension secure without pulling the button too tightly against the surface.
Fasten the thread securely on the reverse side and weave it into the band.
Test the closure by sliding the chain loop over the button. The finished strap should feel comfortably snug around the journal.
Beginner tip: Attach the button after checking the fit, not before. This allows you to account for small differences in tension and row length.
Common mistake to avoid: Avoid using an unsecured button or leaving long loose sewing tails. Check the button periodically, especially if the journal is carried in a bag.
Pattern Notes and Stitch Counts
The construction is flexible, but the following details are important.
| Component | Stitch or Measurement |
|---|---|
| Main band foundation | Ch 9 |
| Main band first row | 8 sc |
| Main band subsequent rows | 8 sc per row |
| Main band length | Fit to journal circumference |
| Pen sleeve foundation | Ch 13 |
| Pen sleeve width | 12 sc |
| Pen sleeve length | Approximately 8 rows |
| Button loop | Approximately ch 8–12, adjusted to button |
| Joining | Slip stitch |
| Turning chain | Ch 1; does not count as a stitch |
Turning chain rules
Every time you complete a regular single crochet row, chain one and turn.
Work your first single crochet into the first actual stitch of the previous row. Don’t skip that first stitch.
Right side and wrong side
Because plain single crochet fabric looks similar on both sides, you can choose whichever side appears tidier as the visible face.
Once you’ve selected the outside face, keep it oriented consistently while attaching the sleeve and button.
Repeat notes
There is no complicated stitch pattern to memorize.
For both flat crochet pieces, repeat the same action: chain one, turn, and make one single crochet into each stitch across.
The band length changes by adding or removing complete rows.
Size adjustment notes
If the band is too short, add more rows before making the closure.
If it’s too long, carefully unravel rows until the length matches your journal.
To change the width, adjust the foundation chain. For example, chain 11 and work ten single crochet stitches across for a wider band.
For a wider main band, also check the dimensions of the pen sleeve. You may need a slightly larger sleeve panel to keep its edges correctly positioned.
Common Beginner Mistakes and How to Fix Them
Mistake 1: The strap keeps getting narrower
This usually happens when you miss the final single crochet stitch at the end of a row.
Fix: Count eight stitches at the end of every row. Work into the last true stitch instead of turning early.
If you notice the error immediately, unravel to the affected row and correct it.
Mistake 2: The edges look uneven
Uneven edges often come from inconsistent tension or accidentally making extra stitches.
Fix: Work at a steady pace and avoid pulling the yarn excessively after completing each stitch. Make sure every row contains the same number of single crochet stitches.
A small difference in tension may improve after gentle washing and shaping.
Mistake 3: The band curls or twists
A narrow strip can curl if the foundation chain is tighter than the rest of the fabric or the stitches are worked under excessive tension.
Fix: Use a looser foundation chain, experiment with a slightly larger hook for the foundation, and relax your yarn tension.
Gentle damp blocking may reduce minor curling, though it won’t fix major construction errors.
Mistake 4: The strap is too loose around the journal
If the strip is longer than necessary, the finished closure won’t hold the notebook securely.
Fix: Shorten the band before final assembly or reposition the button slightly to improve the fit.
Avoid stretching the chain loop excessively to make up for measurement errors.
Mistake 5: The pen holder is too tight
Pen barrels vary in diameter, especially when using gel pens, fountain pens, or chunky markers.
Fix: Crochet the sleeve with a few additional foundation stitches, or loosen the side-seam placement to create a larger tunnel.
Always test the sleeve with the actual pen you intend to use.
Mistake 6: The button keeps moving
A button can loosen if it is attached with too few stitches or if the yarn used for sewing is not secured.
Fix: Sew through the buttonholes several times, distribute the tension evenly, and weave the sewing tail securely into the band.
Mistake 7: The pen sleeve slides sideways
This can happen if the pen sleeve is sewn on unevenly or attached only at one or two points.
Fix: Reposition the rectangle and secure both long seam edges evenly. The openings should remain aligned along the length of the main strap.
How to Customize Your Crochet Journal Strap
This simple design is easy to personalize without changing the basic construction.
Change the yarn colors
Try cream with dusty blue, soft lavender with charcoal, or terracotta with warm beige.
A neutral band paired with a contrasting pen sleeve creates a subtle handmade appearance without overwhelming the journal cover.
For a more colorful version, crochet the band in alternating two-row stripes. Carrying the yarn neatly along the edge or weaving the ends securely will help keep the finish tidy.
Make a wider planner strap
If you’re using a large planner or a thick notebook, you may prefer a band with more visual weight.
Start with a longer foundation chain so that the finished band is wider. Then continue using single crochet rows until it reaches the required length.
Remember that increasing the width also changes how much of the journal cover the strap touches.
Try a textured stitch
Once you’re comfortable with the basic pattern, you could experiment with back-loop-only single crochet for a ridged effect.
Another option is the moss stitch, although it requires a different foundation and repeat.
For your first journal strap, ordinary single crochet is the most straightforward option because it forms a relatively firm, compact surface.
Add a decorative edge
A narrow contrasting slip stitch edge can make the strap look more finished.
Be careful not to crochet so tightly that the border causes the band to curve. You may need to work fewer edge stitches or use a slightly larger hook.
Make a minimalist version
If you don’t need a pen holder, simply omit Steps 5 and 6.
The finished result is a slim crocheted closure band that works well for notebooks, sketchbooks, planners, and reading journals.
Add a small embroidered detail
An embroidered initial, tiny flower, or simple decorative motif can add personality.
Keep embellishments flat so that they don’t snag or interfere with the button closure.
Turn it into a thoughtful handmade gift
Pair the strap with a blank notebook and a favorite pen.
This makes a practical gift for a teacher, student, journal enthusiast, writer, or someone who enjoys handmade stationery.
A set of two matching straps in different colors could also be useful for organizing multiple journals.
Finishing Instructions
Once the main crochet, pen sleeve, and button closure are complete, take a few minutes to finish the project neatly.
Weave in every remaining yarn end
Turn the strap to the wrong side.
Thread each loose yarn tail onto a tapestry needle and pass it back and forth through several nearby crochet stitches.
Change direction at least once to help secure the yarn.
Trim the ends close to the fabric without accidentally cutting any structural stitches.
Check the pen sleeve seams and the button attachment before trimming the final tails.
Shape the crochet band
Lay the band flat on your work surface.
If one edge curls slightly, smooth it with your fingers.
For a more even finish, lightly dampen the band and lay it on a clean towel.
Gently straighten the edges without stretching the strip longer.
Allow the crochet to dry completely before fastening it around your notebook.
Because cotton can change size slightly when washed, recheck the fit once dry.
Test the closure
Place the finished strap around the closed journal and fasten the button.
Slide one finger gently between the band and the journal cover.
There should be enough room to move your finger without forcing it, but not so much space that the band falls off.
If the strap is excessively tight, you may be able to make the loop slightly longer.
If it is too loose, move the button to a better position or shorten the band.
Insert the pen
Slide a pen through the sage crochet sleeve.
The pen should move in and out smoothly without pulling strongly on the stitches.
For everyday use, position the pen so its clip or upper end helps prevent it from slipping through the holder. Test this before placing the journal in a bag.
Remove the pen when washing the strap.
Washing and care
Check your yarn’s care label first.
For most washable cotton yarns, gentle hand washing in cool water is a conservative option. Press excess water out with a towel rather than wringing the crochet fabric.
Reshape the strap and dry it flat.
Avoid high heat unless the yarn and button materials specifically allow it.
Safety note: This accessory is not a carrying handle. Don’t lift a heavy notebook by the strap or pen sleeve, and keep small buttons away from young children who may pull them loose.
Quick Printable-Style Crochet Journal Strap Pattern
Project: Adjustable Journal Strap With Optional Pen Holder
Skill Level: Easy Beginner
Yarn: DK cotton in two colors
Hook: 3.75 mm
Stitches: Chain, single crochet, slip stitch
Main band:
Row 1: Ch 9. Sc in second ch from hook and in each ch across. (8 sc)
Row 2: Ch 1, turn. Sc in each st across. (8 sc)
Repeat Row 2 until the band fits your measured journal circumference, leaving a small gap for the button-loop closure.
Fasten off.
Optional pen sleeve:
Row 1: Ch 13. Sc in second ch from hook and across. (12 sc)
Rows 2–8: Ch 1, turn. Sc across. (12 sc)
Fasten off with a long sewing tail.
Assembly: Sew the two eight-row-long sides of the pen sleeve to the two long edges of the main band, creating a raised tunnel with the short ends open.
Closure: Join yarn at one short end of the band. Ch approximately 8–12, adjusting for the button. Sl st to form the loop. Sew the button to the opposite end after measuring the fit.
Finish: Weave in ends, shape gently, check fastening tension, and test the pen sleeve.
Frequently Asked Questions
1. Is this crochet journal strap pattern suitable for beginners?
Yes. The main band uses only chain stitches and single crochet.
If you already know how to make a foundation chain and work a basic single crochet row, you have the skills needed for most of the project.
Attaching the pen sleeve and sewing on the button may take a little extra patience, but the techniques are straightforward.
2. How long should a crochet journal strap be?
The required length depends on the journal’s height, thickness, and the direction the strap wraps around it.
Measure around the closed journal along the intended path, then make the crocheted band slightly shorter to accommodate the closure.
It’s better to test the fit several times than to follow a fixed length that doesn’t match your notebook.
3. Can I make the strap without a button?
Yes.
You can sew the ends of the band together to form a permanent loop, although it may be harder to remove and may have less adjustability.
A button closure is useful when you want to move the strap between journals or adjust it as the notebook fills.
4. What yarn works best for a crochet notebook strap?
Smooth cotton yarn is an excellent choice for this design.
It helps create a neat stitch appearance and a relatively sturdy band.
A smooth cotton blend can also work, but highly stretchy or very fuzzy yarns may make the closure less predictable.
5. How do I stop the crochet strap from stretching?
Use reasonably firm single crochet stitches and avoid a hook size that creates loose, open fabric.
Cotton generally provides a more structured feel than highly elastic yarns, although any crocheted fabric can change shape with repeated handling.
Recheck the button placement if the band becomes loose over time.
6. Can this pattern fit a bullet journal or planner?
Yes. The main band is made to measure, so the same basic method works with many notebooks.
For a larger planner, crochet additional rows until the strip is long enough.
For a very thick journal, make sure the strap can wrap around the book without squeezing or bending its covers.
7. Can I sell finished crochet journal straps made from this tutorial?
This article presents an independently written design for a simple journal closure strap. You can use these original instructions to create your own handmade items.
Be mindful of third-party intellectual property, including any branding, copyrighted photographs, distinctive decorative designs, or other patterns you may incorporate into your work.
Conclusion
A handmade crochet journal strap is a small project with a genuinely useful purpose. It can help keep a favorite notebook closed, provide a place for a pen, and add a personal touch to everyday stationery.
The simple single crochet construction makes it easy to adjust the size, experiment with colors, or create another strap for a different notebook.
Once you’ve finished your first journal strap, try making a matching crochet bookmark or a small crochet pencil pouch.