A handmade mobile can add color, movement, and crochet texture to a nursery without requiring you to complete a large blanket or complicated amigurumi character.
This beginner-friendly crochet baby mobile pattern is built around one small five-point star. You will make the same star five times, attach the stars to a wrapped wooden hoop, add three support cords, and adjust the spacing until the mobile hangs level.
Because every ornament uses the same construction, you can concentrate on improving your tension instead of learning a different pattern for every hanging piece. The stars are lightly padded, but they remain relatively flat and light enough to balance easily.
This tutorial includes the complete original star instructions, step-by-step assembly guidance, image placements, common fixes, customization ideas, and an important nursery-safety section.
Important Nursery Safety Notice
This handmade mobile is decorative nursery décor, not a baby toy. Never place it inside the crib or where a child can touch, pull, or become entangled in its cords.
A hanging mobile should be securely mounted and kept completely outside the baby’s reach. HealthyChildren.org, the parenting resource of the American Academy of Pediatrics, advises removing a crib mobile when the baby can push up on hands and knees or reaches five months old, whichever happens first.
Do not use beads, bells, safety eyes, sequins, buttons, or other detachable decorations. Inspect every cord, knot, hanging point, and mounting component regularly.
What You’ll Learn
- How to crochet a compact five-point star from a magic ring
- How to make two matching panels
- How to sew and lightly stuff a crochet ornament
- How to wrap a wooden hoop with yarn
- How to attach five ornaments at staggered heights
- How to add three equal support cords
- How to balance a hanging mobile
- How to secure and conceal the cord ends
Finished Size
Using DK cotton and a 3.0 mm hook:
- Each star measures approximately 7.5–8.5 cm, or 3–3¼ inches, from tip to tip.
- The hoop measures approximately 20 cm, or 8 inches, across.
- The complete mobile measures approximately 42–50 cm, or 16½–20 inches, from the top loop to the lowest star.
Your exact measurements will depend on yarn, tension, stuffing, cord lengths, and hoop size.
Materials You’ll Need
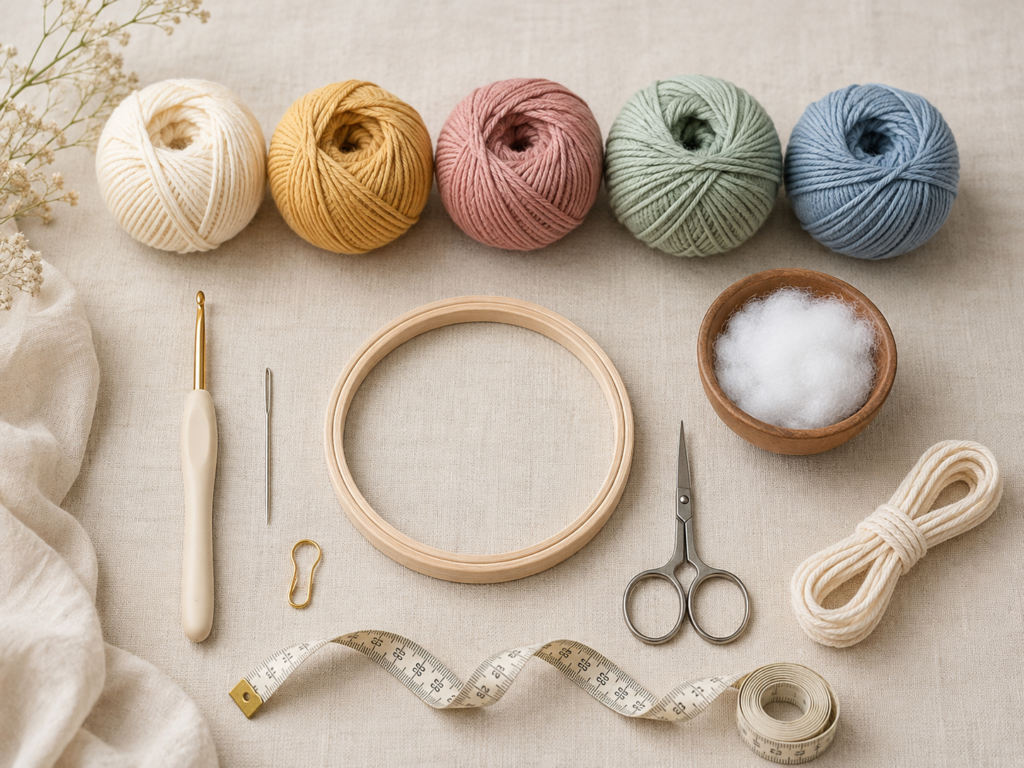
- Approximately 100–120 g of DK-weight cotton or cotton-blend yarn
- Five colors: cream, muted mustard, dusty rose, pale sage and misty blue
- 3.0 mm crochet hook
- Smooth 20 cm or 8-inch wooden embroidery hoop inner ring
- Strong cotton crochet thread or tightly spun cotton cord
- Polyester fiberfill
- Blunt tapestry needle
- Small scissors
- Locking stitch marker
- Measuring tape
- Pins for aligning the star panels
- A secure ceiling or wall mounting system appropriate for the installation surface
Cotton is useful here because it produces visible stitches and relatively firm star points. The Craft Yarn Council classifies DK as light-weight yarn, although yarn thickness can vary between manufacturers. Always compare the actual yarn rather than relying only on the category number.
Crochet Abbreviations Used
This tutorial uses US crochet terminology.
- ch = chain
- sc = single crochet
- hdc = half double crochet
- dc = double crochet
- tr = treble crochet
- sl st = slip stitch
- st/sts = stitch/stitches
- rep = repeat
- rnd = round
- RS = right side
- WS = wrong side
In UK terminology, US single crochet is called double crochet, US half double crochet is half treble, US double crochet is treble, and US treble is double treble.
Before You Start
Gauge and tension
A formal gauge swatch is unnecessary because the stars do not have to fit a person. However, both panels of each star must be close to the same size.
Use firm, even tension. The fabric should be dense enough that white stuffing does not show between the stitches.
When choosing between two hook sizes, make one test panel first. Change to a smaller hook only when the stitches look loose or the center has large gaps.
Counting the center stitches
Round 1 contains ten single crochet stitches. Count them before closing the round. The point pattern uses two center stitches for each point:
- One stitch anchors the point.
- The next slip stitch moves the hook into position for the following point.
Ten center stitches divided by two produces five evenly spaced points.
Magic-ring alternative
When you do not like using a magic ring:
- Chain 2.
- Work ten single crochet stitches into the second chain from the hook.
- Join with a slip stitch.
The center may be slightly less adjustable, but it is adequate for this project.
Keeping the star flat
Do not pull the point chains unusually tight. A tight chain shortens the points and can cause the panel to curl.
Before sewing two panels together, place them flat and gently shape the points with your fingers. Light blocking can help when the yarn permits it.
Step-by-Step Crochet Tutorial
Step 1: Crochet the Center of the First Star Panel
Make a magic ring using your first star color.
Round 1
- Chain 1. This chain does not count as a stitch.
- Work 10 sc into the magic ring.
- Pull the yarn tail until the center closes.
- Sl st into the first sc to join. [10 sc]
Do not fasten off.
The small center may cup slightly while it is in your hand. It should flatten as the points are added.
Beginner tip:
Place a stitch marker in the first single crochet before you work the remaining stitches. This makes the joining point easy to identify.
Common mistake to avoid:
Do not count the beginning chain as a stitch. Counting it would give you eleven positions and disturb the five-point spacing.
Step 2: Form the Five Star Points
Each point begins with a chain and uses increasingly tall stitches. The single crochet forms the narrow tip, while the treble crochet brings the point back toward the center.
Round 2
Repeat the following sequence five times:
- Ch 5.
- Starting in the second chain from the hook, work 1 sc.
- Work 1 hdc in the next chain.
- Work 1 dc in the next chain.
- Work 1 tr in the final chain.
- Sl st into the next sc of Round 1 to anchor the point.
- Sl st into the following sc to move into position for the next point.
After the fifth repeat, all ten center stitches will have been used.
Fasten off and leave a 25 cm or 10-inch sewing tail.
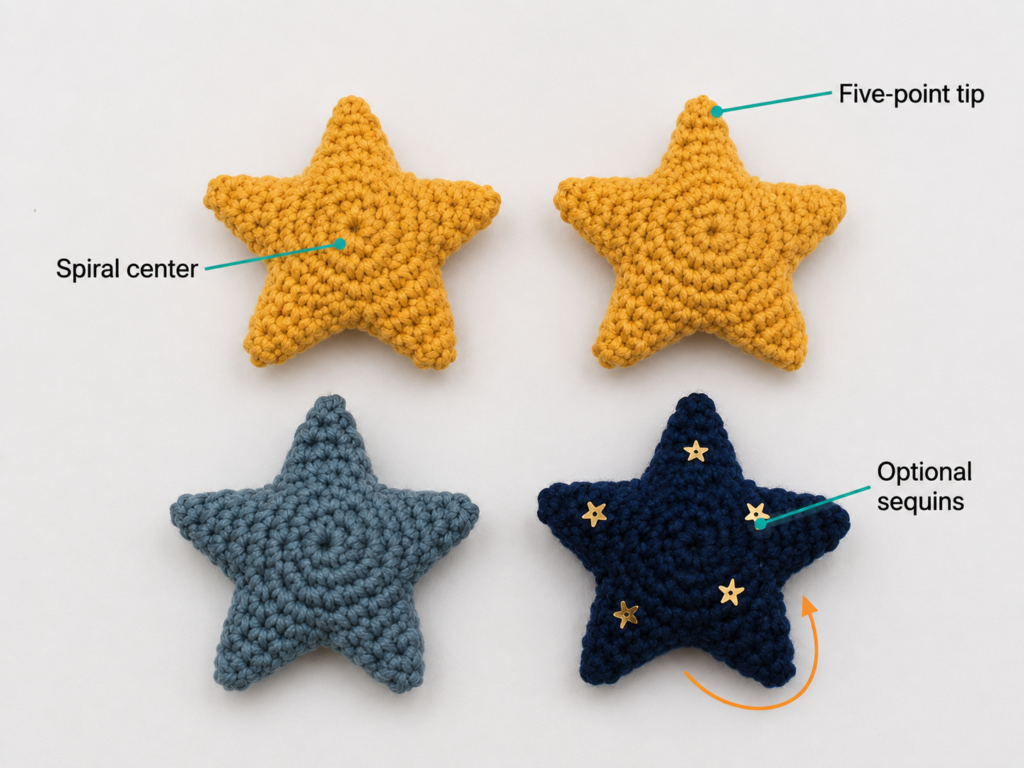
You now have one flat five-point star panel.
Beginner tip:
When working back down the chain, rotate the chain slightly toward you so you can see the back bumps and top loops. Use the same part of every chain for a neater edge.
Common mistake to avoid:
Do not add an extra chain between the points. The two slip stitches already create the necessary separation.
Step 3: Make the Matching Back Panel
Make a second star panel in the same color by repeating Steps 1 and 2.
Lay both panels flat.
Check that:
- Both centers are the same diameter.
- The five points have similar lengths.
- Neither panel has an accidental sixth point.
- The yarn tails are long enough for sewing.
- The point tips are not twisted.
Position the panels with their wrong sides touching and their right sides facing outward. Match every point with the corresponding point beneath it.
Pin the center and two opposite points when the panels move out of alignment easily.
Beginner tip:
Pair the panels immediately after making them. Waiting until all ten panels are complete can make it harder to identify which two have the closest tension.
Common mistake to avoid:
Do not put the right sides together as you would for a turned fabric seam. These stars are not turned inside out after sewing.
Step 4: Sew the Star Panels Together
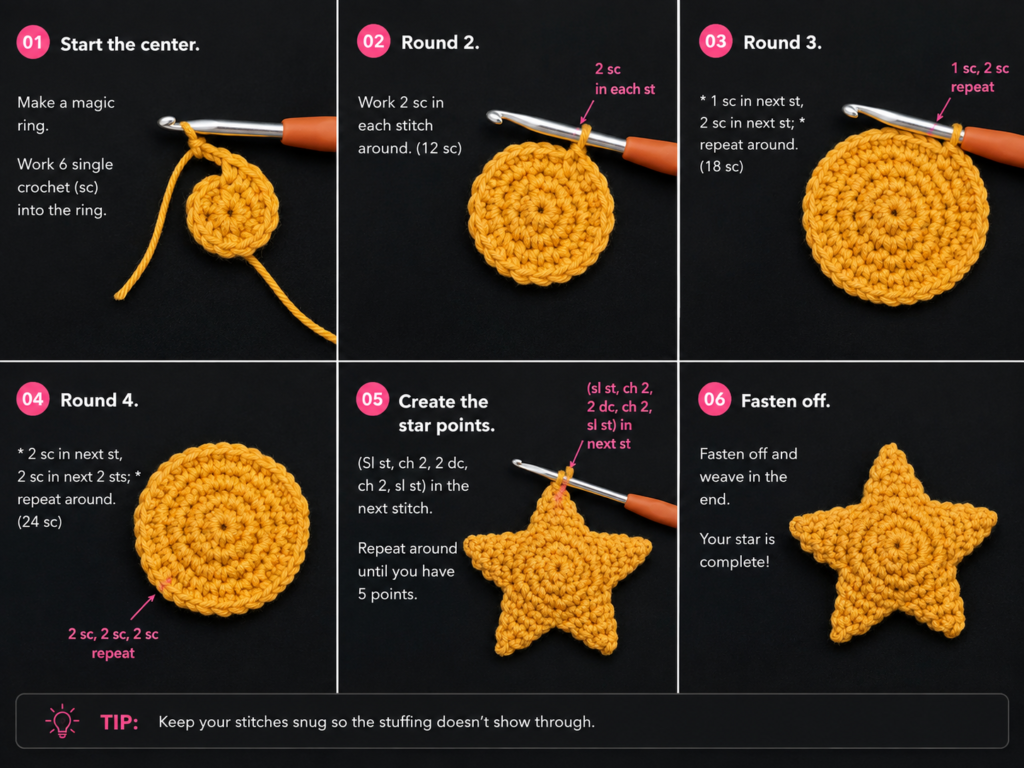
Thread the long yarn tail onto your tapestry needle.
Begin in the valley between two points. This location makes the final closure less noticeable.
- Insert the needle through matching edge loops on both panels.
- Pull the yarn until the edges meet without puckering.
- Continue with a small whipstitch around the first point.
- Work around the next three points.
- Stop before closing the final point.
Place the sewing stitches close enough to prevent stuffing from escaping but not so close that the edge becomes stiff.
Beginner tip:
Pause after each point and place the star flat. Correct any twisting before continuing.
Common mistake to avoid:
Do not pull the seam so tightly that the outer edges roll inward. The two panels should touch naturally.
Step 5: Stuff and Close the First Star
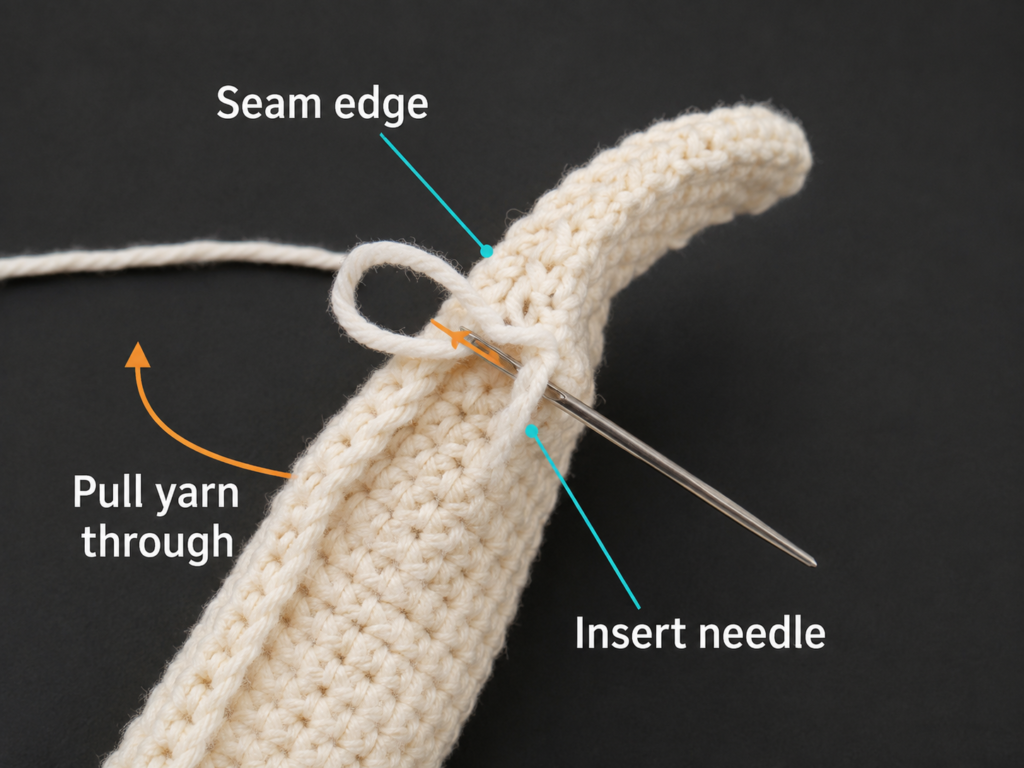
Use small wisps of fiberfill rather than one large piece.
- Push a small amount into the center.
- Add a very small amount to each completed point.
- Use the blunt end of the crochet hook or a stuffing tool to guide the fiberfill gently.
- Keep the star thin enough to hang neatly.
- Finish sewing the final point and close the opening.
- Pass the needle through the star and bring it out several stitches away.
- Pull lightly, trim the yarn, and allow the end to disappear inside.
The star should feel softly padded rather than firm.
Beginner tip:
Hold the star at eye level. When one point appears thicker than the others, move a little stuffing with the blunt needle before closing.
Common mistake to avoid:
Overstuffing rounds the center and shortens the points visually. Remove stuffing when the star starts resembling a ball.
Step 6: Crochet the Remaining Four Stars
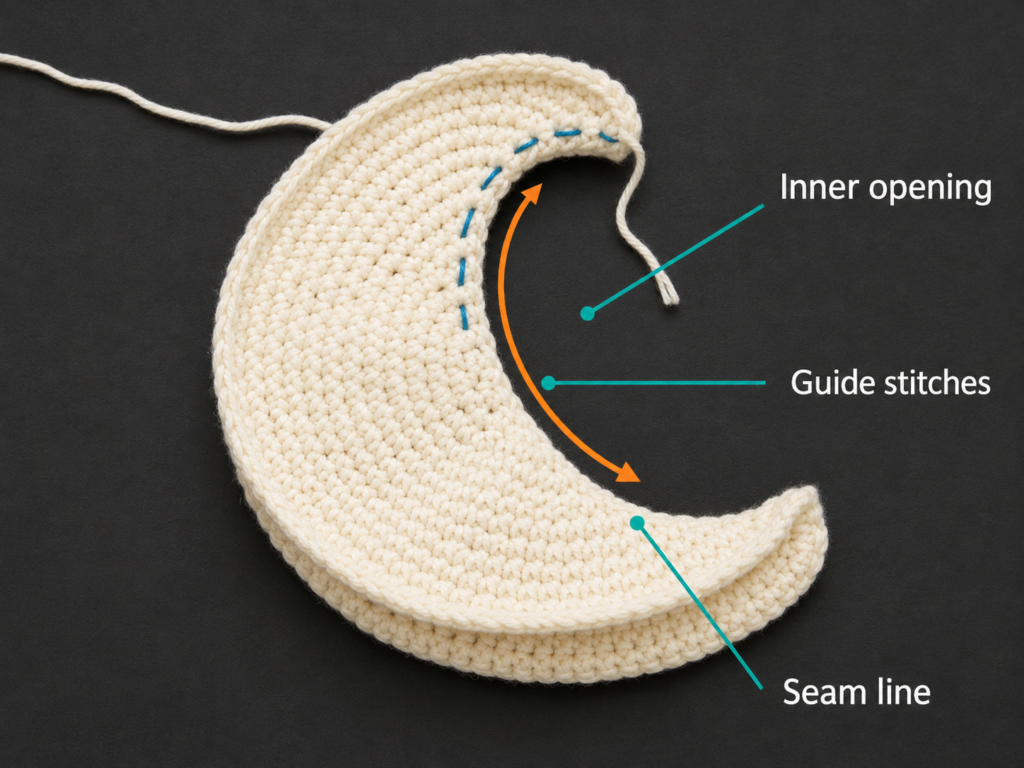
Repeat Steps 1–5 in the remaining colors.
For the suggested palette, make:
- 1 warm cream star
- 1 muted mustard star
- 1 dusty rose star
- 1 pale sage star
- 1 misty-blue star
You will make ten panels in total and join them into five padded stars.
Before moving to the hoop, compare all five stars. Trim loose fibers and reshape the points.
When one star is significantly larger, it may also be heavier. You can still use it, but plan to place it opposite two lighter stars while balancing the hoop.
Step 7: Wrap the Wooden Hoop
Separate the embroidery hoop and use the smooth inner ring. Check it carefully for splinters, cracks, or weak glued sections.
Leave a 20 cm yarn tail and hold it against the hoop.
Wrap the cream yarn around the hoop:
- Keep each wrap beside the previous wrap.
- Avoid crossing the yarn.
- Push the wraps together every few centimeters.
- Continue until no wood remains visible.
- Tie the working yarn securely to the beginning tail.
- Thread both tails beneath several wraps.
- Trim the remaining ends.
Wrapping the hoop is optional, but it gives the hanging cords a surface they can grip. It also helps conceal the final cord tails.
Beginner tip:
Work with a manageable yarn length. Joining two secure lengths is easier than pulling an entire ball through the hoop hundreds of times.
Common mistake to avoid:
Do not wrap so loosely that the yarn slides when you move a star cord.
Step 8: Attach Hanging Cord to Every Star
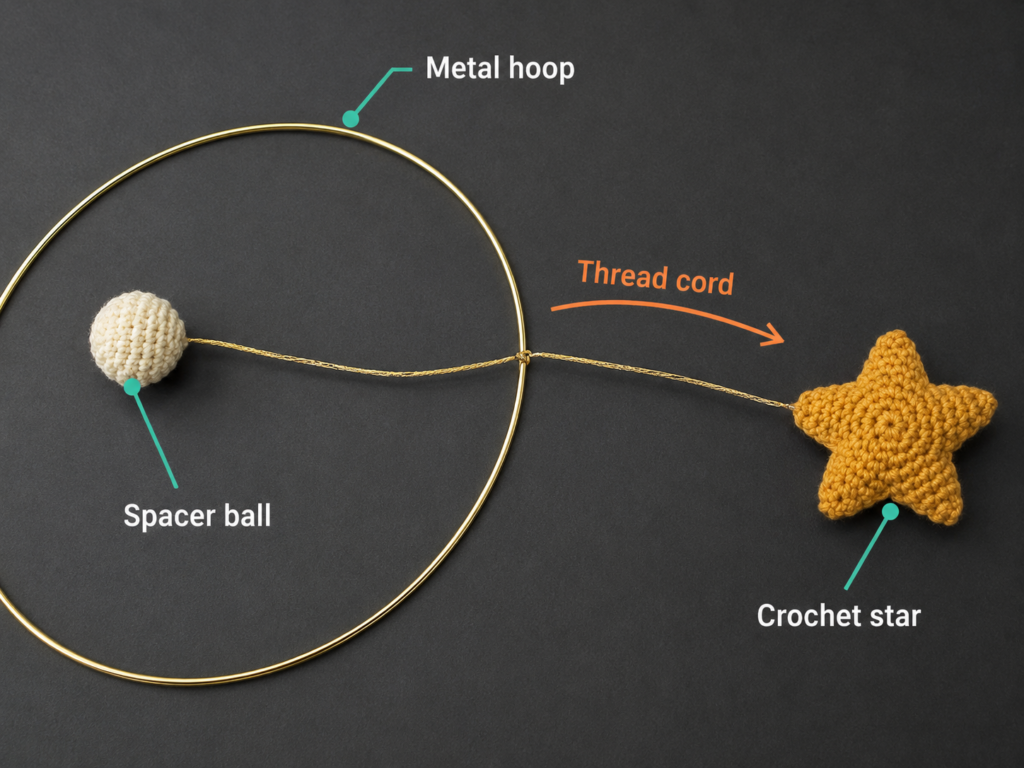
Cut five cotton cords with extra length for knots:
- Cream star: 32 cm
- Mustard star: 37 cm
- Rose star: 42 cm
- Sage star: 47 cm
- Blue star: 52 cm
These measurements include knot allowance. The visible drops will be shorter.
Thread one cord onto a needle. Pass it through several stitches near the top of one star point. Do not pass through only one strand of yarn.
Make three small securing passes through the point. Tie the cord ends together with a firm double or triple knot. Pull the knot into the crochet fabric or conceal it along the back.
Repeat for every star.
Beginner tip:
Lift each star by its cord before attaching it to the hoop. The point should remain upright and the stitches should not stretch.
Common mistake to avoid:
Do not attach the cord to the very end of a point. Move approximately 5–8 mm below the tip so the cord is supported by several stitches.
Step 9: Space the Stars Around the Hoop
Mark five approximately equal positions around the hoop.
Attach one star at each position with a temporary knot. Alternate the colors so that similar values are not grouped together.
A suggested order is:
- Mustard
- Misty blue
- Cream
- Dusty rose
- Pale sage
Check the visible drop from the bottom of the hoop to the top of each star. Adjust the cords to create a gentle stagger rather than a strict diagonal staircase.
When you like the arrangement:
- Tie each cord securely around the wrapped hoop.
- Pass the short tail beneath several hoop wraps.
- Bring the tail out on the upper side of the ring.
- Trim only after the mobile has been balanced.
Leaving the tails temporarily makes corrections easier.
Step 10: Add the Three Support Cords
Cut three equal 70 cm lengths of strong cotton cord.
Mark three equally spaced support points around the hoop. Imagine the face of a clock and position the cords near:
- 12 o’clock
- 4 o’clock
- 8 o’clock
Attach one end of each cord securely at its marked point.
Bring the three free ends together above the exact center of the hoop. Measure approximately 28–30 cm from the hoop to the meeting point.
Tie the cords together temporarily.
Stand back and look at the ring from the front and side. All three support cords should have equal tension.
Once the ring appears level:
- Tie the cords together with a secure triple knot.
- Braid or twist the remaining cord.
- Fold the braid into a hanging loop.
- Tie and stitch the base of the loop securely.
- Conceal all short tails.
Beginner tip:
Measure from the upper edge of the hoop to the central knot along each support cord. Do not compare only the total cut lengths.
Common mistake to avoid:
A difference of only a few millimeters can tilt a small hoop. Adjust the support cords before adjusting all five stars.
Step 11: Balance the Mobile
Temporarily suspend the mobile from a strong stand or another safe test point.
Do not balance it over a crib or near a baby.
Observe the hoop:
- When one side hangs low, move a nearby star slightly toward the higher side.
- When the hoop remains level but one area looks crowded, move two neighboring stars apart.
- When the stars collide, shorten one cord or move its attachment point.
- When the support knot is off-center, adjust the three upper cords first.
Make small changes. Moving one star by 1–2 cm may be enough.
After the hoop remains level for several minutes, retighten every knot and weave each tail beneath the hoop wrapping.
Pattern Notes or Stitch Notes
Turning-chain rule
This project is worked in joined rounds rather than turned rows. The beginning chain 1 in Round 1 does not count as a stitch.
Stitch count
Each panel begins with ten single crochet stitches.
Every point uses two center stitches:
- One slip stitch anchors the completed point.
- One slip stitch advances to the next starting position.
You should finish with five points.
Repeat notes
Make two panels for each star.
For five finished stars, make ten panels in total.
Right side and wrong side
The right side is the side from which the point stitches look most defined. Place the wrong sides together before sewing.
Size adjustment
The easiest way to change the size is to change yarn weight and hook size while keeping the same construction.
Test one complete star before making all five. Larger stars are heavier and may require:
- A larger hoop
- Stronger suspension cord
- Wider spacing
- Additional balancing adjustments
Common Beginner Mistakes
1. A visible hole remains in the center
Cause: The magic ring was not closed firmly or the yarn tail loosened.
Fix: Pull the tail firmly before weaving it through several stitches on the wrong side. Change to the chain-2 start when the yarn is slippery.
2. The star has six or four points
Cause: The center stitch count was incorrect or a slip stitch was skipped.
Fix: Count ten single crochet stitches before beginning the points. Mark the stitches in pairs when necessary.
3. The points are different lengths
Cause: Some point chains were pulled more tightly than others.
Fix: Keep the chain tension relaxed and consistent. Count all four worked stitches on each point.
4. Stuffing shows through the fabric
Cause: The tension is too loose, the hook is too large, or the star is overstuffed.
Fix: Use less stuffing or remake the star with a smaller hook.
5. The seam looks puckered
Cause: The whipstitches were pulled too tightly.
Fix: Relax each sewing stitch so the two edges touch without folding inward.
6. The hoop tilts
Cause: The three upper support cords are not equal, or the weight is concentrated on one side.
Fix: Equalize the upper cords first. Then move one or two stars around the hoop in small increments.
7. The stars rotate sideways
Cause: The hanging cord is attached too close to one edge of the point.
Fix: Reattach the cord through the center of the top point and catch several stitches.
How to Customize This Crochet Project
Change the colors
Choose colors that coordinate with the room while retaining enough contrast to distinguish the stars.
Possible palettes include:
- Cream, terracotta, oatmeal, olive and muted gold
- White, navy, pale blue, grey and mustard
- Blush, ivory, dusty lavender, sage and taupe
- High-contrast black, white, red and yellow for a bold decorative version
Change the yarn
Smooth cotton gives the clearest star shape.
Acrylic can also be used, but very fuzzy yarn makes stitch placement and seam alignment more difficult. Avoid yarn that sheds loose fibers easily.
Change the number of stars
Three large stars create a minimal mobile. Seven small stars create a fuller design.
When changing the quantity, distribute the ornaments evenly and rebalance the hoop before completing the knots.
Add surface texture
You can embroider a small line, sleepy face, dot pattern or simple starburst onto the panels before sewing.
Use yarn embroidery rather than beads, buttons, plastic eyes, bells or sequins. Keep all embroidery ends securely buried inside the ornament.
Create a moon-and-stars palette
Make one large cream star and four smaller stars in night-sky colors. The large star can serve as the central focal point without adding a separate moon pattern.
Use the stars elsewhere
The same padded stars can become:
- Nursery garland ornaments
- Wall-hanging decorations
- Gift-package toppers
- Seasonal tree ornaments
- Drawer-handle decorations
Objects with cords must always be kept away from babies and young children.
Finishing Instructions
Inspect the complete mobile carefully.
- Check every star seam for openings.
- Pull gently on every hanging cord.
- Confirm that no stuffing is visible.
- Check the wooden ring for cracks or rough areas.
- Retighten all hoop knots.
- Weave all tails beneath multiple wraps.
- Confirm that the upper loop cannot slide open.
- Suspend the mobile for several hours and recheck the level.
- Install it only with hardware designed for the mounting surface.
- Keep it completely outside the child’s reach.
For care, remove dust with a clean soft brush or low-suction handheld vacuum attachment. Spot-clean the stars with cool water and mild detergent when necessary. Do not soak the assembled wooden hoop. Allow every damp section to dry fully before rehanging.
Remove the mobile when the child begins pushing up on hands and knees or reaches five months old, whichever occurs first.
Quick Printable-Style Summary
Skill level: Confident beginner
Yarn: DK-weight smooth cotton or cotton blend
Hook: 3.0 mm
Other materials: 20 cm wooden hoop, strong cotton cord, fiberfill, needle, scissors, stitch marker and measuring tape
Stitches: Ch, sc, hdc, dc, tr and sl st
Starting method: Magic ring with 10 sc
Star panel repeat:
Ch 5; work sc, hdc, dc and tr down the chain; sl st in the next two center stitches. Repeat five times.
Quantity:
Make 10 panels and join them into 5 lightly padded stars.
Assembly:
Attach the stars at staggered heights around a wrapped hoop. Add three equal upper support cords and balance the ring before securing the final knots.
Finishing:
Weave in all tails, inspect every seam and knot, test the mobile while suspended, and install it completely outside a child’s reach.
FAQ
Is a handmade crochet mobile safe above a crib?
It should be treated only as decoration. Secure it properly and position it completely outside the child’s reach. Remove it when the baby begins pushing up on hands and knees or reaches five months old, whichever happens first.
What yarn is best for a crochet baby mobile?
Smooth cotton or cotton-blend yarn provides clear stitches, firm points and limited fuzz. DK weight keeps the ornaments light while remaining easy to handle.
Can I make the stars without a magic ring?
Yes. Chain 2 and work ten single crochet stitches into the second chain from the hook. Join to the first single crochet.
Why are my crochet star points curling?
The point chains may be too tight, or the graduated stitches may have uneven tension. Relax the chains and gently block the panels before sewing.
How much should I stuff each star?
Use only enough fiberfill to separate the two panels and softly define the points. The stars should remain relatively flat.
How do I stop the hoop from tilting?
Make the three upper support cords exactly equal. Temporarily hang the mobile, then move the stars around the hoop in small increments until the ring remains level.
Can I add beads, buttons or safety eyes?
They are unnecessary and can become detachable small parts. Use securely finished yarn embroidery when you want to add facial details or surface decoration.
Conclusion
This crochet baby mobile pattern turns one small star motif into a complete nursery project. Once you finish the first star, the remaining ornaments repeat the same stitches, sewing method and stuffing technique.
Take your time during assembly. Accurate support-cord measurements and small balancing adjustments make a greater difference than perfect crochet tension.
Save the tutorial with your nursery crochet ideas, or use the same star pattern to create a matching garland or wall hanging.





