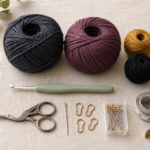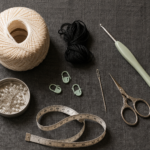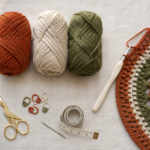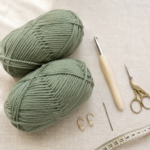
A plain plastic badge holder does its job, but the cord attached to it does not have to be plain too. This crochet name tag holder pattern turns a standard clear badge sleeve into a simple handmade accessory using only basic crochet stitches.
The design is intentionally beginner-friendly. Instead of tiny crochet thread, beads or complicated stitch repeats, you will crochet a narrow cotton strap with basic chains and single crochet. Once the strap reaches the correct length, each end is secured to a small metal clip and connected to your name badge.
It is a practical first accessory if you already know how to make a chain and single crochet but want to practice working evenly across a long row.
This style can work well for teachers, conferences, craft fairs, office badges, volunteer events and reusable visitor name tags. The primary visual source researched for this article also demonstrates the general idea of attaching a decorative crocheted necklace to a conventional badge sleeve.
What You’ll Learn
By the end of this tutorial, you will know how to:
- measure a crochet lanyard instead of depending on an exact chain count;
- crochet into a long foundation chain without twisting it;
- keep a narrow strip of single crochet straight;
- check whether your lanyard fabric is too loose or stretchy;
- attach crochet securely to lanyard hardware;
- connect the finished strap to a two-hole or single-slot badge sleeve;
- adjust the project for different badge sizes and wearing lengths.
Finished Size
The sample lanyard is designed to measure approximately 34–36 in / 86–91 cm from end to end before attachment.
Once folded around the neck, this gives a drop of roughly 17–18 inches before accounting for the clips and badge.
Width is approximately 3/8–1/2 inch / 1–1.3 cm, depending on your yarn, hook and tension.
These dimensions are suggestions rather than a strict gauge requirement. Measure the lanyard against the intended wearer whenever possible.
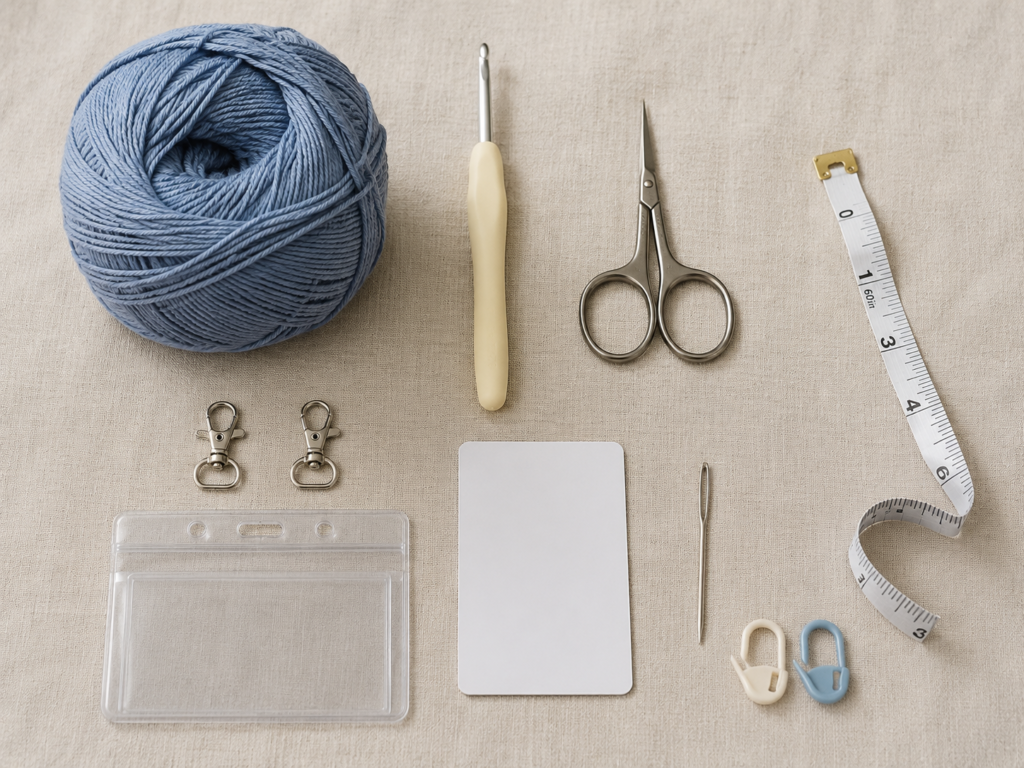
Materials You’ll Need
- #2 Fine or sport-weight cotton yarn, approximately 25–35 yd
- 3.5 mm crochet hook
- scissors
- tapestry needle
- flexible measuring tape
- 2 mini swivel hooks, flag clips or lanyard clips for a two-hole badge sleeve
- clear vinyl name tag/badge sleeve
- removable name card
- 1–2 stitch markers, optional
- optional breakaway lanyard connector
- optional small D-ring if using a single center attachment
The Craft Yarn Council identifies Fine as yarn-weight category 2 and provides standardized yarn classifications for comparing yarn thicknesses.
Crochet Abbreviations Used
This tutorial uses US crochet terminology.
- ch = chain
- sc = single crochet
- sl st = slip stitch
- st/sts = stitch/stitches
- rep = repeat
- RS = right side
- WS = wrong side
These abbreviations correspond to the standardized crochet terminology listed by the Craft Yarn Council.
US/UK Terminology Note
The stitch called single crochet (sc) in US terminology is called double crochet (dc) in UK terminology. If you normally follow UK patterns, remember that every “sc” in this tutorial means a US single crochet. The Craft Yarn Council’s terminology guide documents this US/UK difference.
Before You Start
Gauge and Tension
Gauge is not critical in the same way it would be for a fitted sweater. Length is the important measurement.
However, tension matters.
Your single crochet should create a compact strap that bends easily but does not stretch dramatically when you pull it.
If the strap feels floppy:
- use a smaller hook;
- tighten your tension slightly;
- add a third single-crochet row.
If the strap feels extremely stiff:
- loosen your grip;
- move up 0.5 mm in hook size.
The Craft Yarn Council recommends comparing hook choice and gauge because hook size directly affects the finished fabric.
How to Count Stitches
After Row 1, look across the top edge.
Each single crochet creates a small V. Each V counts as one stitch.
When beginning the next row, do not accidentally work into the turning chain as though it were another single crochet.
How to Keep the Long Foundation Chain Straight
A long chain can twist easily.
After every 20–30 chains:
- stop;
- allow the chain to hang freely;
- straighten any twists;
- continue chaining.
Do not pull the completed foundation chain taut while measuring it. Measure it relaxed on a flat surface.
Choosing Colors
A solid color makes the stitches easiest to see and gives the project a clean professional appearance.
Dusty blue, sage, terracotta, navy, charcoal, cream and muted berry are all practical choices.
For a workplace badge, consider coordinating the yarn with a uniform, logo color or event theme without adding embellishments that might interfere with badge visibility.
Step-by-Step Crochet Tutorial
Step 1: Crochet a Foundation Chain to the Correct Length
Make a slip knot and place it on your 3.5 mm hook.
Begin chaining.
Rather than forcing everyone to use the same number of chains, continue until your relaxed foundation chain measures approximately 34–36 inches / 86–91 cm.
Why measure instead of count?
Chain size varies considerably with personal tension. One crocheter’s 150 chains can be noticeably shorter than another crocheter’s 150 chains.
Place the chain flat beside your measuring tape without stretching it.
For a shorter lanyard, stop earlier. For a longer low-hanging badge, add length now.
Beginner tip:
Keep each chain similar in size. An extremely tight foundation chain makes Row 1 unnecessarily difficult.
Common mistake to avoid:
Do not measure while pulling the chain straight under tension. A stretched chain can produce a lanyard that ends up shorter than expected after it relaxes.
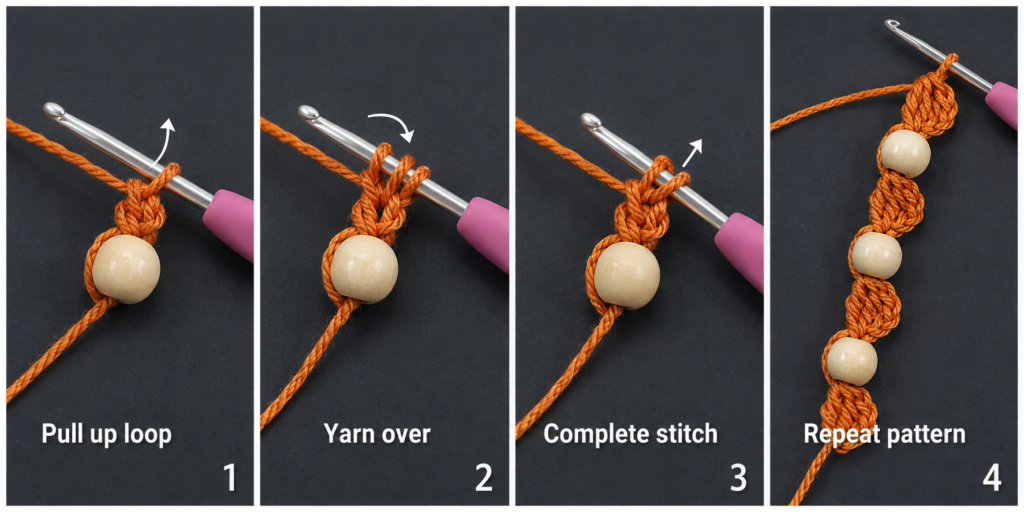
Step 2: Begin the First Single Crochet Row
Once the foundation chain is the right length, turn your attention to the second chain from the hook.
Insert the hook into that chain.
Yarn over and pull up one loop. You now have two loops on the hook.
Yarn over again and pull through both loops.
You have completed the first single crochet.
Work 1 sc in every remaining chain across the entire foundation.
Because the row is long, this part takes patience. Let the unused portion of the chain rest loosely on the table instead of allowing it to twist around itself.
Beginner tip:
After every 20–30 stitches, look back at your completed section. The bottom chain should run smoothly along the edge rather than spiraling.
Common mistake to avoid:
Skipping one foundation chain creates a small gap and changes the edge tension. If you notice a hole only a few stitches later, pull back to the mistake and correct it.
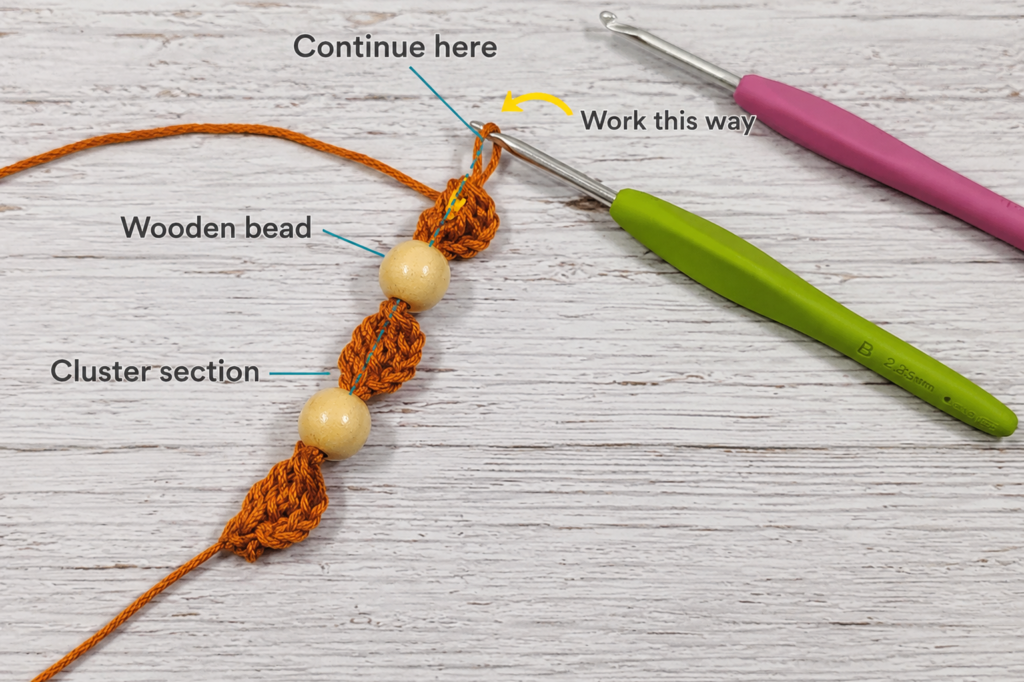
Step 3: Finish Row 1 and Check the Edge
Continue single crocheting until you reach the end.
Do not fasten off.
Lay your first row flat.
You should now have a narrow, flexible strip. The upper edge consists of neat V-shaped stitches, while the lower edge shows the original foundation chain.
A slight curve is normal at this stage.
Severe curling usually means the foundation chain was made much tighter than the single crochet stitches.
Beginner tip:
Run your fingers gently along the strip. If several sections feel noticeably narrower or tighter, concentrate on relaxing your yarn hand as you work the second row.
Common mistake to avoid:
Do not add extra stitches into the end of the row. You are making a flat lanyard strip, not crocheting around the chain.
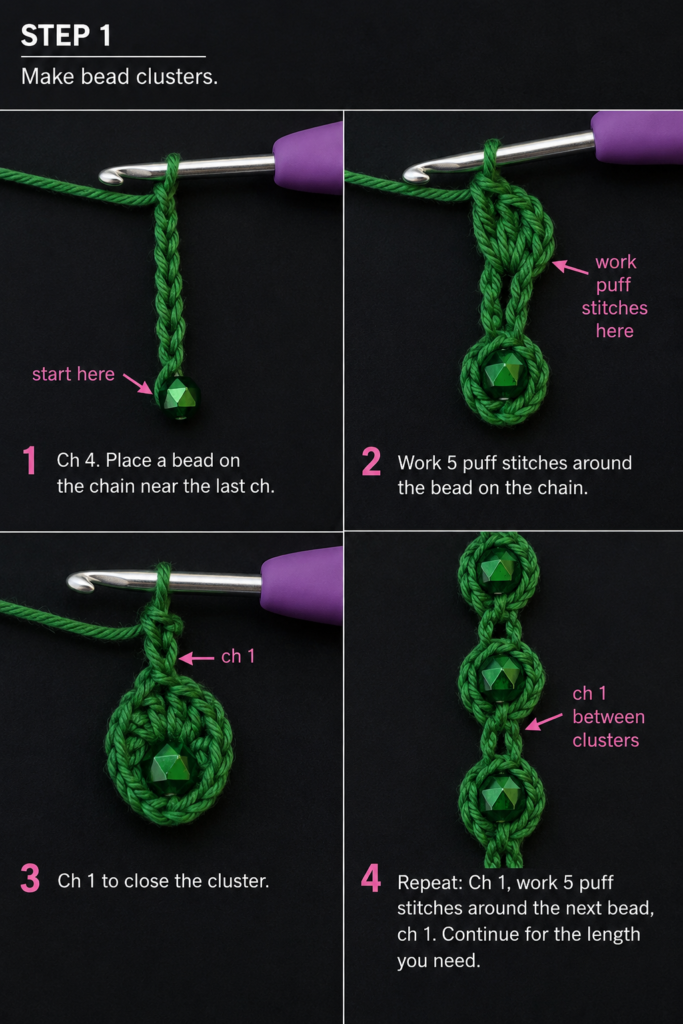
Step 4: Crochet Row 2
Chain 1.
Turn your work.
The chain 1 raises the hook to the correct working height but does not count as a stitch in this tutorial.
Insert the hook under both loops of the first single crochet.
Work 1 sc.
Continue:
1 sc in each st across.
Keep your tension steady all the way to the opposite end.
After Row 2, the lanyard should look noticeably more substantial and should resist stretching better than the foundation chain alone.
If you prefer an extra-wide or firmer strap, you can work one additional row:
Optional Row 3: Ch 1, turn, sc in every st across.
Beginner tip:
The turning chain often hides the first real stitch. Before starting each row, identify the first V-shaped single crochet carefully.
Common mistake to avoid:
If your stitch count becomes smaller, you are probably missing the first or last stitch of the row.
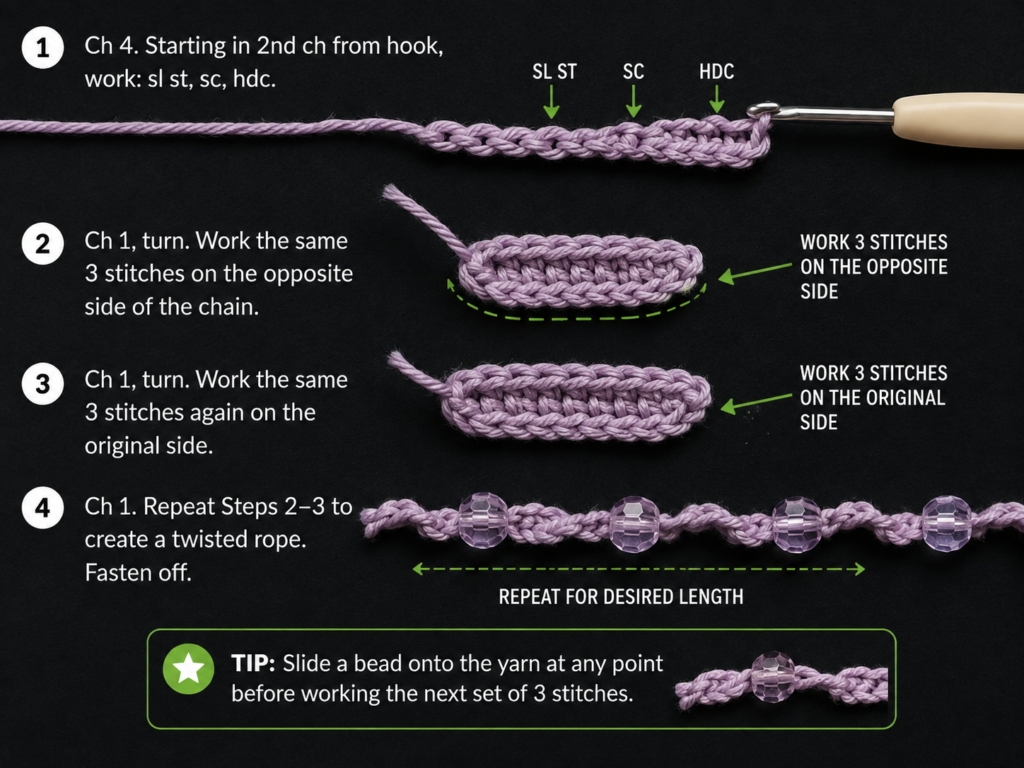
Step 5: Test the Length Before Fastening Off
Lay the strap flat in a U shape.
Measure from one end to the other.
For the sample size, aim for approximately 34–36 inches.
Now place the center of the strap behind your neck—without attaching the badge yet—and bring both ends downward.
Check where the badge hardware will sit.
Remember that the clips and badge sleeve add additional length.
If the strap is slightly too long, you can fold more of each end around the hardware in Step 6.
If it is significantly too short, it is better to correct it before finishing rather than trying to stretch the fabric.
Beginner tip:
A cotton strap may relax slightly with wear, so do not deliberately stretch it during fitting.
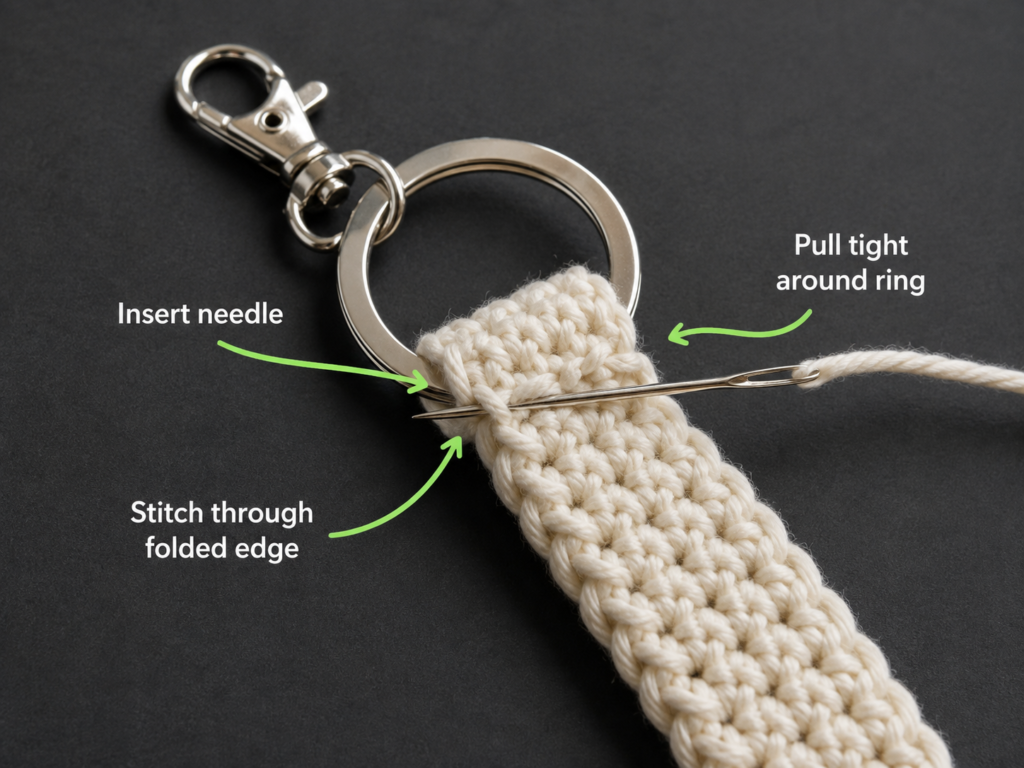
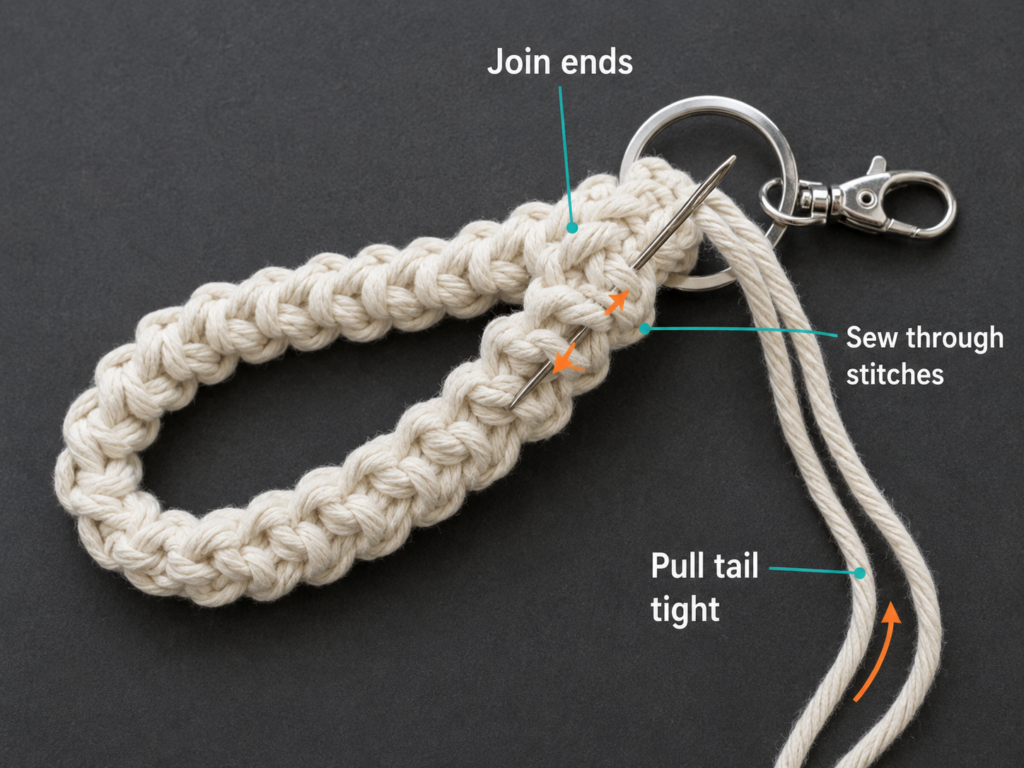
Step 6: Fold and Sew the Strap Ends
Thread the long yarn tail onto your tapestry needle.
Fold the doubled strap ends back toward the main lanyard.
Sew through the crochet layers several times.
Aim to make a compact reinforced section about ¾–1 inch / 2–2.5 cm long.
You can sew:
- straight across,
- diagonally,
- and back across again.
The goal is strength rather than decorative embroidery because the seam will be covered later.
Pull each pass firmly enough to hold the layers together, but do not cinch so tightly that the strap becomes distorted.
Beginner tip:
Try to pass the needle through actual crochet stitches instead of only catching loose strands of yarn.
Common mistake to avoid:
One or two loose sewing stitches are not enough for a frequently used badge. Reinforce the area before moving on.
Step 7: Reinforce the Attachment
After the basic seam is stable, make several more passes through the center of the folded section.
Gently tug the ring.
The crochet layers should not slide.
If they move, add more reinforcing stitches.
This is the part of the project that receives the most repeated stress, so taking an extra minute here is worthwhile.
Beginner tip:
Check the reverse side as you sew. The needle should be passing through all necessary layers rather than repeatedly entering only the front section.
Common mistake to avoid:
Avoid sewing directly around a moving hinge of the swivel clasp. Your yarn should secure the crochet to the ring without interfering with the clasp mechanism.
Step 8: Wrap the Joining Area
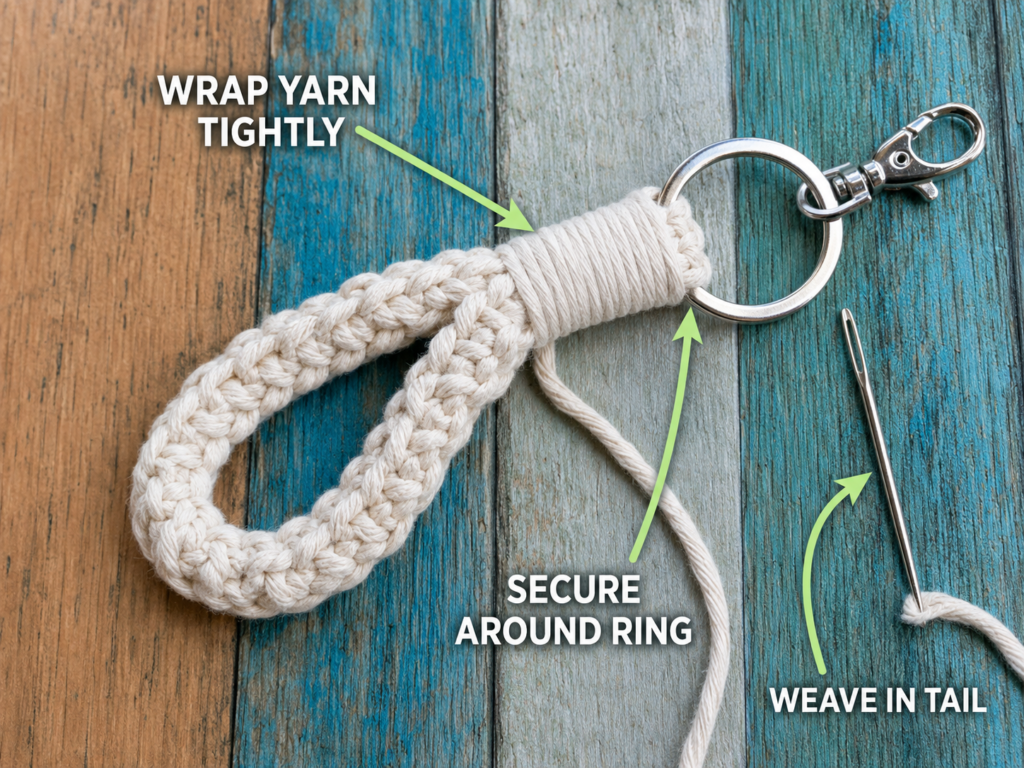
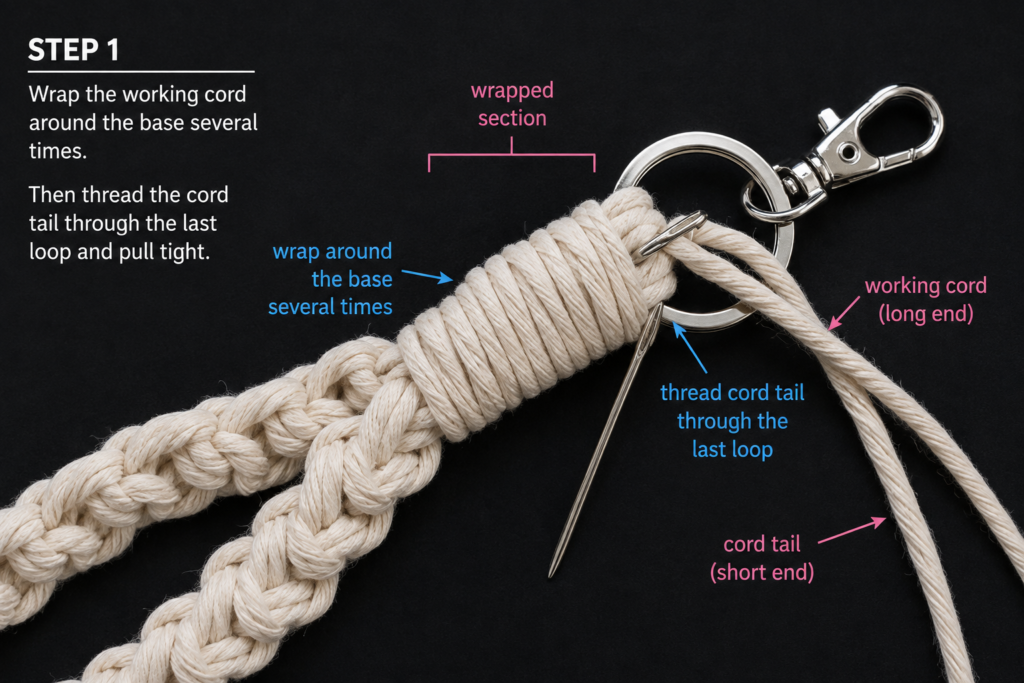
Once the sewn section feels secure, use the remaining yarn tail to create a neat finishing collar.
Wrap the yarn around the base of the attachment approximately 8–12 times.
Place each wrap beside the previous one rather than crossing randomly.
Keep the wraps firm and tidy.
They should cover the sewing stitches without squeezing the crochet into a hard knot.
This small detail makes the project look much more polished.
Beginner tip:
Rotate the project as you wrap instead of trying to circle your hand around the entire lanyard.
Common mistake to avoid:
Do not wrap over the metal ring. The ring needs enough freedom to pivot naturally.
Step 9: Secure the Yarn Tail
Thread the remaining tail onto your tapestry needle again if necessary.
Slide the needle underneath several of the wraps you just made.
Pull the tail through.
Repeat from the opposite direction if there is enough yarn.
Then weave the final section into the crochet strap itself.
Trim the yarn only after you are confident it cannot work loose.
Beginner tip:
Do not cut the tail directly beside the visible wrap. Hide at least an inch or two inside the crochet first.
Step 10: Attach the Name Tag Sleeve
Open the swivel clasp.
Clip it through the hole or slot at the top of your transparent badge sleeve.
Insert the name badge, school card, work ID, conference card, or other appropriate insert.
Hold the lanyard by the top.
The badge should face forward naturally.
If the sleeve constantly rotates backward, check whether:
- the strap was twisted,
- the clasp is attached backward,
- or your badge sleeve has an offset attachment point.
Your crochet name tag holder is now ready to use.
Pattern Notes or Stitch Notes
Turning Chain
The chain 1 at the beginning of Row 2 is used only to bring the hook to the proper height.
It does not count as a stitch.
Stitch Count
If you begin with N chains:
- Row 1 contains N − 1 sc.
- Row 2 contains N − 1 sl sts.
Your stitch count should remain consistent from one end of the strap to the other.
Repeat Pattern
There is no complicated repeat.
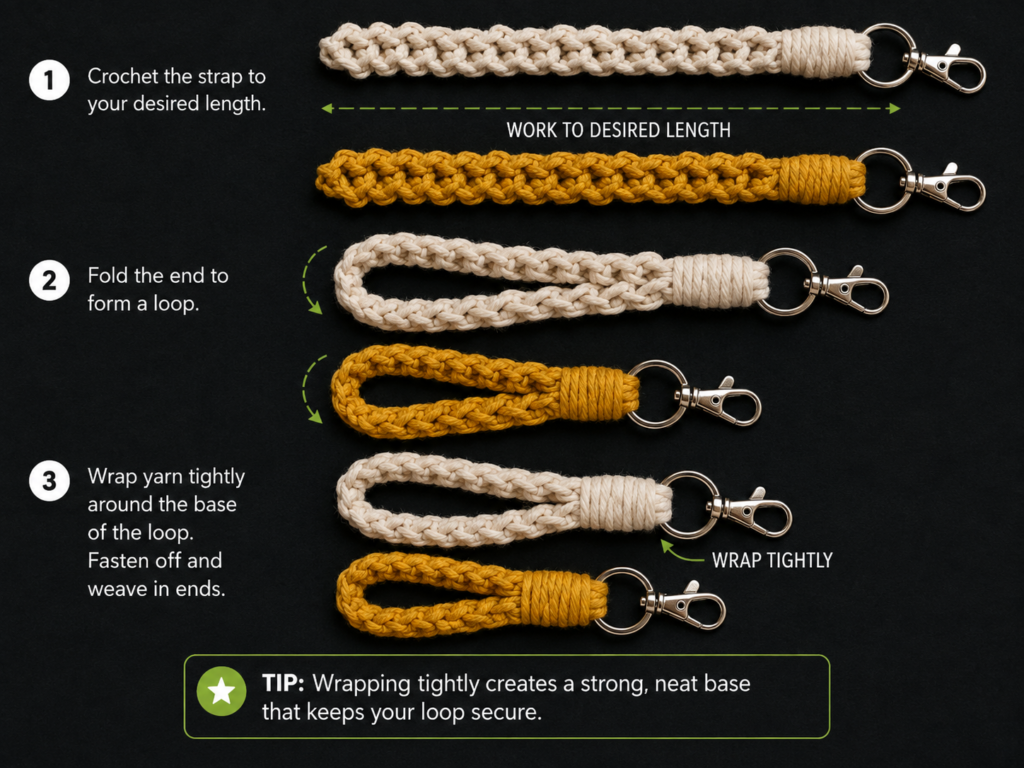
The construction is:
- Long foundation chain.
- One row of single crochet.
- One row of BLO slip stitch.
- Fasten off with a long tail.
- Attach hardware.
- Reinforce and wrap.
Right Side and Wrong Side
This project does not have a strongly defined right or wrong side.
The BLO slip-stitch row creates a subtle ridge, so choose whichever face you prefer as the outward-facing side before sewing the hardware.
Size Adjustments
For a shorter lanyard, remove chains until the foundation reaches your preferred measurement.
For a longer lanyard, add chains.
For a wider strap, add another row of single crochet before the slip-stitch row.
For a very narrow strap, use a finer yarn and smaller hook rather than trying to crochet extremely tight stitches.
Because yarns within the same general weight category can still behave differently, measurement is more reliable here than assuming two yarns will produce identical dimensions. The Craft Yarn Council likewise cautions that yarns within a weight category are not automatically interchangeable.
Common Beginner Mistakes
1. Making the Starting Chain Too Tight
Problem:
Row 1 becomes frustrating and the edge looks contracted.
Fix:
Restart with a relaxed grip or make the foundation chain using a hook 0.5 mm larger, then switch to your normal hook for the first row.
2. Measuring While Stretching the Chain
Problem:
The finished lanyard comes out shorter than expected.
Fix:
Lay the foundation chain naturally on the table. Straighten it, but do not pull it lengthwise.
3. Losing a Stitch at the End of Row 1
Problem:
One end looks narrower or angled.
Fix:
Place a marker in the final chain before beginning Row 1 so you know exactly where the last single crochet belongs.
4. Making the Slip Stitches Too Tight
Problem:
The BLO edge becomes much shorter and the strap curls strongly.
Fix:
After pulling each slip stitch through, lift the hook slightly to maintain a comfortable loop height.
5. Twisting the Strap During Assembly
Problem:
The finished lanyard rotates awkwardly around the neck.
Fix:
Lay the entire strip flat before adding hardware and trace it visually from one end to the other.
6. Using Too Few Reinforcing Stitches
Problem:
The hardware attachment starts pulling apart after repeated use.
Fix:
Sew through the folded crochet layers several times in multiple directions before adding the decorative wraps.
7. Wrapping the Yarn Over the Hardware
Problem:
The clasp or ring cannot pivot naturally.
Fix:
Keep all decorative wraps below the ring.
How to Customize This Crochet Project
Change the Yarn Color
This project uses very little yarn, making it excellent for leftovers.
Try:
- school colors,
- company colors,
- muted neutrals,
- rainbow stripes,
- teacher-themed colors,
- medical-office colors,
- sports-team-inspired combinations,
- seasonal shades.
For a two-color version, crochet the main single-crochet row in one color and use a contrasting yarn for the slip-stitch edge.
Make It Wider
If a very narrow lanyard feels uncomfortable, add another row of single crochet before working the final BLO slip-stitch row.
A wider strap distributes the pressure more evenly across the neck.
Add Texture
Once you are comfortable with the basic version, experiment with:
- alternating front and back loops,
- surface slip stitches,
- contrasting edging,
- simple stripes,
- tiny embroidered motifs after crocheting.
Avoid bulky bobbles around the back of the neck because they can become uncomfortable during extended wear.
Add a Breakaway Connector
For situations where a breakaway lanyard is preferred or required, divide the back portion of the strap and install hardware specifically designed to separate under force.
Always choose lanyard hardware appropriate to the intended wearer and environment, particularly around children, machinery, clinical settings, or workplaces with their own safety requirements.
Create a Short Badge Strap
Instead of making a neck lanyard, make a strip approximately 8–12 inches long.
Fold it into a small loop and attach the ring at the bottom.
This version works well for:
- a tote bag,
- backpack,
- conference pouch,
- zipper,
- teacher bag,
- key set.
Make Matching Gifts
Crochet several in coordinated colors for:
- teachers,
- nurses,
- office coworkers,
- conference volunteers,
- school staff,
- event teams,
- craft-fair shoppers.
Because the project uses relatively little yarn, a group set is practical to batch-make.
Finishing Instructions
Once the hardware is secure:
- Examine the entire lanyard for loose ends.
- Weave any remaining yarn end through several stitches.
- Trim carefully.
- Gently shape the strap with your hands.
- If necessary, lightly wet-block the crochet portion on a flat towel.
- Allow it to dry completely before inserting an ID card or paper name tag.
Do not apply high heat directly to a plastic badge sleeve.
When washing, follow the care instructions for the specific yarn used. If possible, remove the badge sleeve first and avoid leaving metal hardware wet for long periods.
Blocking should be minimal. You want the lanyard smooth, not stretched longer.
Quick Printable-Style Summary
Skill level: Beginner
Project: Crochet name tag holder lanyard
Yarn: Light/DK cotton or firm cotton blend
Hook: 4.0 mm
Other materials: Scissors, tapestry needle, measuring tape, silver ring, swivel clasp, clear badge sleeve
Stitches: ch, sc, sl st, BLO
Starting method:
Chain until foundation measures approximately 37–38 in / 94–97 cm without stretching.
Row 1:
Sc in 2nd ch from hook and in every ch across. Ch 1, turn.
Row 2:
Sl st BLO in every st across.
Stitch count:
If starting with N chains, both completed rows contain N − 1 sts.
Finish:
Fasten off leaving approximately 24 in / 60 cm tail.
Assembly:
Align strap ends, feed both through metal ring, fold ends back, reinforce with tapestry needle, wrap remaining tail neatly around the seam, hide tail beneath wraps.
Final step:
Clip clear name-tag sleeve onto swivel clasp.
FAQ
1. What yarn is best for a crochet name tag holder?
A smooth cotton or cotton-rich yarn is particularly practical because it produces clear stitches and a relatively stable strap. Avoid extremely fuzzy yarn for your first version because it makes stitch identification and neat hardware finishing more difficult.
2. How long should a crochet badge lanyard be?
There is no universal perfect length because people prefer badges at different heights.
For this tutorial, start with a strip measuring approximately 37–38 inches before assembly and adjust it to the wearer before the hardware is permanently attached.
3. Can I use acrylic yarn?
Yes.
Acrylic can work, particularly if that is what you already have.
However, very soft acrylic may stretch more than a firm cotton yarn. Use a slightly smaller hook if necessary to create a denser strap.
4. Can I attach a retractable badge reel?
Yes, provided the hardware is compatible.
Instead of clipping a simple clear sleeve directly onto the swivel clasp, attach the reel using its intended ring or clip.
Check that the combined hardware does not become excessively heavy.
5. Can I make this without metal hardware?
Yes.
You can crochet a small loop at the bottom and attach a badge sleeve directly through that loop if the badge sleeve design allows it.
Metal hardware is convenient because it makes changing the badge easier.
6. Why is my lanyard curling?
The most common causes are:
- a foundation chain that is too tight,
- tighter tension in the second row,
- or extremely tight BLO slip stitches.
Relax the slip-stitch tension and gently shape the finished strap.
7. Can a complete beginner make this?
Yes, once the beginner knows how to make a chain and single crochet.
The pattern deliberately avoids shaping, increases, decreases, complicated stitch repeats, and working in the round.
The Craft Yarn Council describes basic-to-easy project levels in terms of the techniques involved, and its pattern-reading resources include chains, slip stitches, and single crochet among fundamental pattern terminology.
Conclusion
A useful crochet project does not have to be large or complicated.
This easy crochet name tag holder pattern turns basic stitches into something you can use at work, school, conferences, volunteer events, conventions, or anywhere you regularly wear identification.
The construction is also easy to customize. Once you have made the simple single-crochet version, try another in school colors, add a contrasting edge, shorten it into a bag strap, or make several as quick coworker or teacher gifts.
The most important parts are simple: keep the foundation chain relaxed, measure rather than depending entirely on a chain count, check that the strap is not twisted, and reinforce the hardware carefully.
Save the tutorial so you can return to the sizing and assembly photographs when making your next lanyard.