A teacher planner gets handled constantly: opened during lessons, carried between classrooms, stacked beside papers, and usually accompanied by at least one pen that somehow disappears exactly when you need it.
This easy crochet teacher planner band pattern solves two problems at once. It gives your planner a soft handmade band that helps keep it closed, while a small crocheted front pocket gives you a permanent place for a pen, pencil, or slim highlighter.
The project is intentionally beginner-friendly. You will crochet simple rectangles using single crochet, fold one rectangle to form the pocket, make two narrow straps, and connect everything with a short section of elastic. Because the straps are fitted directly to your own planner, you do not need to own a particular brand or planner size.
The visual flow for this tutorial was researched using Celtic Knot Crochet’s adjustable pocket bookmark tutorial, which similarly combines a pen pocket with an adjustable wraparound structure. Its article includes a useful sequence of construction photographs from materials through finishing. This tutorial, however, uses new measurements, construction, assembly, color planning, and instructions specifically for a teacher planner.
What You’ll Learn
- How to crochet a firm rectangular panel
- How to keep single crochet edges straight
- How to fold a flat rectangle into a pen pocket
- How to seam the pocket without closing its opening
- How to add a contrasting crochet border
- How to make narrow planner straps
- How to customize strap length for nearly any planner
- How to add elastic without making the band too loose
- How to finish and weave in ends neatly
- How to resize the pocket for one or two writing tools
Project Details
Skill level: Beginner / Easy
Finished pocket size: Approximately 3 in wide × 4¾–5 in deep
Band width: Approximately 1–1¼ in at the straps
Overall length: Custom fit to your planner
Estimated crochet time: 1½–2½ hours
Yarn weight: DK / Category 3
Hook: 3.75 mm / F-5
Construction: Flat pieces, folded pocket, simple seams
Terms: US crochet terminology
The Craft Yarn Council classifies DK/light-worsted yarn as Category 3 and notes that recommended hook ranges are guidelines rather than absolute rules. For this accessory, using a relatively small hook helps create a firm pocket instead of a loose fabric that allows pens to sag.
Materials You’ll Need
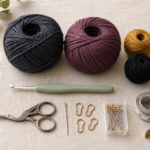
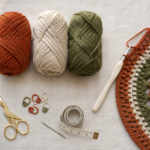
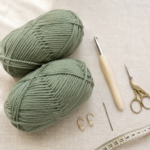
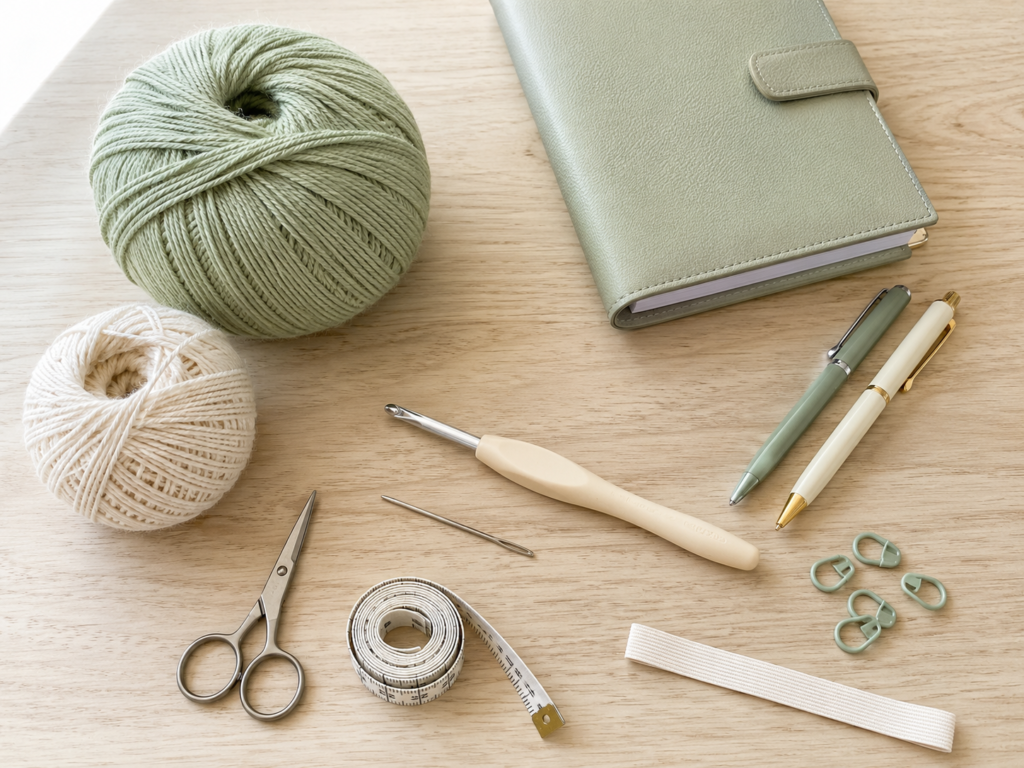
- Approximately 40–55 yd of DK weight cotton yarn in sage green
- Approximately 10–15 yd of DK weight cotton yarn in warm ivory for edging
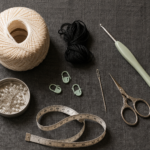
- 3.75 mm / F-5 crochet hook
- Scissors
- Tapestry or yarn needle
- 2 locking stitch markers
- Measuring tape
- 3–5 in of ⅜–½ in elastic
- Teacher planner you want the band to fit
- Pen, pencil, or highlighter for checking pocket size
Cotton or a cotton-rich blend is particularly useful because it gives the pocket some body. Very soft acrylic will still work, but you may want to crochet more tightly.
Crochet Abbreviations Used
This tutorial uses US terms.
- ch = chain
- sc = single crochet
- sl st = slip stitch
- st / sts = stitch / stitches
- rep = repeat
These abbreviations correspond with standard US crochet terminology published by the Craft Yarn Council. Note in particular that a US single crochet is called a double crochet in UK terminology.
Before You Start
Gauge and tension
Approximate gauge:
20 sc × 22 rows = 4 in / 10 cm
Gauge is not critical because the straps are made to fit your actual planner. However, the fabric should feel firm.
If you can easily stretch the pocket sideways with two fingers, try going down one hook size.
How to count single crochet stitches
Look along the top of your work. Each single crochet creates one V-shaped stitch.
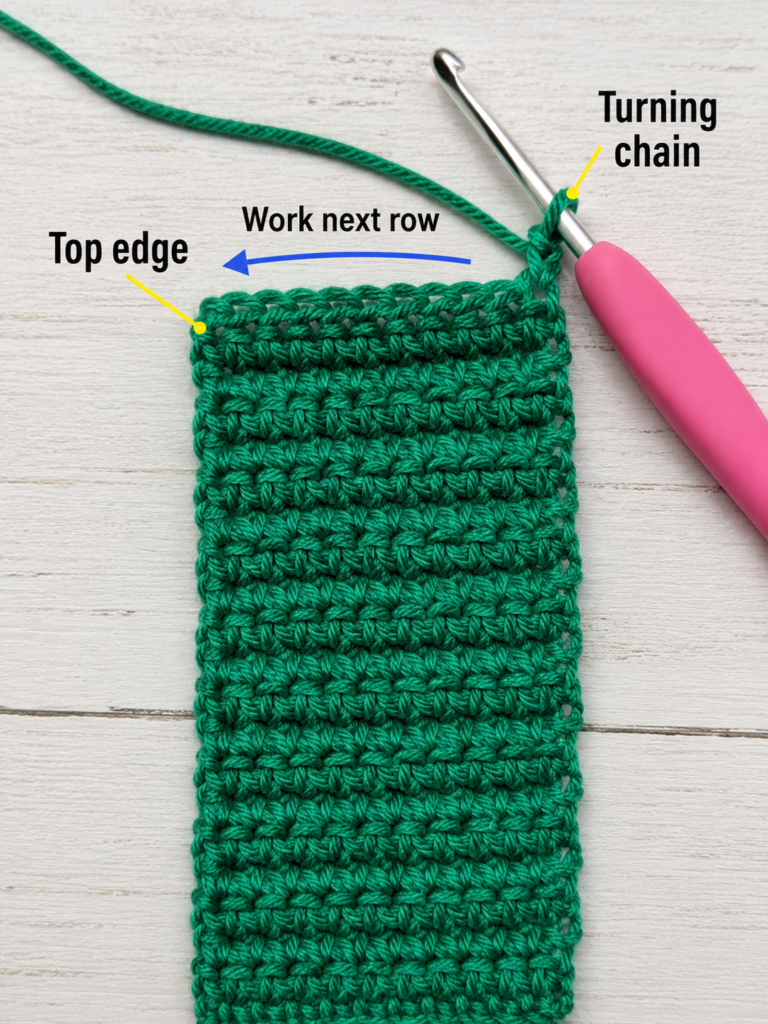
Do not count the turning chain as a stitch in this pattern.
How to keep the edges straight
The easiest beginner method is to put a locking marker into the first stitch of each row. When you return to that side, you will immediately see where the final stitch belongs.
Accidentally skipping the last stitch is the most common reason a narrow rectangle begins turning into a triangle.
Avoiding curling
A little curling during the first several rows is normal.
If the fabric rolls tightly:
- Relax your foundation chain.
- Check that you are not using an excessively small hook.
- Make sure every row still contains 15 stitches.
Choosing colors
For a clean school or classroom look, try:
- Sage green + cream
- Navy + oatmeal
- Dusty rose + warm white
- Mustard + charcoal
- School colors
- One neutral shade with a brighter border
This tutorial uses sage green for the main fabric and ivory for the edging.
US/UK terminology note
This pattern is written in US crochet terms. US single crochet (sc) equals UK double crochet (dc). The Craft Yarn Council maintains a terminology comparison for these differences.
Step-by-Step Crochet Tutorial
Step 1: Crochet the Foundation Row
Using sage-green DK yarn, make a slip knot.
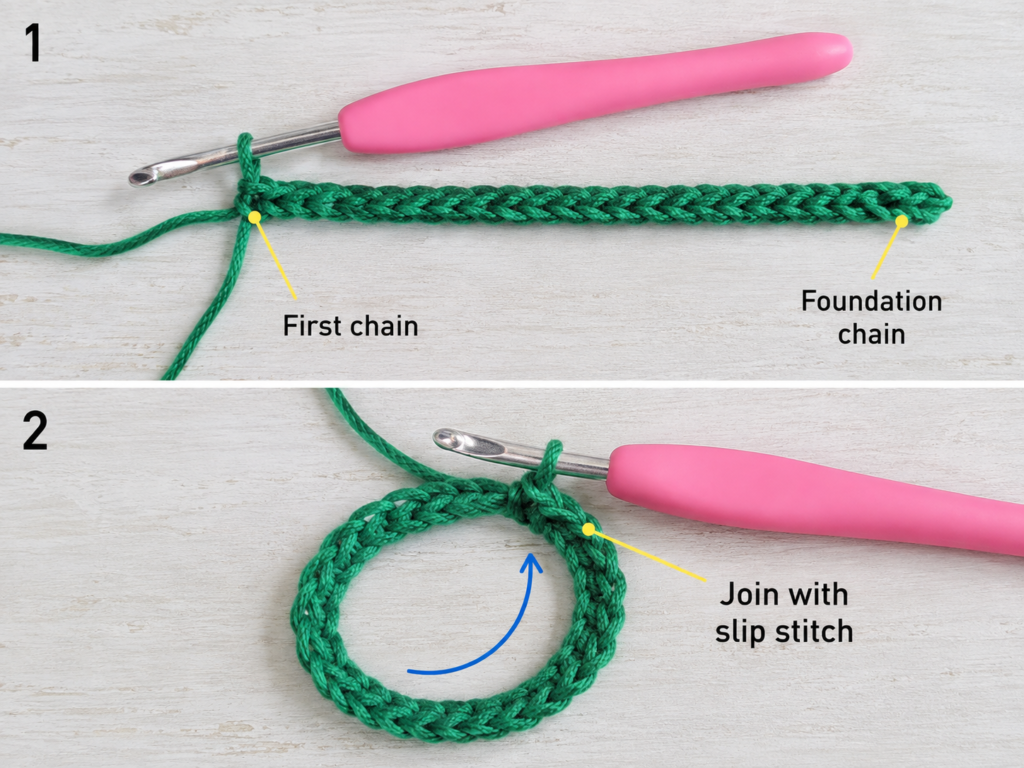
Chain 16.
Starting in the second chain from the hook, work one single crochet into every chain.
You should have:
15 sc
Chain 1 and turn.
The 15-stitch width should produce a panel approximately 2¾–3 inches wide with the suggested gauge. That is roomy enough for one thick pen or two slim writing tools.
Beginner tip:
Put a stitch marker into the first single crochet of the row. Move it upward as you work.
Common mistake to avoid:
Do not crochet into the turning chain at the end of the next row. Your stitch count should remain 15.
Step 2: Build the Long Pocket Panel
Continue working in single crochet.
Rows 2–56:
Ch 1, turn, sc in each of the 15 sts across.
Keep checking the stitch count every five or six rows.
At the suggested gauge, the finished rectangle should measure approximately:
3 in wide × 10 in long
Do not worry if yours is slightly different.
The important measurement is the pocket depth after folding.
Beginner tip:
Count 15 stitches at the end of a row occasionally rather than discovering a mistake 20 rows later.
Common mistake to avoid:
Do not pull the first and last stitch excessively tight. Tight edge stitches make it harder to seam the pocket neatly.
Step 3: Check the Panel Length
After Row 56, lay the rectangle flat.
Do not fasten off until you have checked the size.
Fold approximately the lower 27 rows upward.
Place a pen inside the temporary fold.
The pen should sit securely while the upper part of the pen remains accessible.
If the pocket feels too shallow, unfold the panel and crochet another two to four rows.
If it covers almost the entire pen, fold fewer rows upward.
For most standard pens, a pocket around 4½–5 inches deep works well.
Fasten off the sage yarn once you are satisfied.
Beginner tip:
Fit the pocket to the actual pen or highlighter you use most often instead of depending only on measurements.
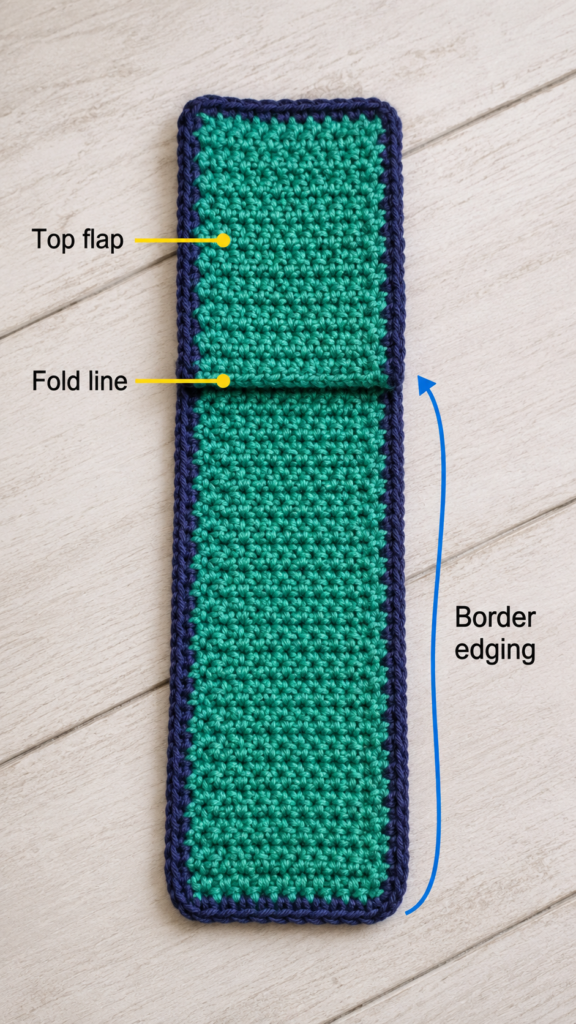
Step 4: Fold the Pocket
Lay the rectangle vertically with the wrong side facing upward.
Bring the bottom edge upward approximately 4¾–5 inches.
The folded section becomes the front of the pocket.
Leave a small amount of the backing panel visible above it.
Align the left edges carefully.
Align the right edges.
Place a locking stitch marker through both layers on each side.
Insert your pen again.
The opening should be wide enough for the pen to slide in without forcing it.
Beginner tip:
Do not stretch the crochet while aligning the sides. Let the fabric lie naturally.
Common mistake to avoid:
Make sure you are folding only the bottom part upward. Do not fold the project exactly in half without first testing the pocket depth with a pen.
Step 5: Seam the Pocket and Add the Border
Thread a tapestry needle with a long piece of ivory yarn.
Whipstitch through both layers along the left side.
Repeat along the right side.
Do not sew across the upper pocket opening.
Check the pocket again with your pen.
Now use the ivory yarn and crochet hook to add a simple single crochet border around the outside perimeter where practical.
The contrasting edging serves two purposes:
- It visually defines the pocket.
- It makes the outer edges feel firmer.
At each square corner, work approximately 2 sc into the same corner space if needed to prevent the border from pulling.
Fasten off.
Beginner tip:
If the border causes the panel to cup inward, you probably need an extra stitch at the corners.
Common mistake to avoid:
Do not accidentally crochet the front pocket opening closed while edging.
Step 6: Crochet the Two Planner Straps
The straps are intentionally made separately so you can adjust their length for your planner.
With sage yarn:
Chain 7.
Strap Row 1
Sc in the second chain from hook and each remaining chain.
6 sc
Following rows
Ch 1, turn, sc in each stitch across.
6 sts
Continue until the first strap measures roughly 5½–8 inches, depending on the planner.
Fasten off, leaving a long sewing tail.
Make a second identical strap.
How long should the straps be?
Instead of relying on a universal measurement, place the pocket vertically on the center front of your closed planner.
Hold one strap at the top of the pocket and route it around the planner’s top edge toward the center of the back cover.
Do the same with the lower strap around the bottom edge.
You want a gap of approximately 3–5 inches between the strap ends at the back. Elastic will bridge this gap.
Large teacher planners will generally need longer straps than an A5 journal.
Beginner tip:
Make the straps slightly shorter rather than dramatically too long. The elastic provides the stretch.
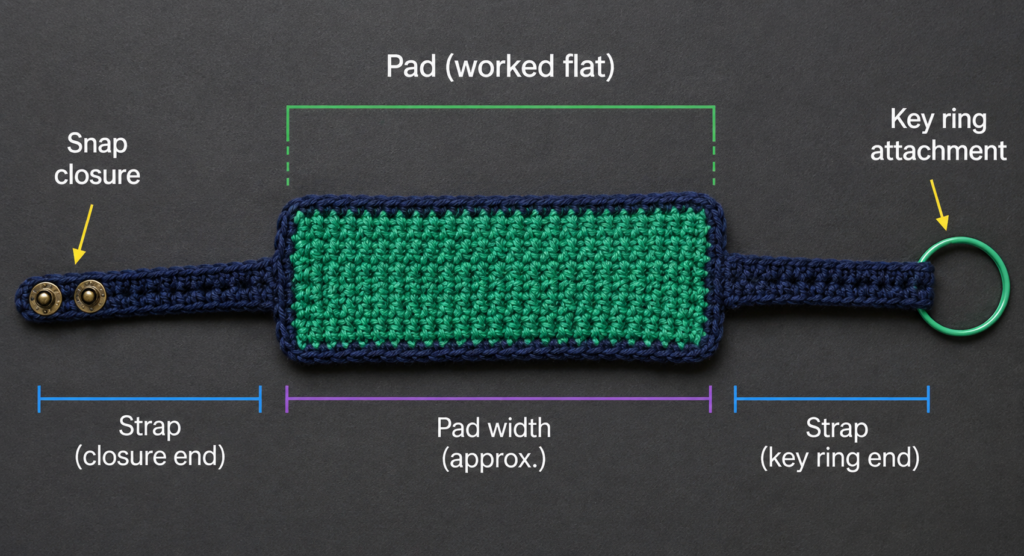
Step 7: Sew the Straps to the Pocket
Turn the pocket over.
Center one strap on the top back edge of the panel.
Overlap the strap onto the backing by approximately ¾ inch.
Using the long yarn tail, sew across the strap several times.
Then work a second line of stitches for reinforcement.
Attach the second strap in the same way to the bottom back edge.
Check that the straps line up vertically with one another.
They should not lean toward opposite corners.
Beginner tip:
Insert both straps with stitch markers first, then turn the project over and inspect it before sewing.
Common mistake to avoid:
Attaching the straps too close to one side makes the finished band twist around the planner.
Step 8: Fit and Attach the Elastic
This is the step that makes the band adaptable.
Place the pocket in its final position on the front of your closed planner.
Bring the upper strap around the top.
Bring the lower strap around the bottom.
Measure the gap between their ends on the back.
Cut a piece of elastic slightly shorter than that gap.
For example:
- Strap-end gap = 4 inches
- Elastic length = approximately 3¼–3½ inches
The exact amount depends on how stretchy your elastic is.
The band should grip the planner without bending the cover.
Slip approximately ½ inch of one elastic end beneath the first strap end.
Fold the crochet strap end over the elastic.
Sew securely.
Repeat with the other side.
Test the fit before trimming any excess elastic.
Beginner tip:
Stretch should come mainly from the elastic, not from aggressively stretching the crochet straps.
Common mistake to avoid:
Do not make the elastic extremely tight. A planner band should stay in place, not bow a hardcover planner inward.
Step 9: Test the Pen Pocket
Slide the finished band onto the planner.
Insert the pen you plan to carry.
Check three things:
1. Pocket tension:
The pen should slide in easily but should not fall out when you lift the planner.
2. Band tension:
The planner cover should stay flat.
3. Pocket position:
The pocket should remain roughly centered on the front cover.
If the pocket is loose, you can add one short vertical seam inside it to create two narrow pen channels.
This works especially well if you want to carry:
- One pen + one pencil
- One pen + one slim highlighter
- Two fine-tip markers
Avoid stuffing several thick markers into the pocket because excessive weight can pull the band sideways.
Pattern Notes or Stitch Notes
Turning chain
The ch 1 at the beginning of each row does not count as a stitch.
Pocket stitch count
Maintain 15 single crochet stitches across every pocket-panel row.
Strap stitch count
Maintain 6 single crochet stitches across every strap row.
Repeat pattern
The project uses plain single crochet rows:
Ch 1, turn, sc across.
This repetition makes it suitable for beginners.
Right side and wrong side
Because ordinary single crochet looks similar on both faces, there is no critical right or wrong side.
Choose whichever face looks neatest as the front before folding the pocket.
Size adjustment
To make the pocket wider:
Add foundation chains.
As a general guide, add approximately 2–3 stitches for every ½ inch of additional width, then measure your actual fabric.
To make the pocket deeper:
Crochet more panel rows before folding.
To fit a bigger planner:
Add rows to each strap rather than dramatically increasing the elastic length.
To fit a smaller planner:
Reduce strap length.
Common Beginner Mistakes
1. Losing stitches along the sides
Problem: The panel gradually narrows.
Cause: The final stitch of a row was skipped.
Fix: Maintain 15 stitches and use a stitch marker in the first stitch.
2. Accidentally increasing
Problem: The panel becomes wider.
Cause: You crocheted into both the last stitch and the turning chain.
Fix: Remember that the ch 1 does not count as a stitch.
3. Pocket is too loose
Problem: Pens fall sideways.
Fix: Use a smaller hook, firmer tension, or add a vertical dividing seam inside the finished pocket.
4. Pocket opening gets sewn closed
Problem: You cannot insert the pen after edging.
Fix: Only seam the left and right sides of the folded section. Keep its upper edge completely open.
5. Band slides around the planner
Problem: The elastic does not provide enough tension.
Fix: Shorten the elastic slightly rather than ripping out both crochet straps.
6. Planner cover bends
Problem: Elastic is too short.
Fix: Replace it with a slightly longer piece. The band needs gentle resistance, not maximum stretch.
7. Straps twist
Problem: One strap was attached off-center or upside down.
Fix: Pin both straps first and perform a full fit test before sewing.
How to Customize This Crochet Project
Change the yarn
DK cotton produces a clean, practical result, but you can experiment with:
- Sport-weight cotton for a thinner band
- Light cotton-acrylic blends
- Mercerized cotton for more stitch definition
Avoid extremely bulky yarn because it will make the pocket heavy and may prevent the planner from lying flat.
Add school colors
Make the main pocket in the teacher’s school color and use a neutral contrasting edge.
Examples:
- Navy + white
- Burgundy + cream
- Forest green + gold
- Royal blue + gray
Make a striped pocket
Change colors every 4–6 rows while crocheting the long rectangle.
Keep the straps in one solid color to prevent the design from becoming visually busy.
Add a decorative border
Instead of a plain single crochet border, an adventurous beginner could try:
- Reverse single crochet
- Tiny picot edging
- Crab stitch
- Contrasting slip stitch
Keep decorative stitches away from the pocket opening if they make it harder to insert a pen.
Add an initial
Embroider a teacher’s first initial onto the front pocket after construction.
A small initial makes this a particularly nice handmade teacher appreciation gift.
Add a crochet flower
A tiny flat daisy or simple heart can be stitched near a lower corner.
Avoid large 3D decorations because the planner may be placed inside a school bag.
Adjust for two pens
Increase the panel foundation to approximately 18–20 stitches.
After completing the pocket, place two pens inside and sew one straight divider seam between them.
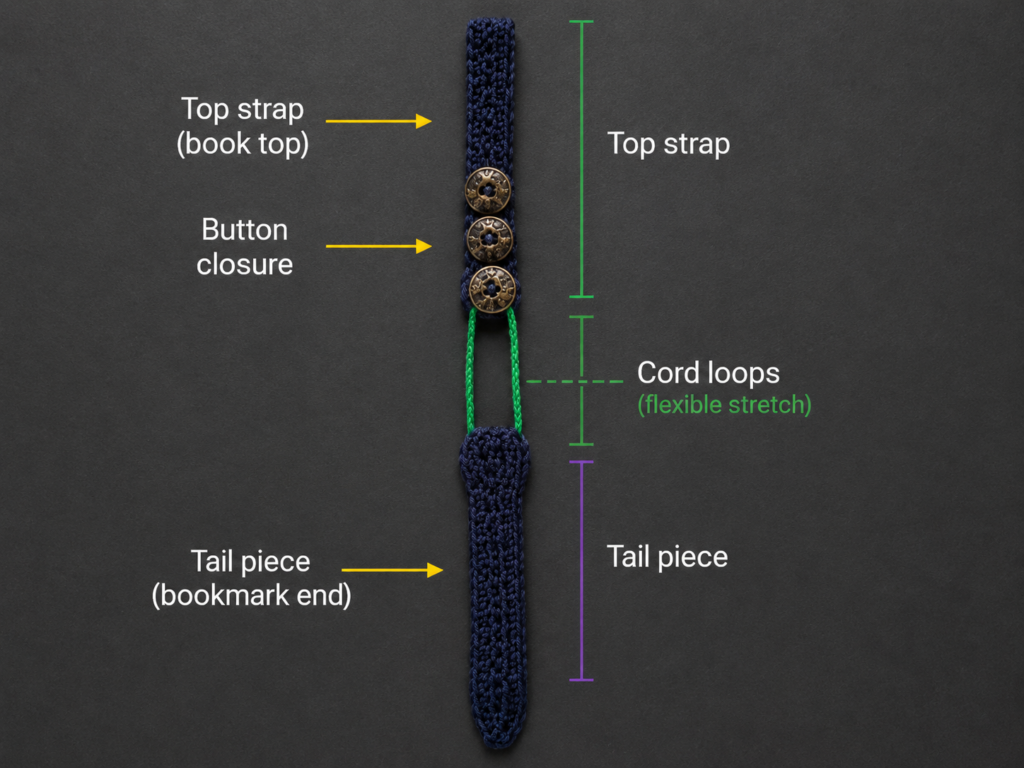
Add a button closure instead of elastic
If you prefer a removable closure:
- Sew a button onto one strap.
- Crochet a loop at the end of the opposite strap.
- Fit the loop around the button.
Elastic is faster for daily use, while a button gives a more decorative finish.
Teacher gift ideas
Pair the finished band with:
- A planner
- Favorite pens
- Sticky note tabs
- Washi tape
- Classroom stickers
- Personalized pencil
- Small teacher appreciation card
Finishing Instructions
Once you are satisfied with the fit, weave every yarn tail through several stitches on the wrong side.
Reverse direction and weave through a few more stitches before trimming.
Pay special attention to the strap attachment tails because these areas receive the most pulling.
Check both elastic connections.
The stitching should pass through both crochet and elastic multiple times.
If desired, lightly steam or wet-block the crochet portion before final assembly.
Avoid high heat on the finished elastic.
If the completed band needs cleaning, follow the yarn manufacturer’s care instructions. For a cotton band with sewn-in elastic, gentle hand washing and air drying is the safest general approach because repeated high heat can shorten the life of some elastic.
Quick Printable-Style Summary
Skill level: Beginner
Yarn: DK weight cotton, Category 3
Hook: 3.75 mm / F-5
Main stitches: Chain and single crochet
Pocket starting method:
Ch 16.
Pocket Row 1:
Sc in second chain from hook and across — 15 sts.
Pocket body:
Continue single crochet rows until approximately 10 inches long.
Pocket construction:
Fold approximately 4¾–5 inches of the lower panel upward and seam the two sides.
Border:
Optional contrasting single crochet edging.
Straps:
Make two.
Ch 7.
Sc across — 6 sts.
Continue rows until each strap reaches the required custom length.
Assembly:
Sew one strap to the top of the pocket backing and one to the bottom.
Fit:
Place band on closed planner and determine remaining back gap.
Closure:
Connect strap ends with a slightly shorter piece of elastic.
Finishing:
Weave in all yarn ends and reinforce strap/elastic seams.
FAQ
Can I make this crochet teacher planner band for any planner size?
Yes. The pocket dimensions can remain the same while the strap lengths change.
Instead of relying on a fixed planner measurement, place the pocket on your planner and crochet each strap until it reaches toward the center back, leaving a short gap for elastic.
That makes the construction adaptable to A5 planners, composition notebooks, large lesson planners, journals, and similar books.
What yarn is best for a crochet planner band?
DK cotton is an excellent choice because the fabric remains relatively thin while still having enough structure to hold a pen.
A cotton blend can also work.
Very stretchy or fuzzy yarn is less practical for the pocket because it may lose shape.
Can a beginner crochet this?
Yes.
If you can make:
- A chain
- Single crochet
- Straight rows
you can make the main crochet pieces.
The only non-crochet skill required is simple sewing for the pocket sides, straps, and elastic.
How do I stop the pen from falling out?
Make sure the pocket fabric is firm.
If the pocket is already completed and feels too wide, place the pen inside and sew a vertical line from the bottom upward to create a narrower channel.
For two pens, divide the pocket into two channels.
Can I make the planner band without elastic?
Yes.
You can replace the elastic section with:
- A button and loop
- Snap fastener
- Crochet tie
- Longer continuous strap
Elastic is recommended for this beginner version because it accommodates small differences in planner thickness.
Will the band damage planner pages?
The band is designed to sit around the closed planner rather than between individual pages.
Keep buttons, beads, or bulky embellishments on the outside cover rather than underneath the planner.
How much yarn does a teacher planner band use?
One band is a small scrap-friendly project.
Approximately 40–55 yards of the main DK yarn should be plenty for most sizes, plus a small amount of contrasting yarn for the border.
Always allow extra yarn if making unusually long straps for a large teacher planner.
Why This Makes a Useful Teacher Crochet Project
Many teacher gifts are decorative, but this one is designed to be used every school day.
The pocket keeps a frequently used writing tool attached to the planner. The elastic helps keep papers and planner covers together. Because the strap length is customized during construction, the same basic method can be adapted for different planners instead of requiring a particular commercial notebook.
The small yarn requirement also makes this an efficient project for leftover DK cotton.
Make one in school colors for a classroom teacher, create a neutral version for yourself, or crochet several before back-to-school season.
Conclusion
A crochet teacher planner band is one of those small projects that becomes more useful than its size suggests.
You practice basic single crochet, learn how to turn a flat rectangle into a functional pocket, and finish with an accessory that keeps both a planner and writing tools organized.
The biggest advantage is that you do not need to match someone else’s planner dimensions exactly. Crochet the pocket first, place it where you want it, and adjust the straps directly on the closed planner before adding the elastic.
Once you understand that construction, it is easy to create another version for a journal, notebook, lesson-plan binder, reading log, or teacher appreciation gift.
Save the tutorial so you can return to the sizing instructions whenever you want to make another one.